I Am... Chocolate Chip Cookie Review: Maman, NYC
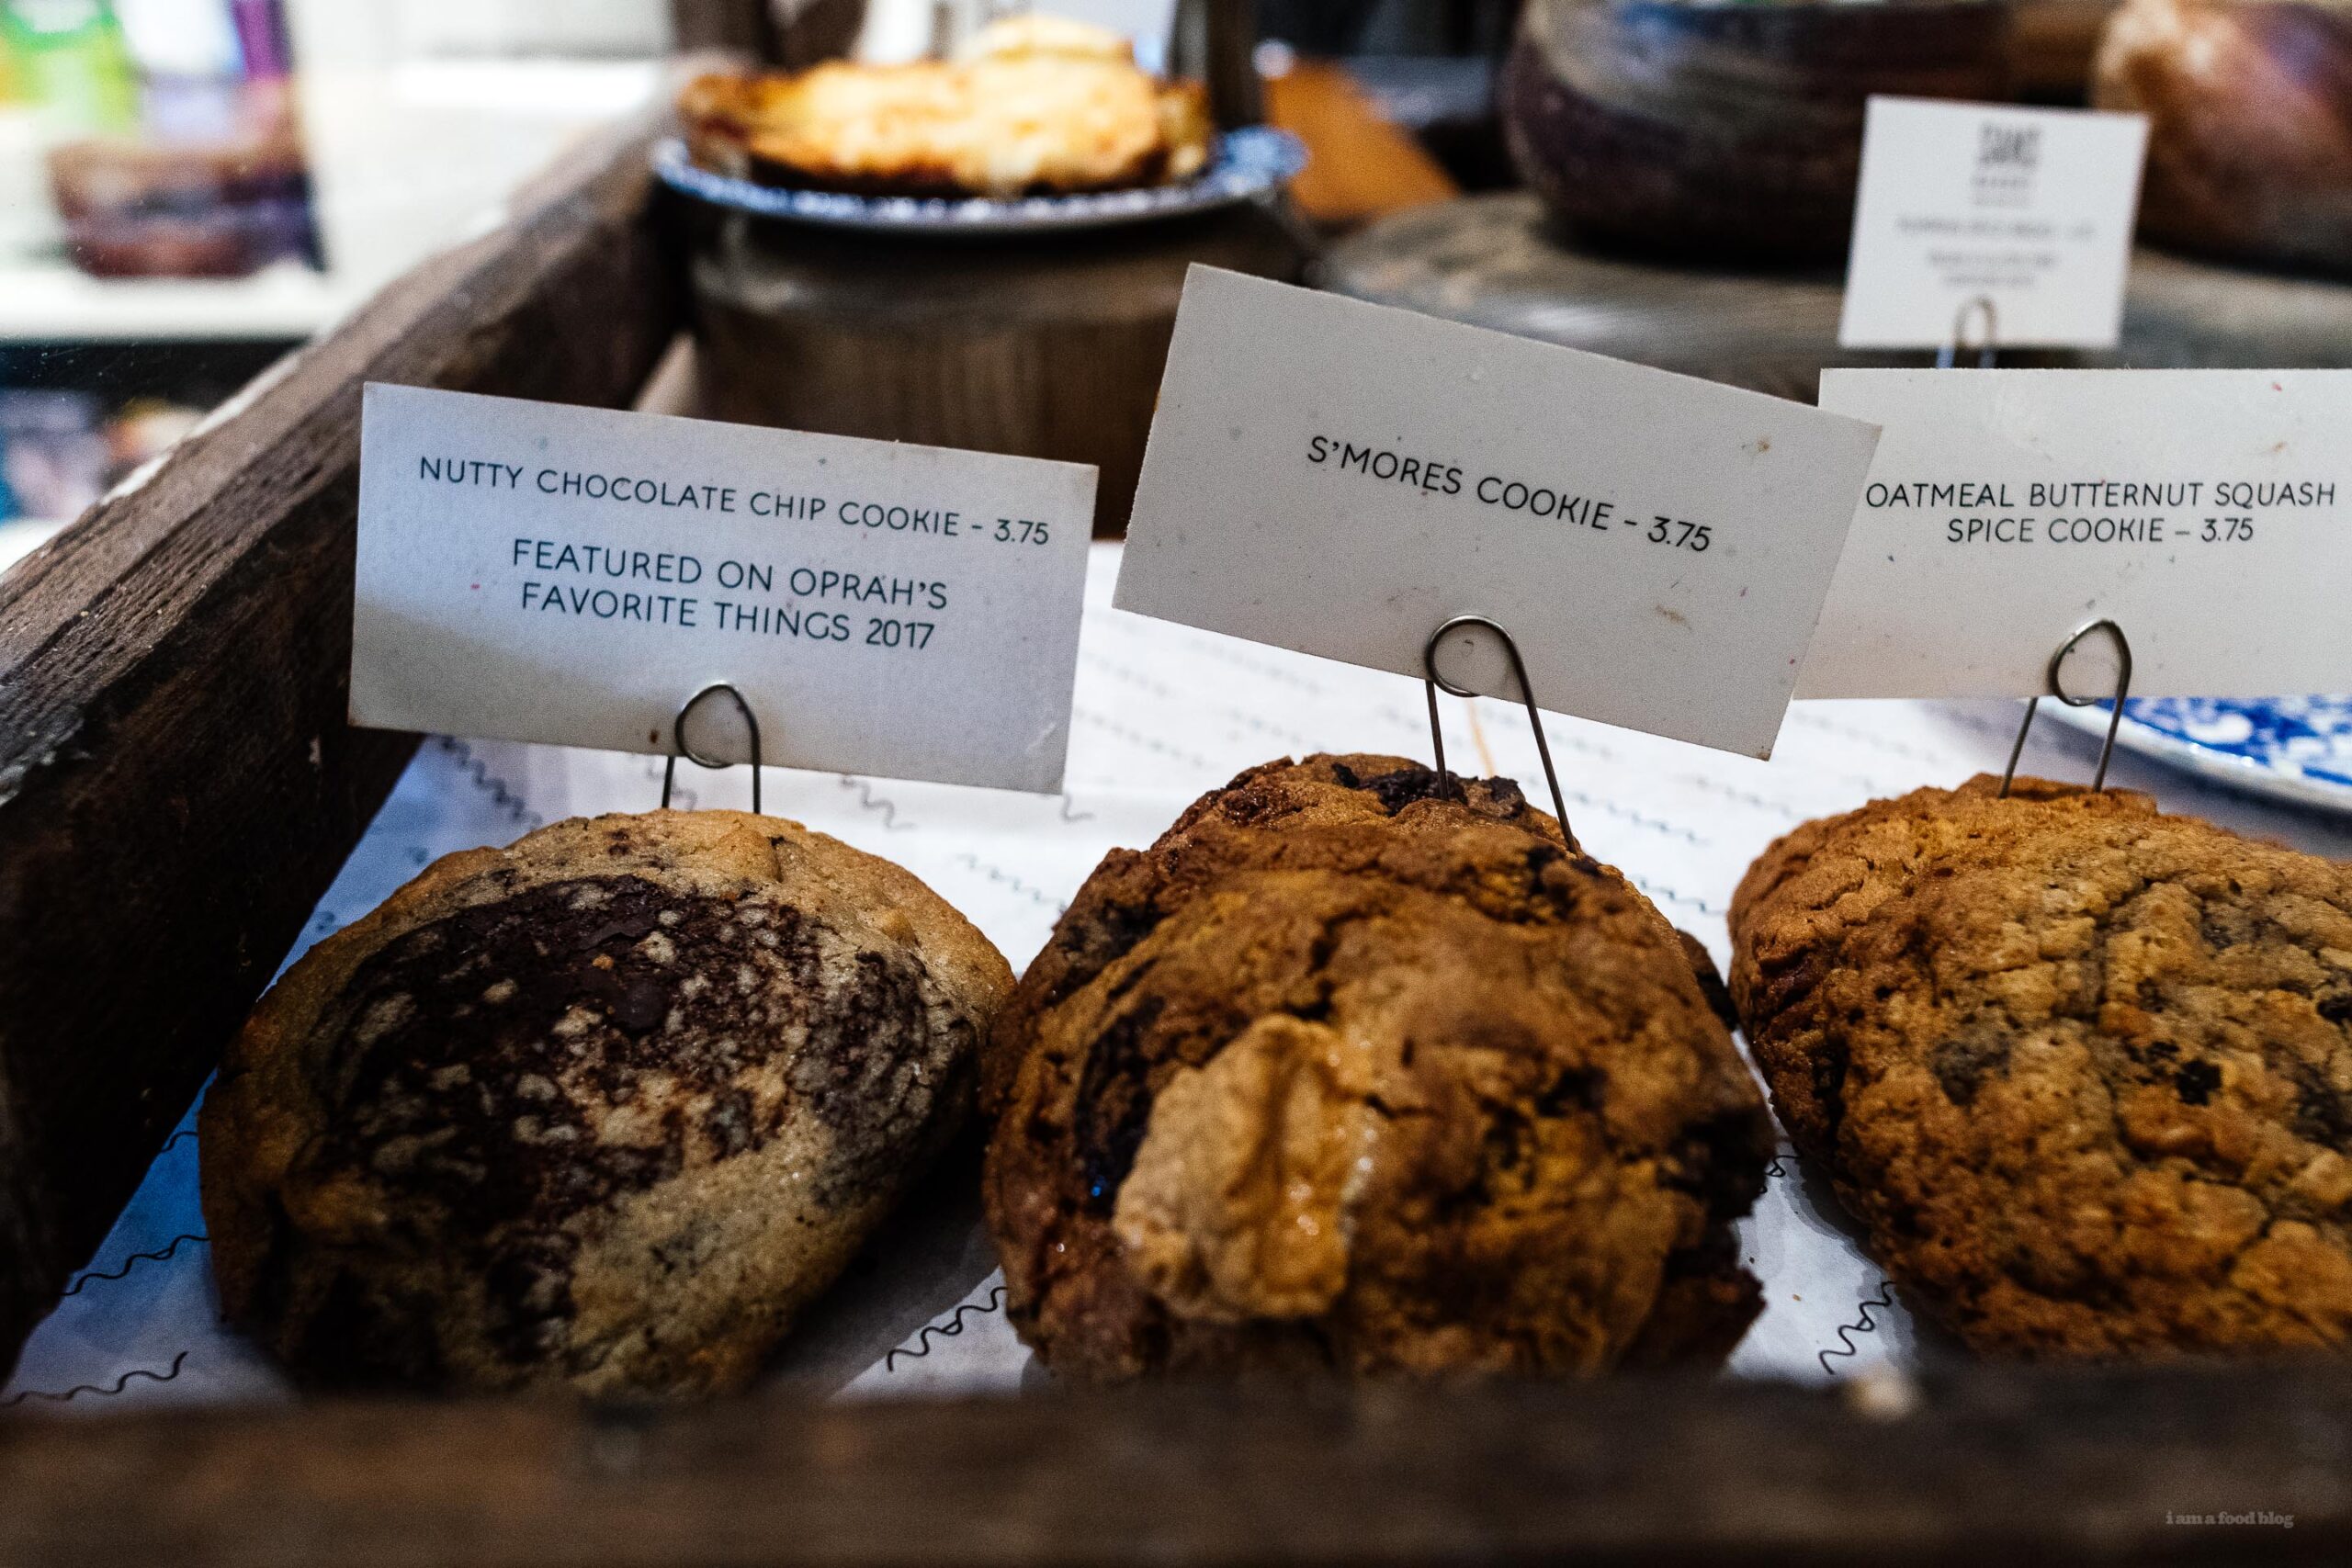
Bakery: Maman Date Eaten: 11/5/19 Cost: $3.75 Maman is one of Oprah’s favorite things so I had pretty high hopes. There are several Maman’s in the city, all selling chocolate chip cookies, so we went to one that was close to us, thinking that all the cookies would be consistent. The Maman we happened to be the closest to was in a Paper Source - kind of a cafe/stationary store concept. There were a couple of cookies the case, but when I ordered one, they pulled it from a warming tray. It was a good sign! The cookie was about 4 inches wide with a super thin edge to a medium-thick center. There were lots of crackles and lots of nuts, with giant bits of chocolate that looked like feves. It was dense and very chewy in the middle with very caramelized edges. Surprisingly, it wasn’t very sweet, which I kind of held against it because it didn’t really taste very chocolate chip cookie-y to me. It was kind of disappointing really because I had hyped it up in my mind but really, it was a DNF. Edge: 2.5/5 Middle: 3/5 Chocolate: 2.5/5 Cookie: 2.5/5 Taste: 2.5 Total: 13/25 Follow along as I search for the world’s best chocolate chip cookie: methodology, what makes a good cookie, and a list of all the cookies I’ve eaten, right here. [caption id="attachment_30568" align="alignnone" width="1450"] Maman's famous Chocolate Chip Cookie[/caption]
Read More →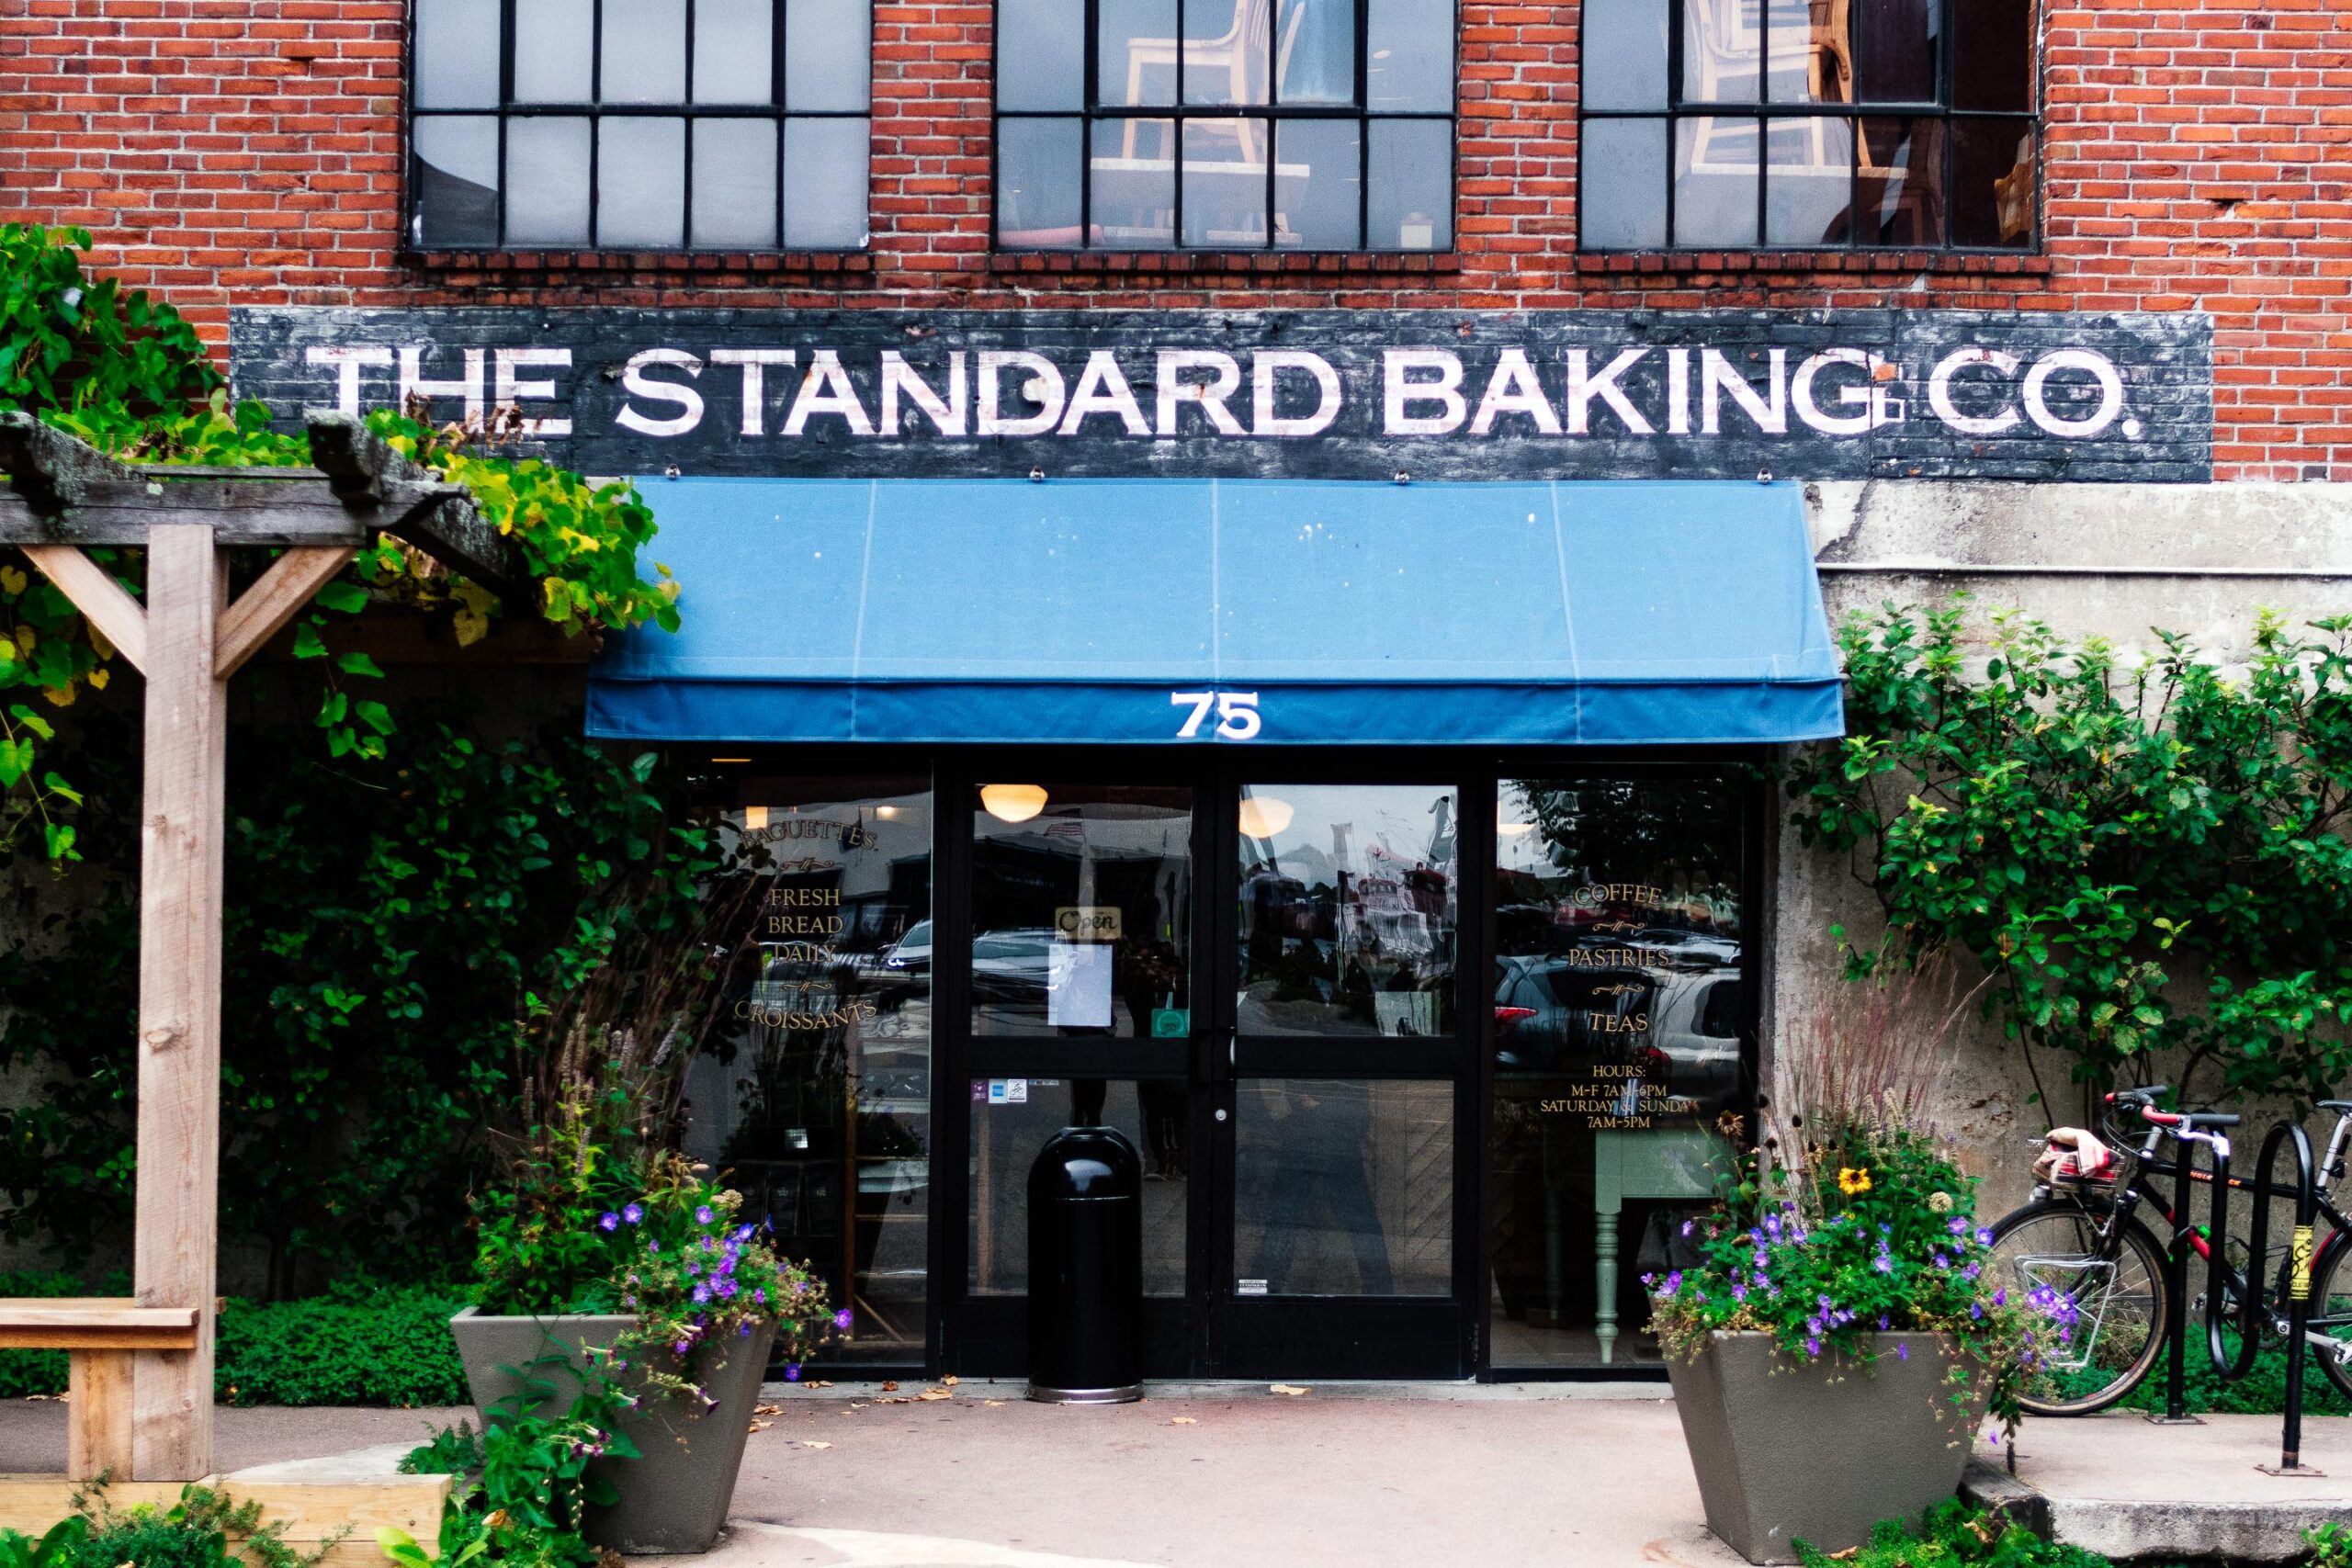
I Am... Chocolate Chip Cookie Review: Standard Bakery Co, Portland, Maine
Bakery: Standard Bakery Co, Portland, Maine Date Eaten: 10/10/19 Cost: $1.95 I heard that this was a really good cookie in Portland and when we got to the bakery I was excited because there was a little sign right next to the chocolate chip cookies that said “fresh from the oven!” When I got the cookie (popped into a wax bag) it felt just the slightest bit warm like it just came out of the oven about an hour ago. Things were feeling promising, but when I took the cookie out of the bag, it looked pretty average: lightly golden, without much chocolate and smooth, slightly crackly surface. It was a big cookie, about 4 inches and 3/4 inch thick in the middle. The edges were crisp with a good amount of caramelization, and the middle was thick and chewy, but also kind of had a slightly cakey texture with larger crumbs. Perhaps the most disappointing part of the cookie was the chocolate which was overly sweet without enough chocolate flavor. They were chunks, so that was slightly redeeming, but there definitely wasn’t enough of them. All in all, it was a DNF (did not finish) cookie for me. Edges: 3/5 Middle: 3/5 Chocolate: 2/5 Cookie: 2.5/5 Taste: 2.5/5 Total: 13/25 Follow along as I search for the world’s best chocolate chip cookie: methodology, what makes a good cookie, and a list of all the cookies I’ve eaten, right here. [caption id="attachment_30569" align="alignnone" width="1450"] Standard Baking Co's famous Chocolate Chip Cookie[/caption]
Read More →
I Am... Chocolate Chip Cookie Review: Flour Bakery, Boston, Massachusetts
Bakery: Flour Bakery, Boston, Massachusetts Date Eaten: 10/13/19 Cost: $2.50 Flour Bakery is pretty famous in Boston. Bostonians love Joanne Chang’s baked goods, especially her banana bread. But in the literal state birthplace of chocolate chip cookies, how does hers hold up? Surprisingly well! Chang based her cookie off the classic Tollhouse and it has that same flavor, homey and sweet, but with a few twists. The cookie was on the thinner side, but thicker than a Tollhouse, maybe about 1/3 of an inch thick and about 3.75 inches wide. There were large chunks of milk and semi-sweet chocolate and the edges were more on the soft side rather than crisp. The middle was chewy and fudgy and there were distinct rings of texture, where the edges were a bit more caramelized and the middle more pale with those ripples that cookie fanatics on Instagram love. There was a nice light brown sugar flavor and it wasn’t too sweet or salty. I loved and finished it! Edge: 3.5/5 Middle: 3.5/5 Chocolate: 3.5/5 Cookie: 3.5/5 Taste: 4/5 Total: 18/25 Follow along as I search for the world’s best chocolate chip cookie: methodology, what makes a good cookie, and a list of all the cookies I’ve eaten, right here. [caption id="attachment_30564" align="alignnone" width="1450"] Flour Bakery's famous Chocolate Chip Cookie[/caption]
Read More →
I Am... Chocolate Chip Cookie Review: Jacques Torres, NYC
Bakery: Jacques Torres Date Eaten: 11/6/19 Cost: $3.50 This is the chocolate chip cookie that kind of propelled chocolate chip cookies into a fancier, not just a cookie that mom bakes after school category. There’s a 24 hour resting period and two kinds of chocolate feves. It’s not really on many people’s NYC chocolate chip cookie radar anymore because of Chip and Levain but it was a really really good cookie: I loved it. They keep them on a cake stand so it’s pretty obvious that they aren’t warm and to be honest, they aren’t that pretty, but it has a depth of flavor to it that a lot of other chocolate chip cookies don’t have. The cookie was very flat with a lot of crackles and an even color throughout. It was HUGE: crispy and chewy and but very much the same texture throughout with almost no differentiation between the edges and middle. Maybe the edges were just the tiniest bit crispier. By no means was this a soft and tender cookie, probably due to the fact that it’s made with bread flour. There were large disks of chocolate that weren’t melty but weren’t solid either. The flavor was almost perfect, not too sweet and very balanced with a distinctive caramelized brown sugar flavor. This was my favorite of the NYC cookies! Edge: 2.5 Middle: 2.5 Chocolate: 3 Cookie: 3.5 Taste: 3.5 Total: 17/25 Follow along as I search for the world’s best chocolate chip cookie: methodology, what makes a good cookie, and a list of all the cookies I’ve eaten, right here. [caption id="attachment_30566" align="alignnone" width="1450"] Jacques Torres's famous Chocolate Chip Cookie[/caption]
Read More →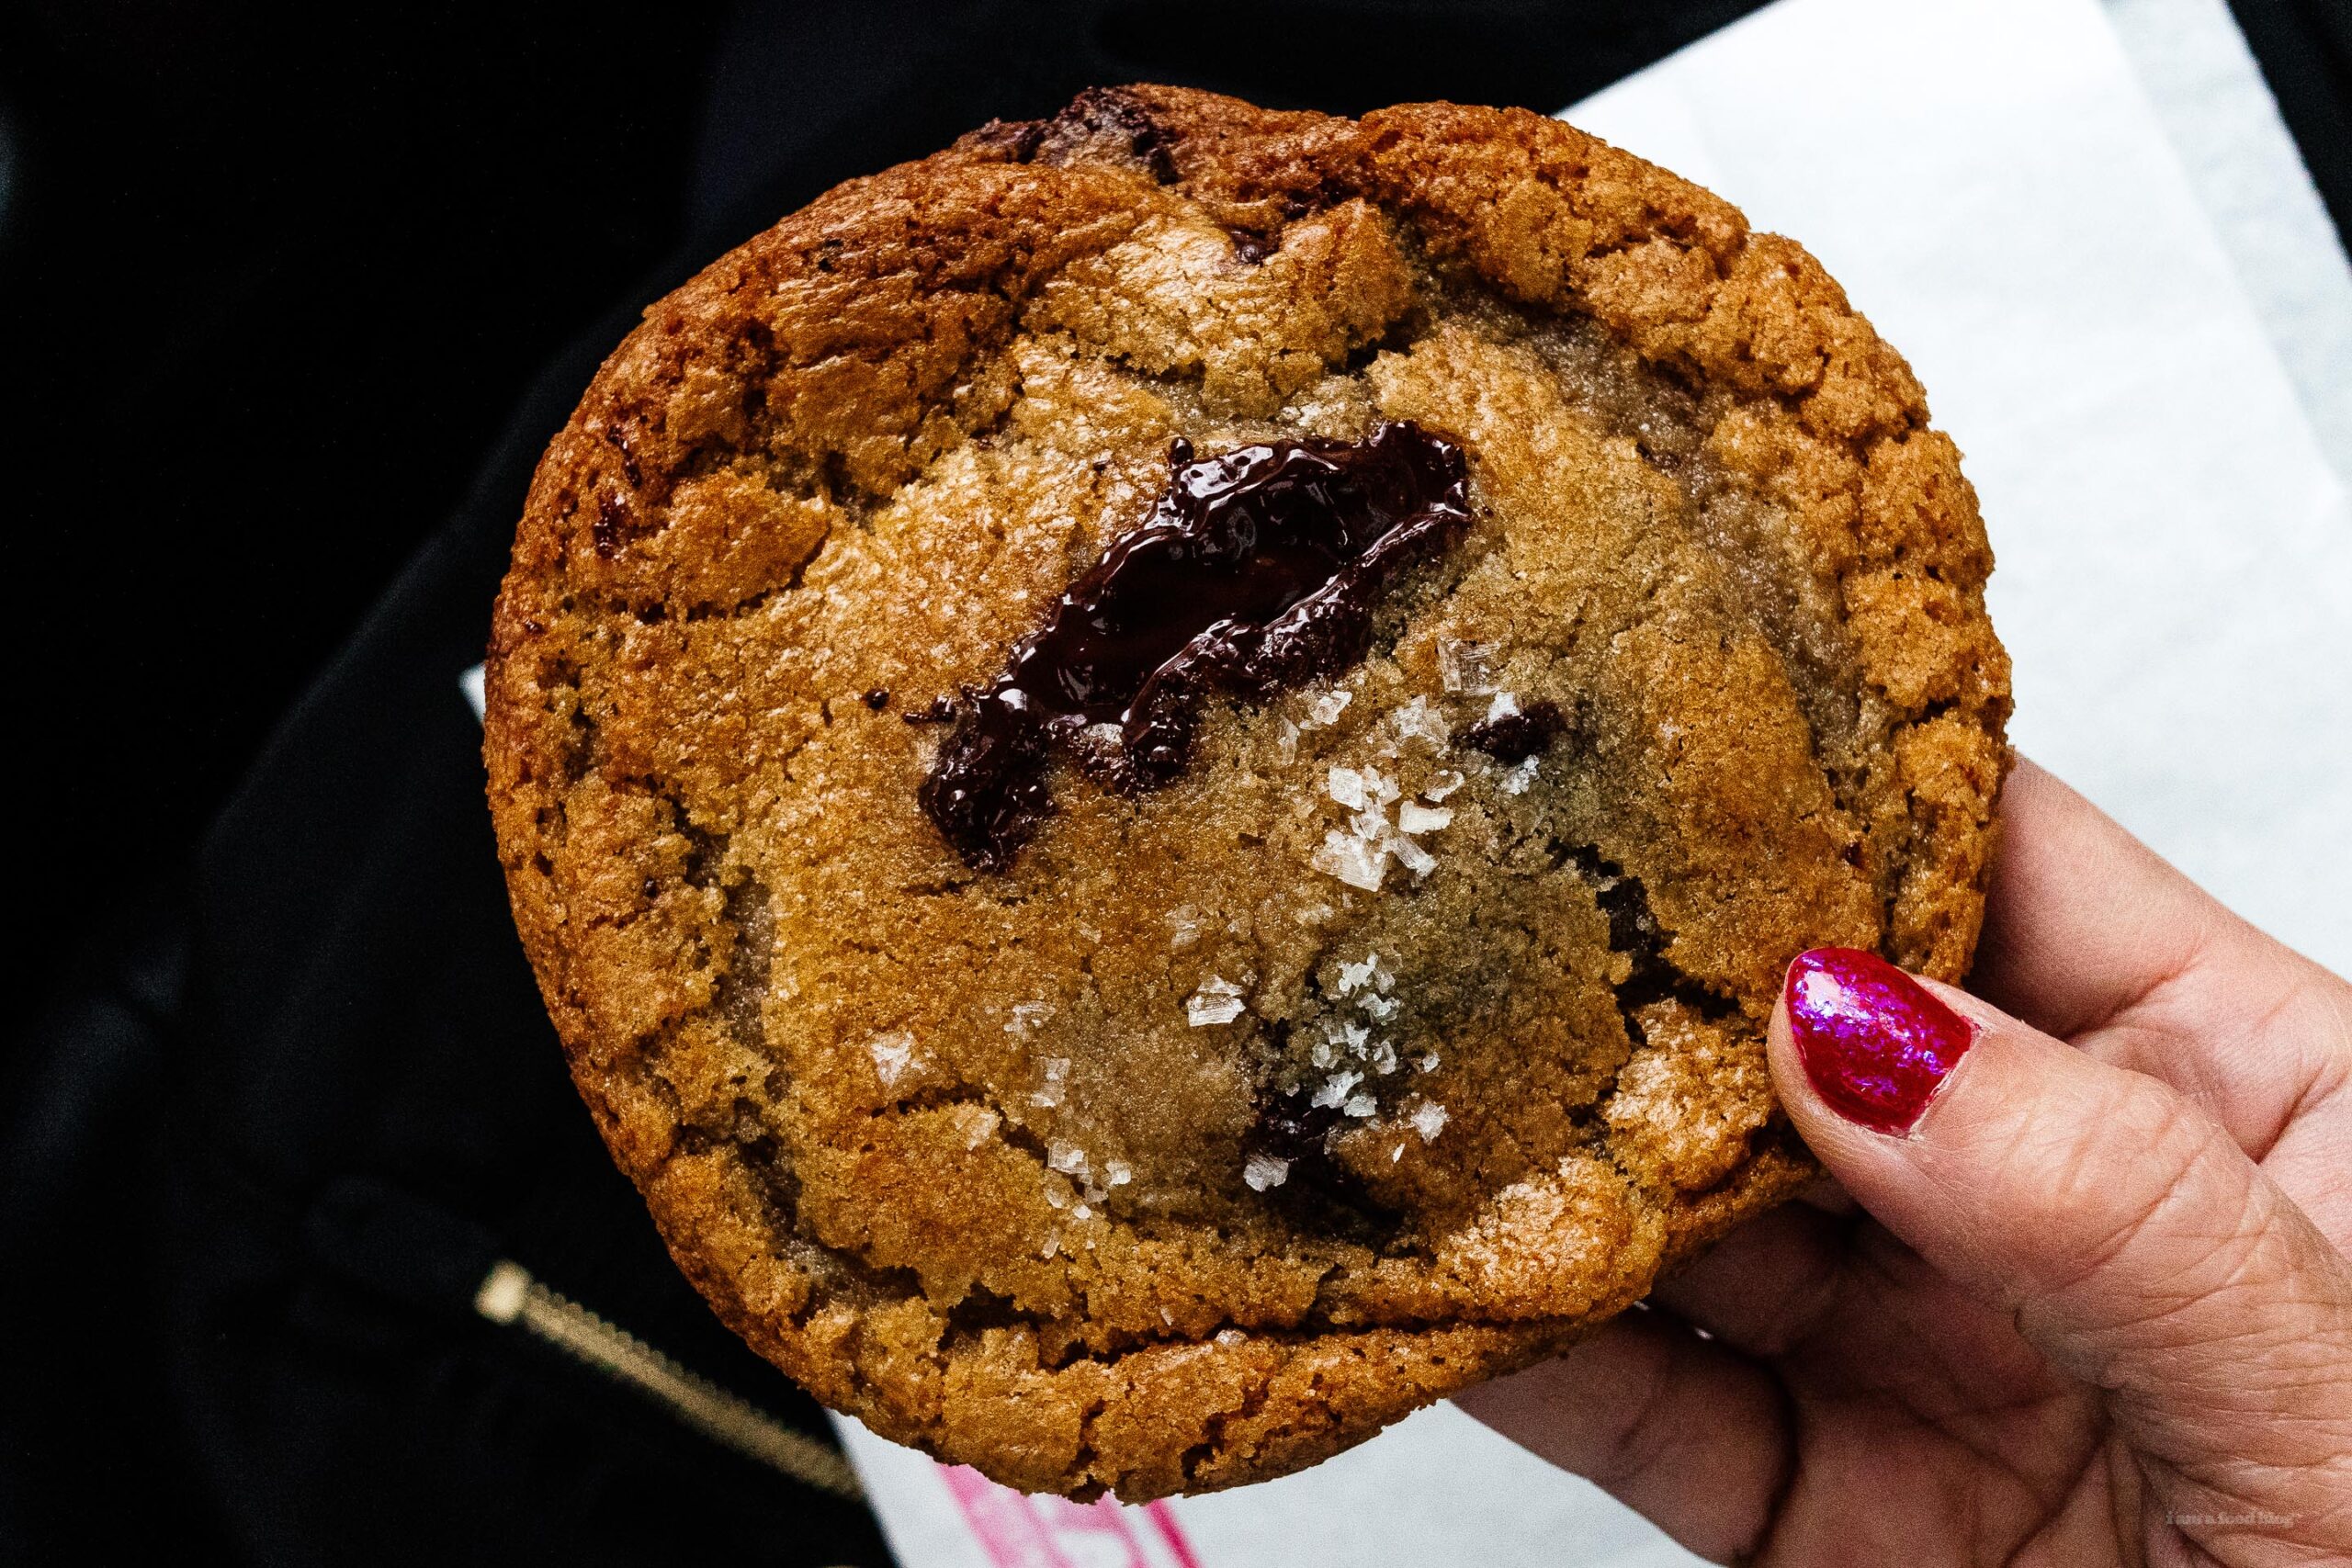
I Am... Chocolate Chip Cookie Review: Slab Sandwiches and Pie, Seattle, Washington
Bakery: Slab Sandwiches and Pie, Seattle, Washington Date Eaten: 12/10/19 Cost: $3.50 When I did a quick internet search for the best chocolate chip cookie in Seattle, a lot of sites pointed me to Slab. They’re a sandwich shop but they make fresh cookies everyday, but are only open from 11-2 so plan accordingly. When I got my cookie it wasn’t warm but still pliable from the oven with the pools of chocolate glossy and melted. This was a giant, thin cookie with crisp caramelized ridged edges with a distinct golden brown edge and a slightly paler middle that had the best kind of chew. Many crackles and a generous amount of flaky sea salt sprinkled on top to contrast the sweetness. The chocolate was almost perfect: stratified in thin layers throughout and melty without being drippy. The texture was also almost perfect with that just right chewy almost underdone but in a way. Everything came together to taste like what you think a chocolate chip cookie should taste like, at least to me. A very very good cookie, both straight from the case, and a couple hours later after sitting in a cold car. 10/10 would recommend. Edges: 4/5 Middle: 3.5/5 Chocolate: 4/5 Cookie: 4/5 Taste: 4/5 Total: 19.5/25 Follow along as I search for the world’s best chocolate chip cookie: methodology, what makes a good cookie, and a list of all the cookies I’ve eaten, right here. [caption id="attachment_30570" align="alignnone" width="1450"] Slab's famous Chocolate Chip Cookie[/caption]
Read More →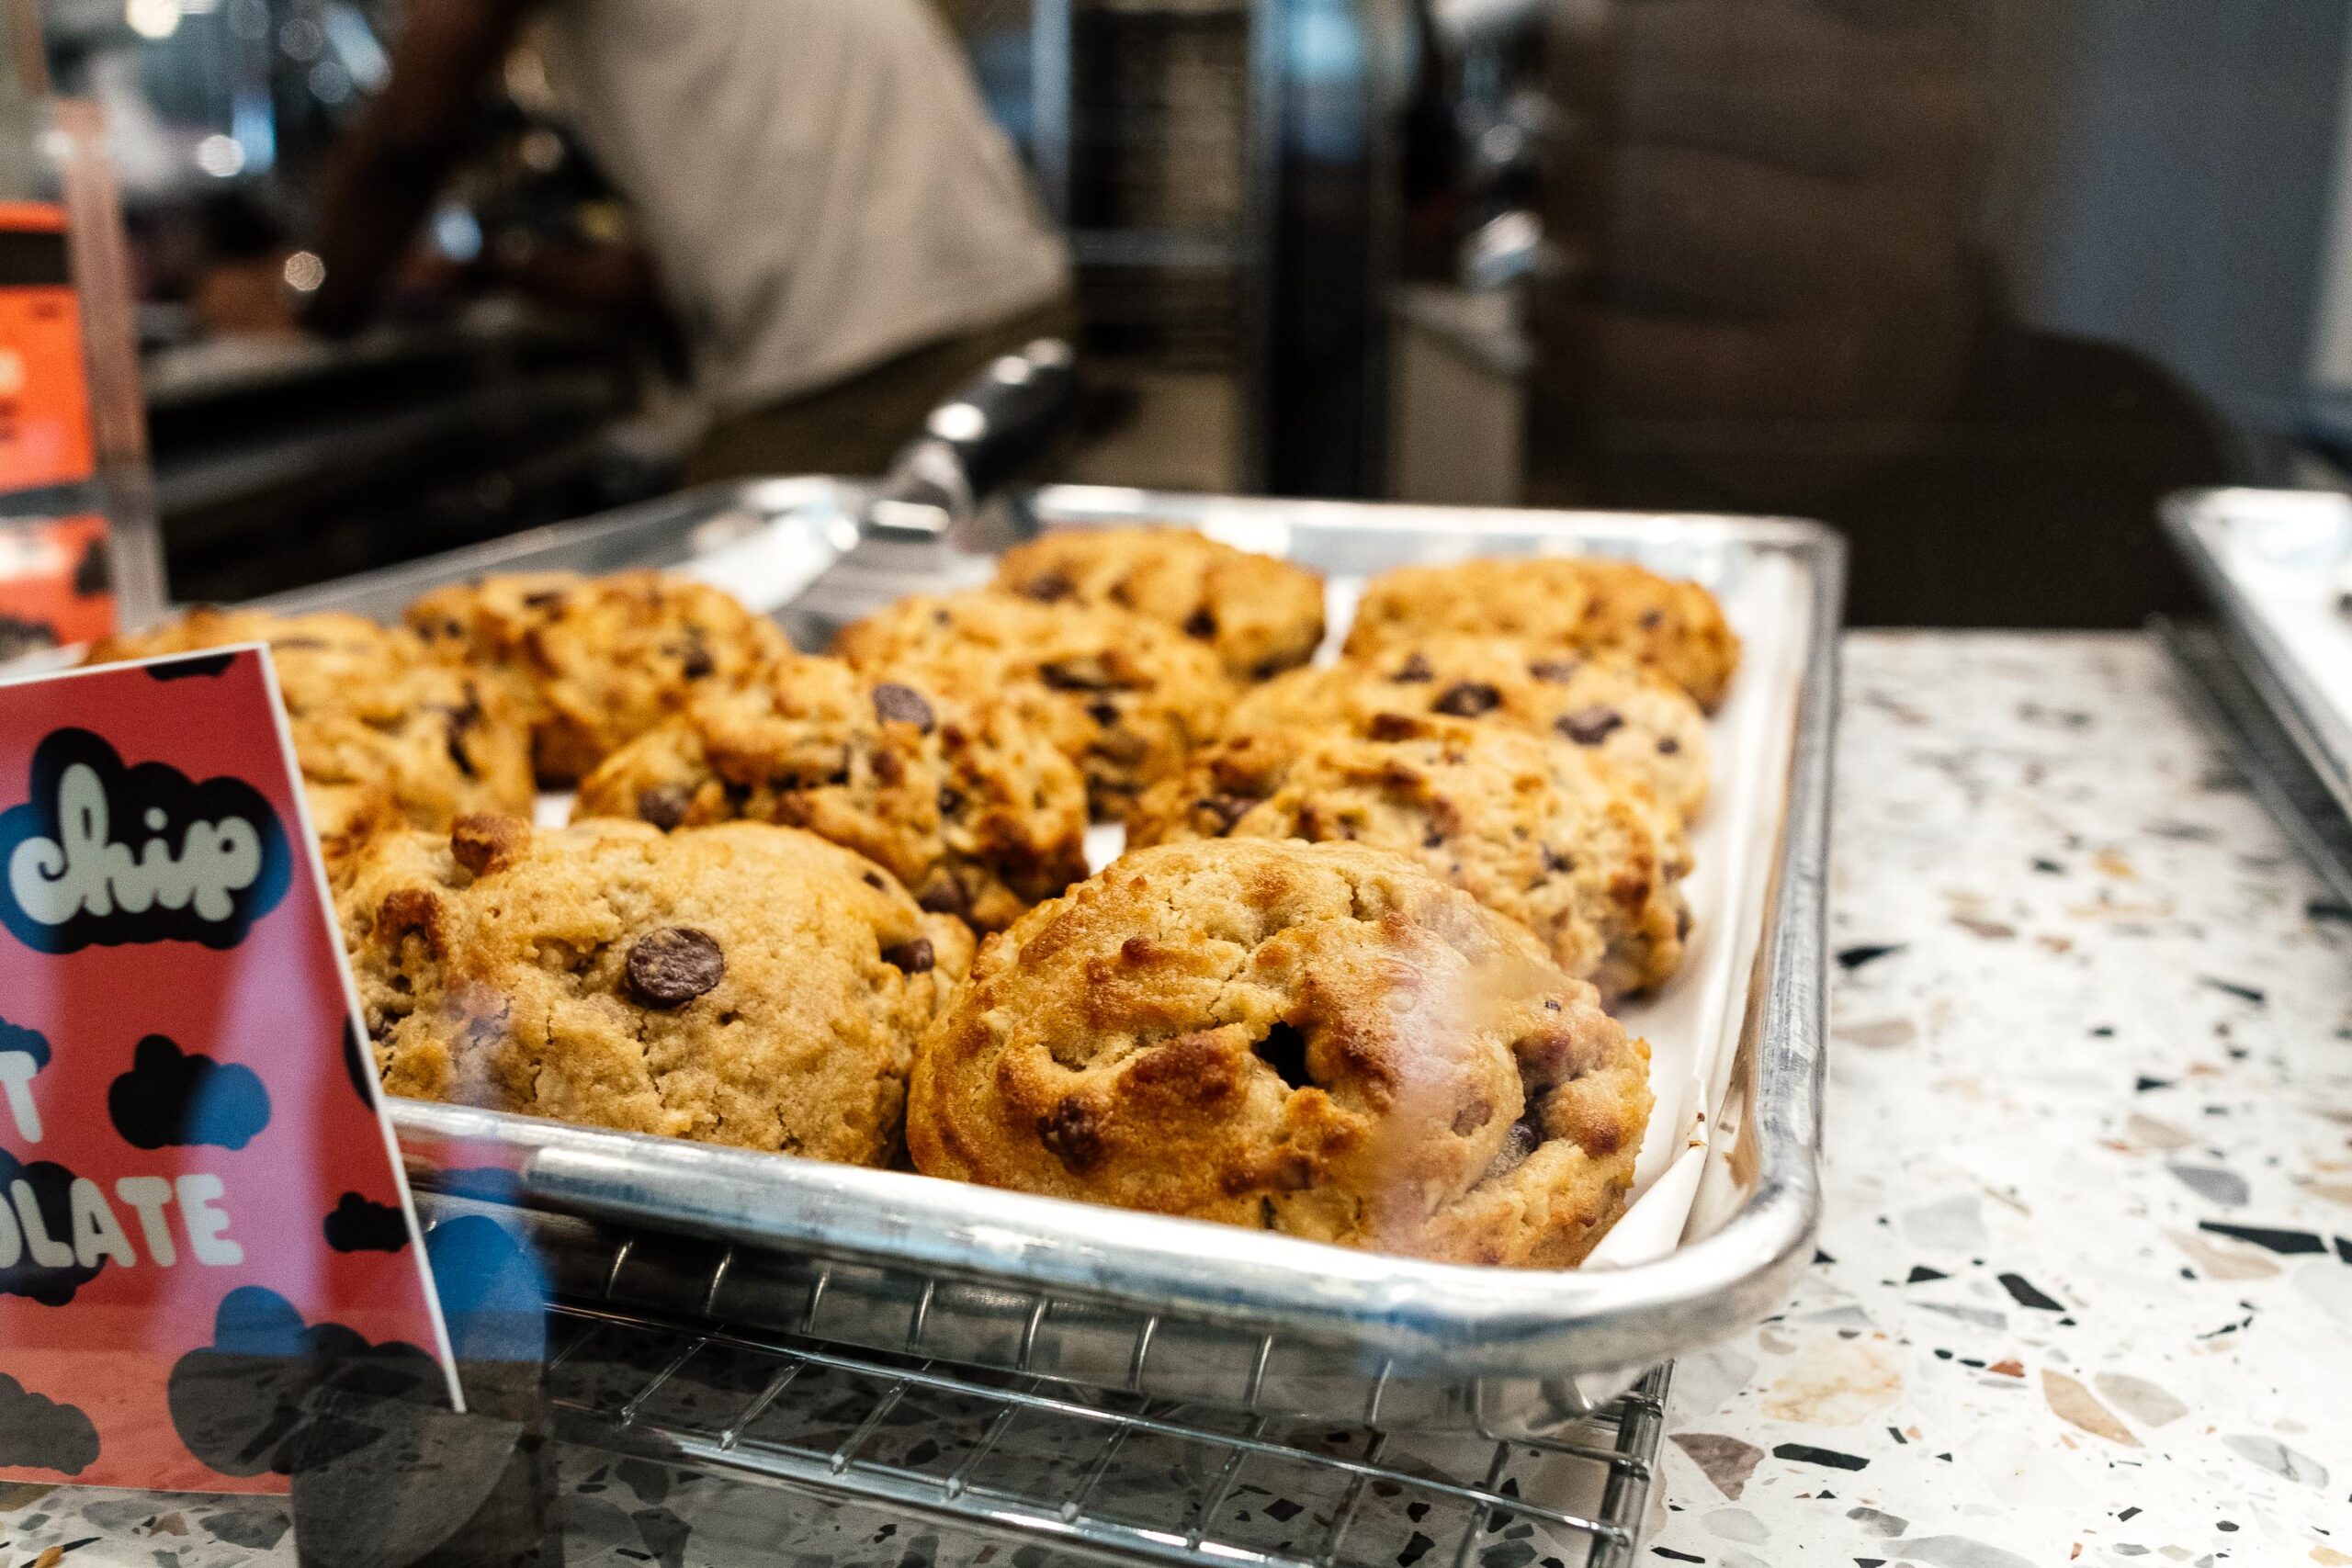
I Am... Chocolate Chip Cookie Review: Chip, NYC
Bakery: Chip Date Eaten: 11/6/19 Cost: $3.50 Chip has been all over the internet with it’s crazy fun flavors (blueberry cheesecake, nutella sea salt, oatmeal apple pie) and crazy out the door line ups. They’re Queen’s answer to Manhattan’s Levain and they didn’t come to play. Huge scone like perfectly cookie scooped cookies that look like they didn’t change their shape at all in the oven. Super tall, I’m talking almost 1 inch in height and about 3.5 inches all around. There were a bunch of chocolate chips and they were large, but definitely chocolate chips and not chopped chocolate, chunks, disks or feves. A very light cookie with just a few small cracks. All the cookies at Chip are served warm and it’s definitely how they should be eaten. The edges were crisp but the inside was a touch too dry but also kind of melty. If you like shortbread, this is a good cookie for you, but it’s also kind of one note and sweet. I thought it would be gooey-er on the inside so maybe I just got a bunk one? All in all, this was a disappointing cookie :( Edge: 2.5 Middle: 2 Chocolate: 2.5 Cookie: 2.5 Taste: 2.5 Total: 12/25 Follow along as I search for the world’s best chocolate chip cookie: methodology, what makes a good cookie, and a list of all the cookies I’ve eaten, right here. [caption id="attachment_30561" align="alignnone" width="1450"] Chip NYC's famous Chocolate Chip Cookie | www.iamafoodblog.com[/caption]
Read More →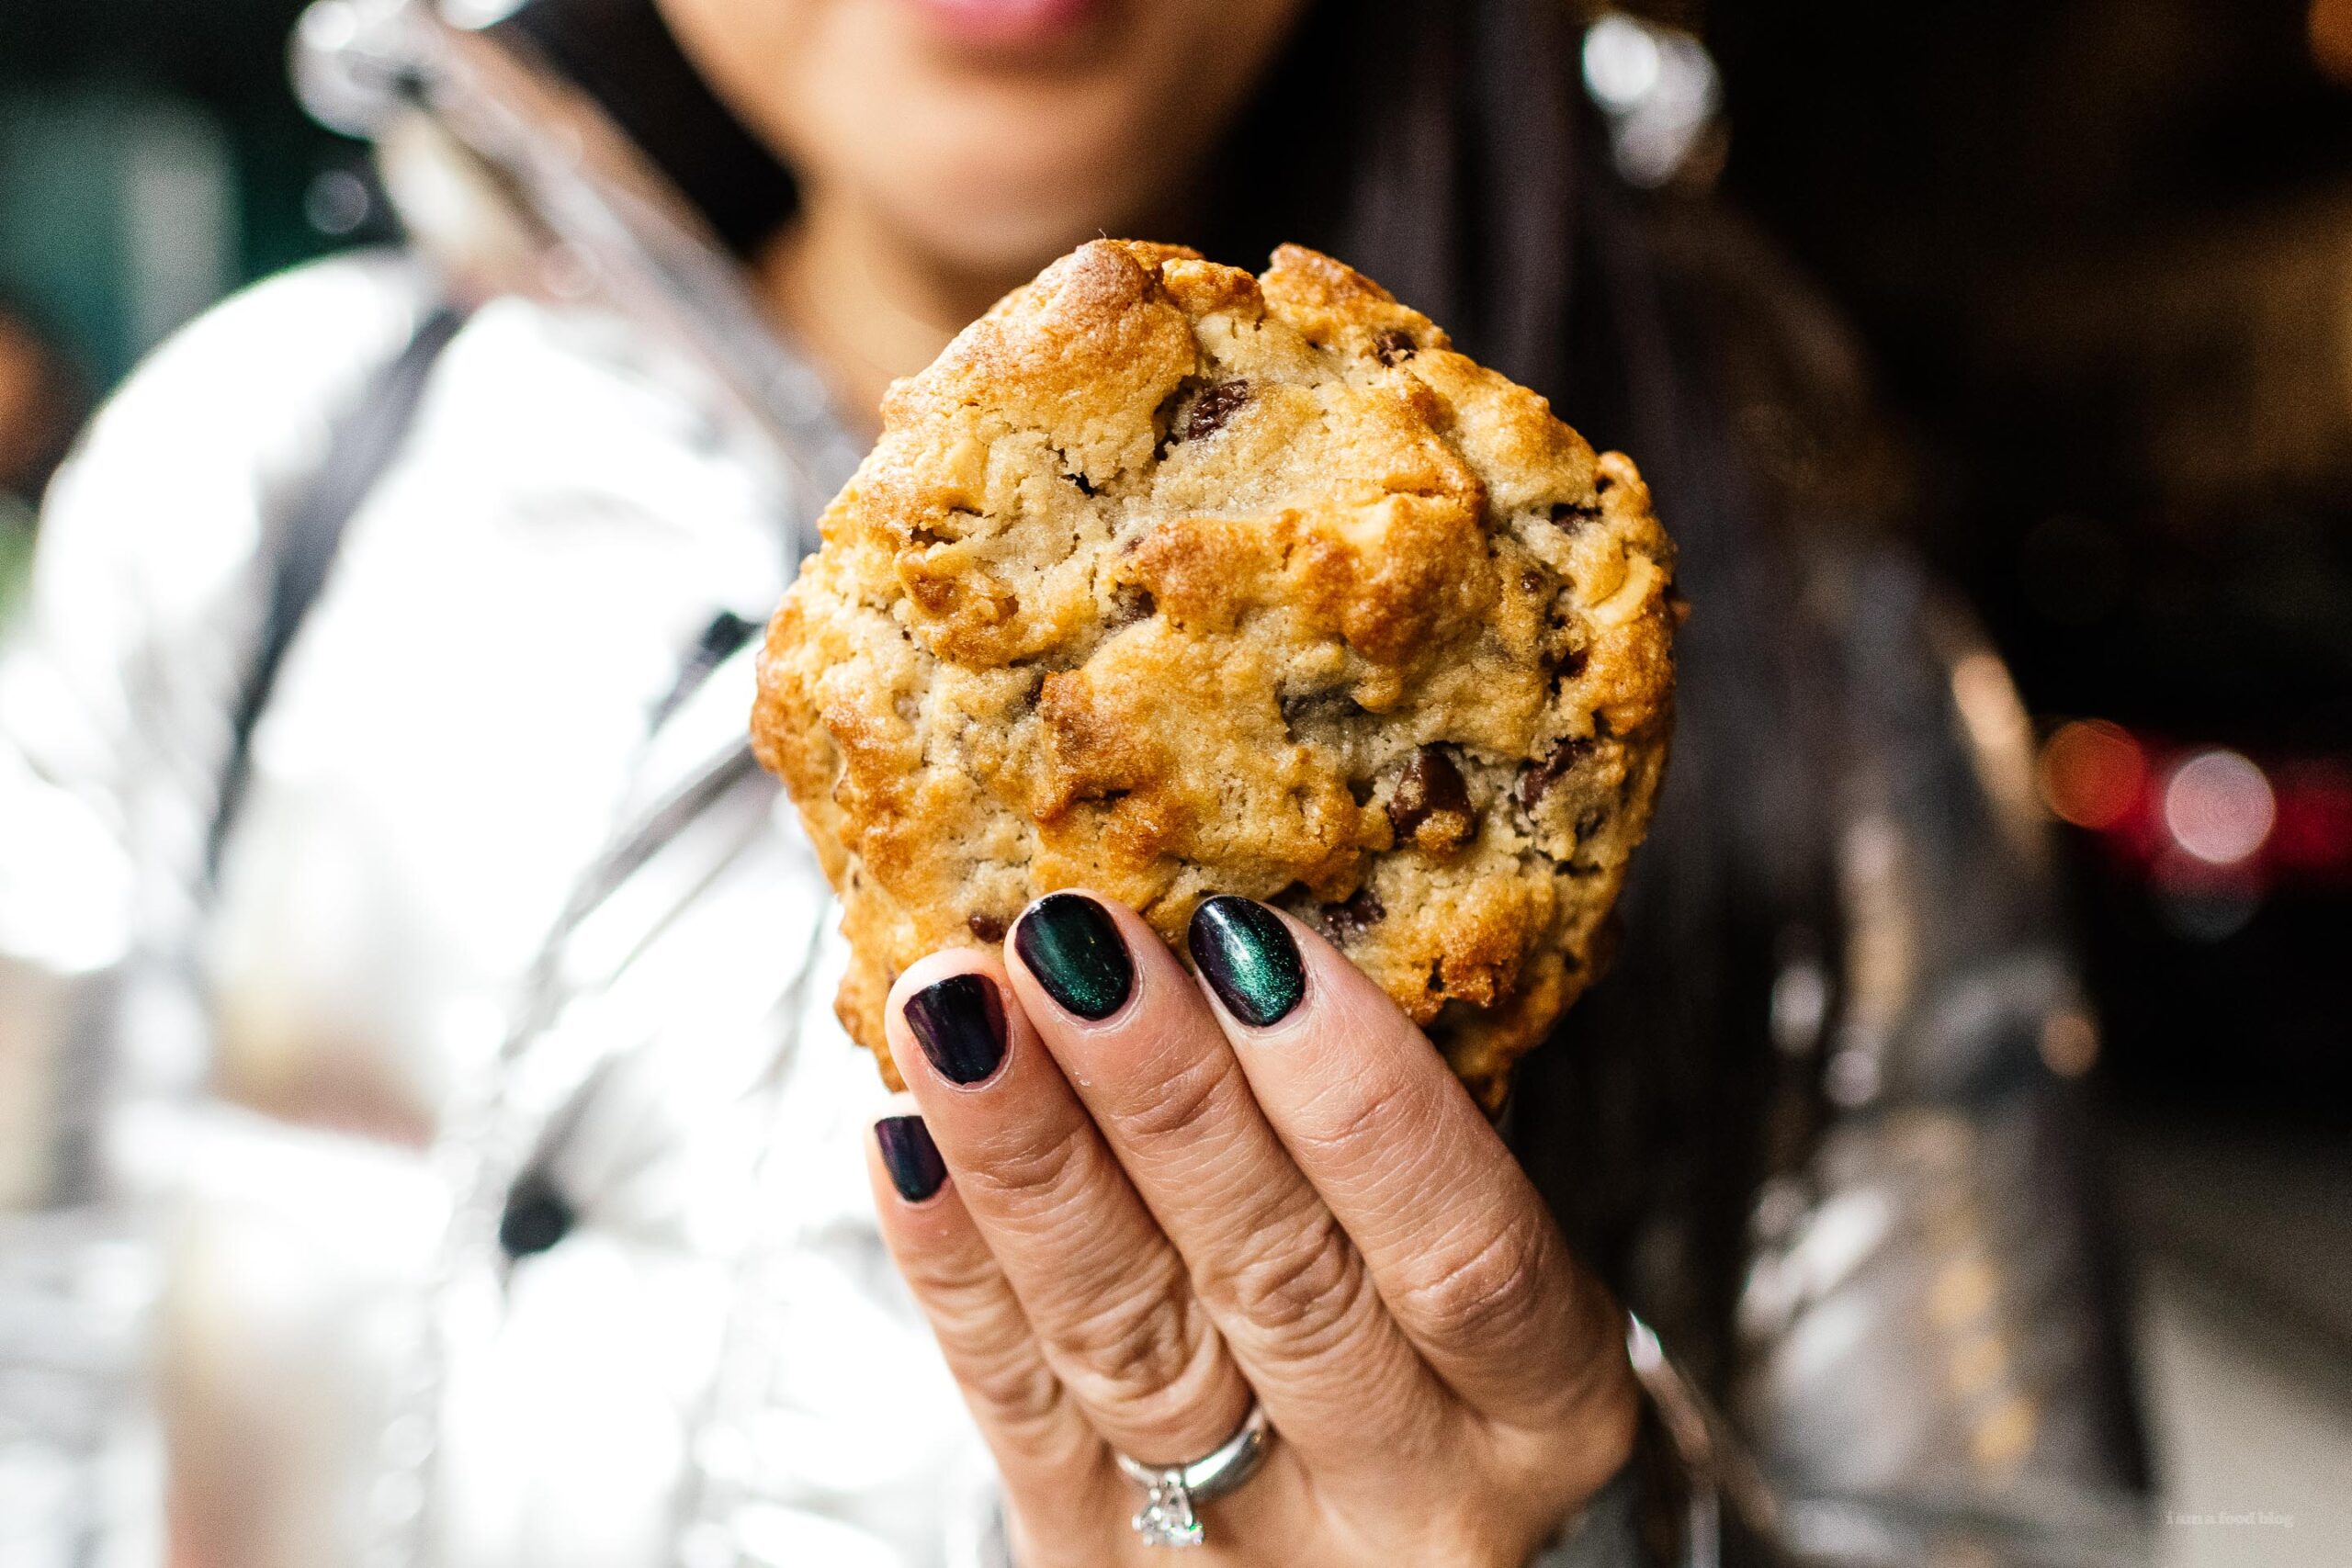
I Am... Chocolate Chip Cookie Review: Levain, NYC
Bakery: Levain Date Eaten: 11/6/19 Cost: $4 Levain, Levain, Levain. It almost needs no introduction. If you’re even mildly into food and you tell people you’re going to NYC they will inevitably ask, are you going to that cookie place?! That cookie place in question is Levain of course. They sky rocketed to crazy cookie popularity partly in thanks to Instagram and partly due to their very large 6 ounce cookies. This is a big, big cookie, irregularly shaped with lots of craggles and small cracks. Still, it was actually a touch smaller than Chips, mostly in height, probably becuase their dough slumped more in the oven. The signature chocolate chip cookie has walnuts in it, which is not something I’m a fan of, but I think they helped with the texture and monotony. The chocolate was regular semi sweet chips, nothing to write home about. The cookies are served very slightly warm, with very crispy edges. The inside of the Levain cookie was far superior to Chip: gooey and chewy with a good flavor, if not a touch underbaked. If you like an underbaked cookie, this is the cookie for you. Definitely eat it warm because after it cools off it’s not worth the calories. Edge: 2.5 Middle: 3.5 Chocolate: 2.5 Cookie: 2.5 Taste: 2.5 Total: 13.5/25 Follow along as I search for the world’s best chocolate chip cookie: methodology, what makes a good cookie, and a list of all the cookies I’ve eaten, right here. [caption id="attachment_30567" align="alignnone" width="1450"] Levain's famous Chocolate Chip Cookie[/caption]
Read More →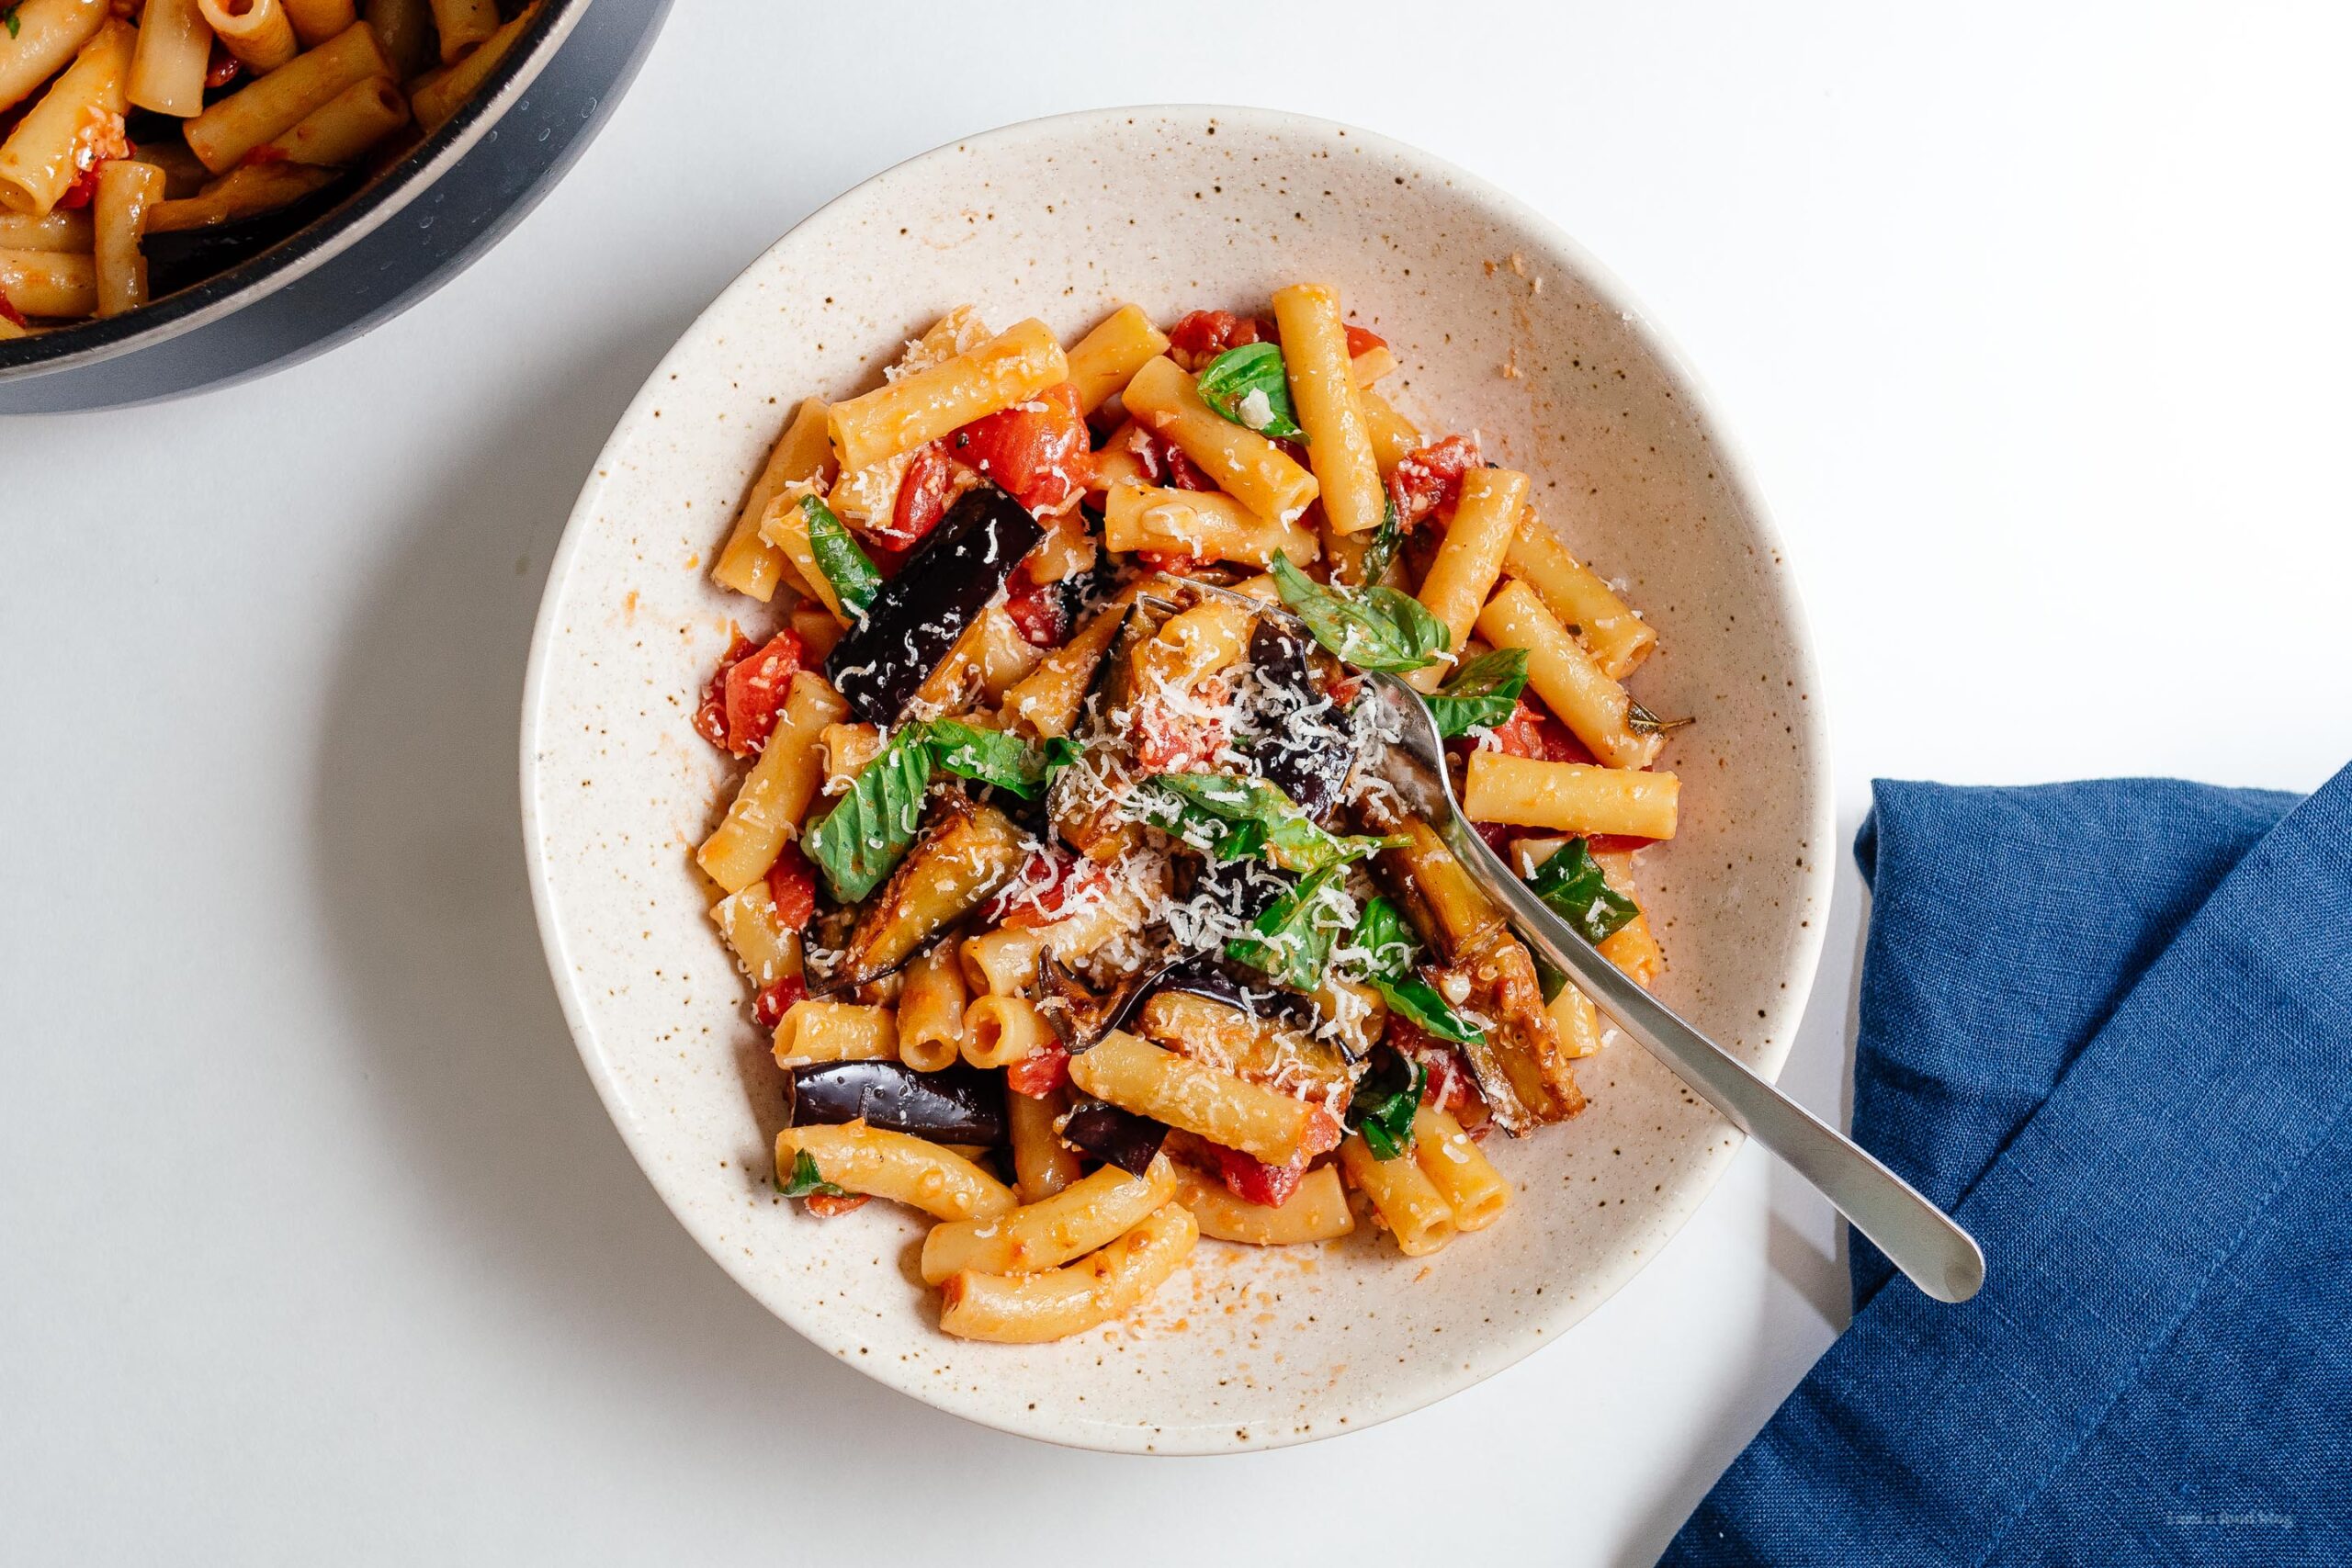
I Am... Ziti alla Norma aka Eggplant and Tomato Pasta
The last few days have been exceptionally sunny and it’s making me hopeful for spring! I love winter, but I can’t wait to stop layering and not need to have my puffy coat. In an effort to remind me even more of warmer days, I made ziti alla norma because eggplants remind me of summer.
Read More →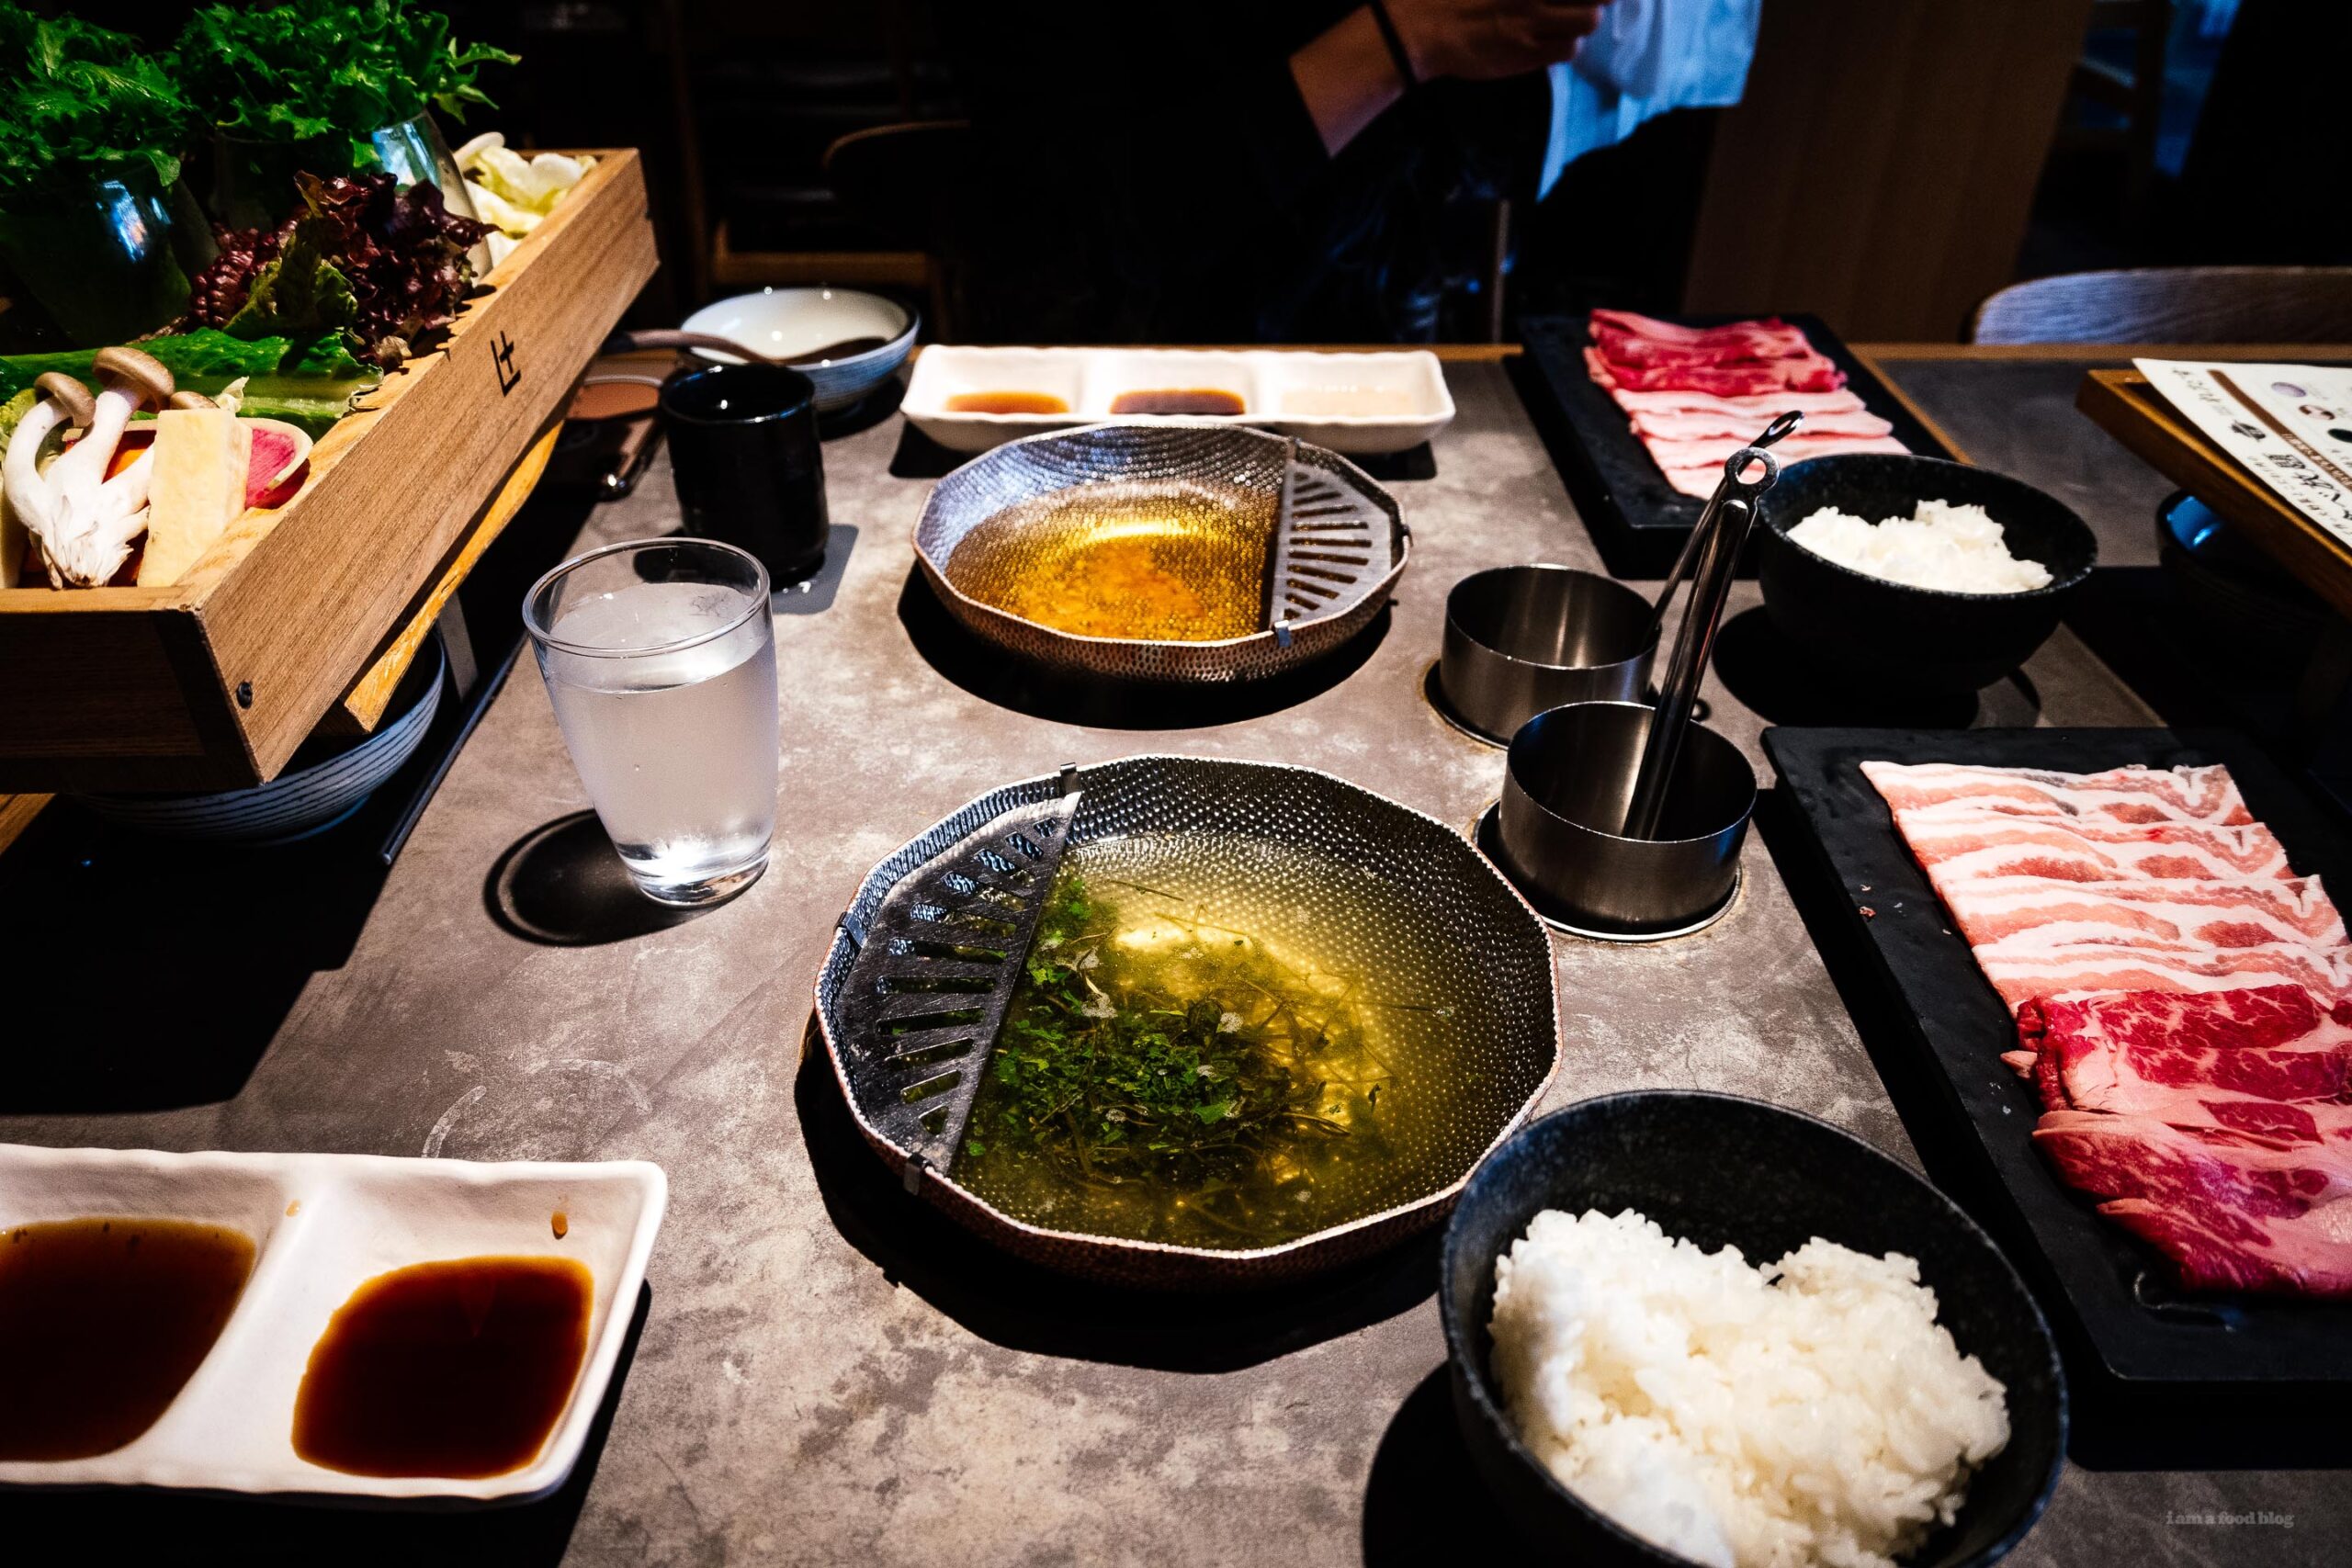
I Am... Where to Eat Modern Affordable Shabu Shabu in Tokyo
Shabu shabu, or Japanese hot pot, is a classic dish of thinly sliced meats and fresh vegetables simmered in broth and served with a bunch of dipping sauces. Much like Chinese hot pot, everything is cooked piece by piece at the table.
Read More →
I Am... Garlicky Brown Butter Mushroom Risotto
I am creamy, I am umami filled, I am Garlicky Brown Butter Mushroom Risotto!
Read More →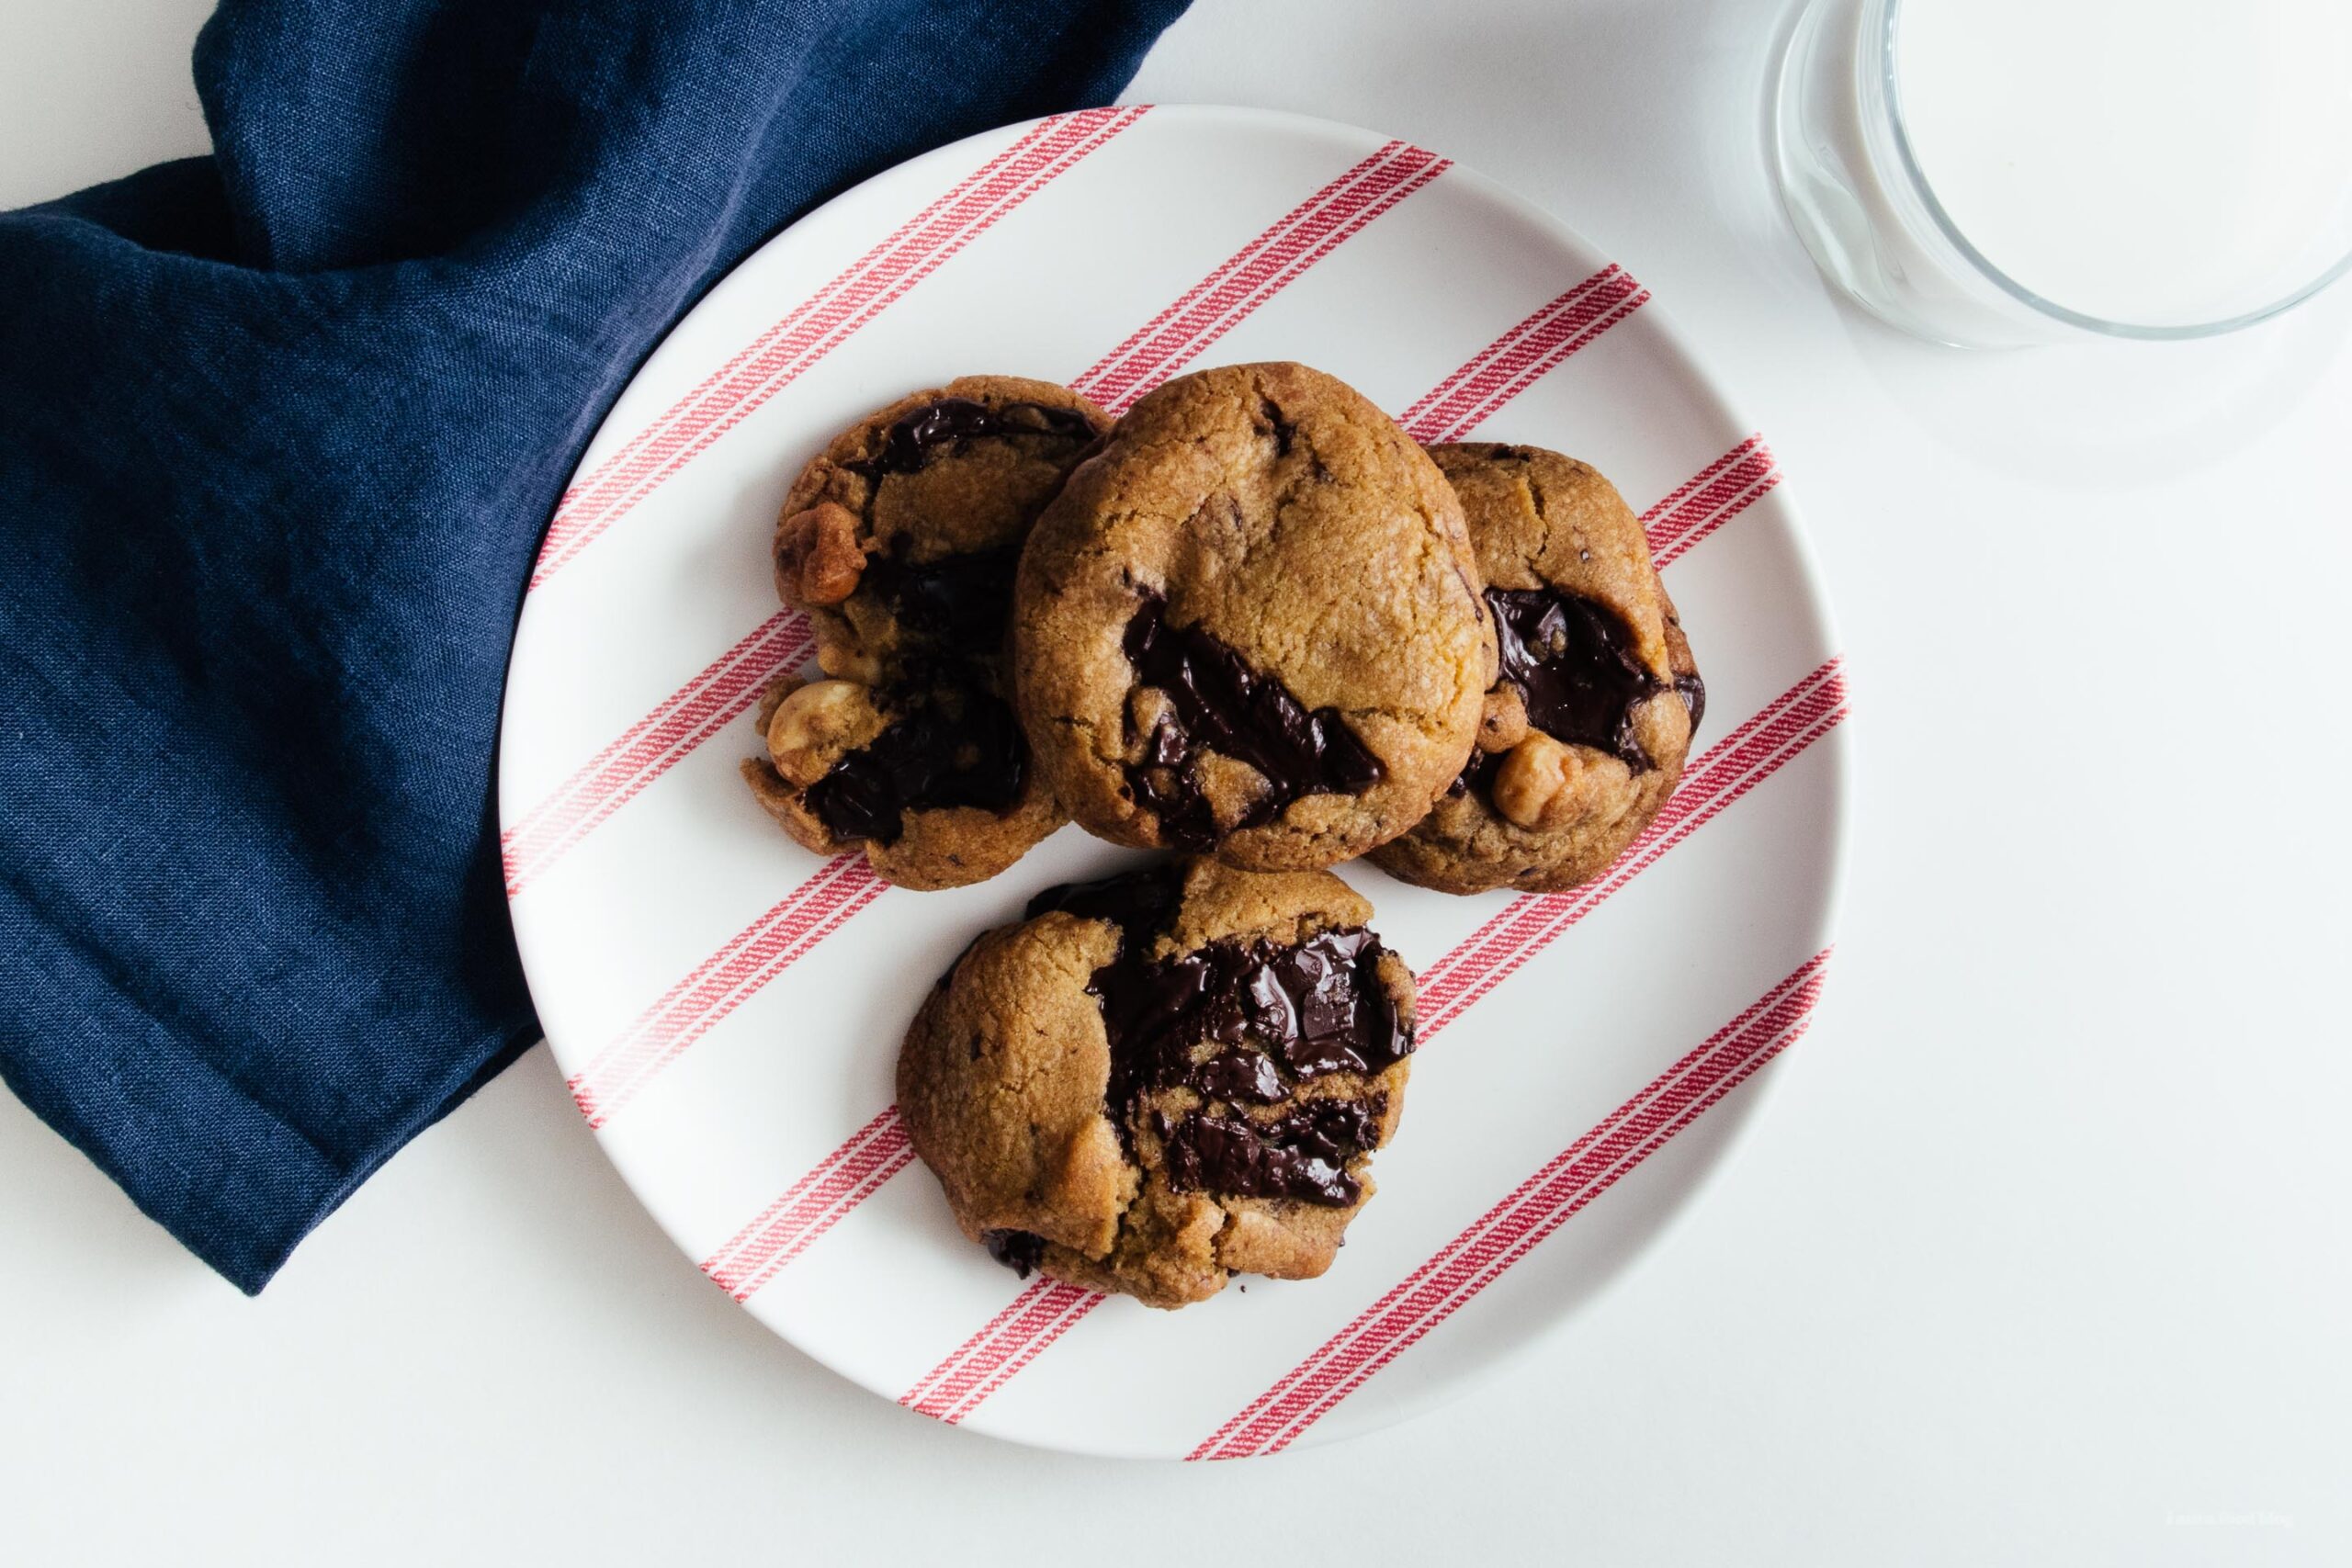
I Am... Brown Butter Macadamia Nut Dark Chocolate Chip Cookie Recipe
I have been on a quest for really, really good chocolate chip cookies. I tried all of the ones in NYC that everyone loves (post is written, coming up soon once the photos are done!) and I’ve been sampling the random chocolate chip cookies I’ve been seeing here and there in Tokyo, but there’s something about homemade that beats out store bought. Unless the store bought is amazingly good. Anyway, I made these brown butter macadamia nut dark chocolate chip cookies back while we were at home and they were everything I wanted in a macadamia nut chocolate chip cookie.
Read More →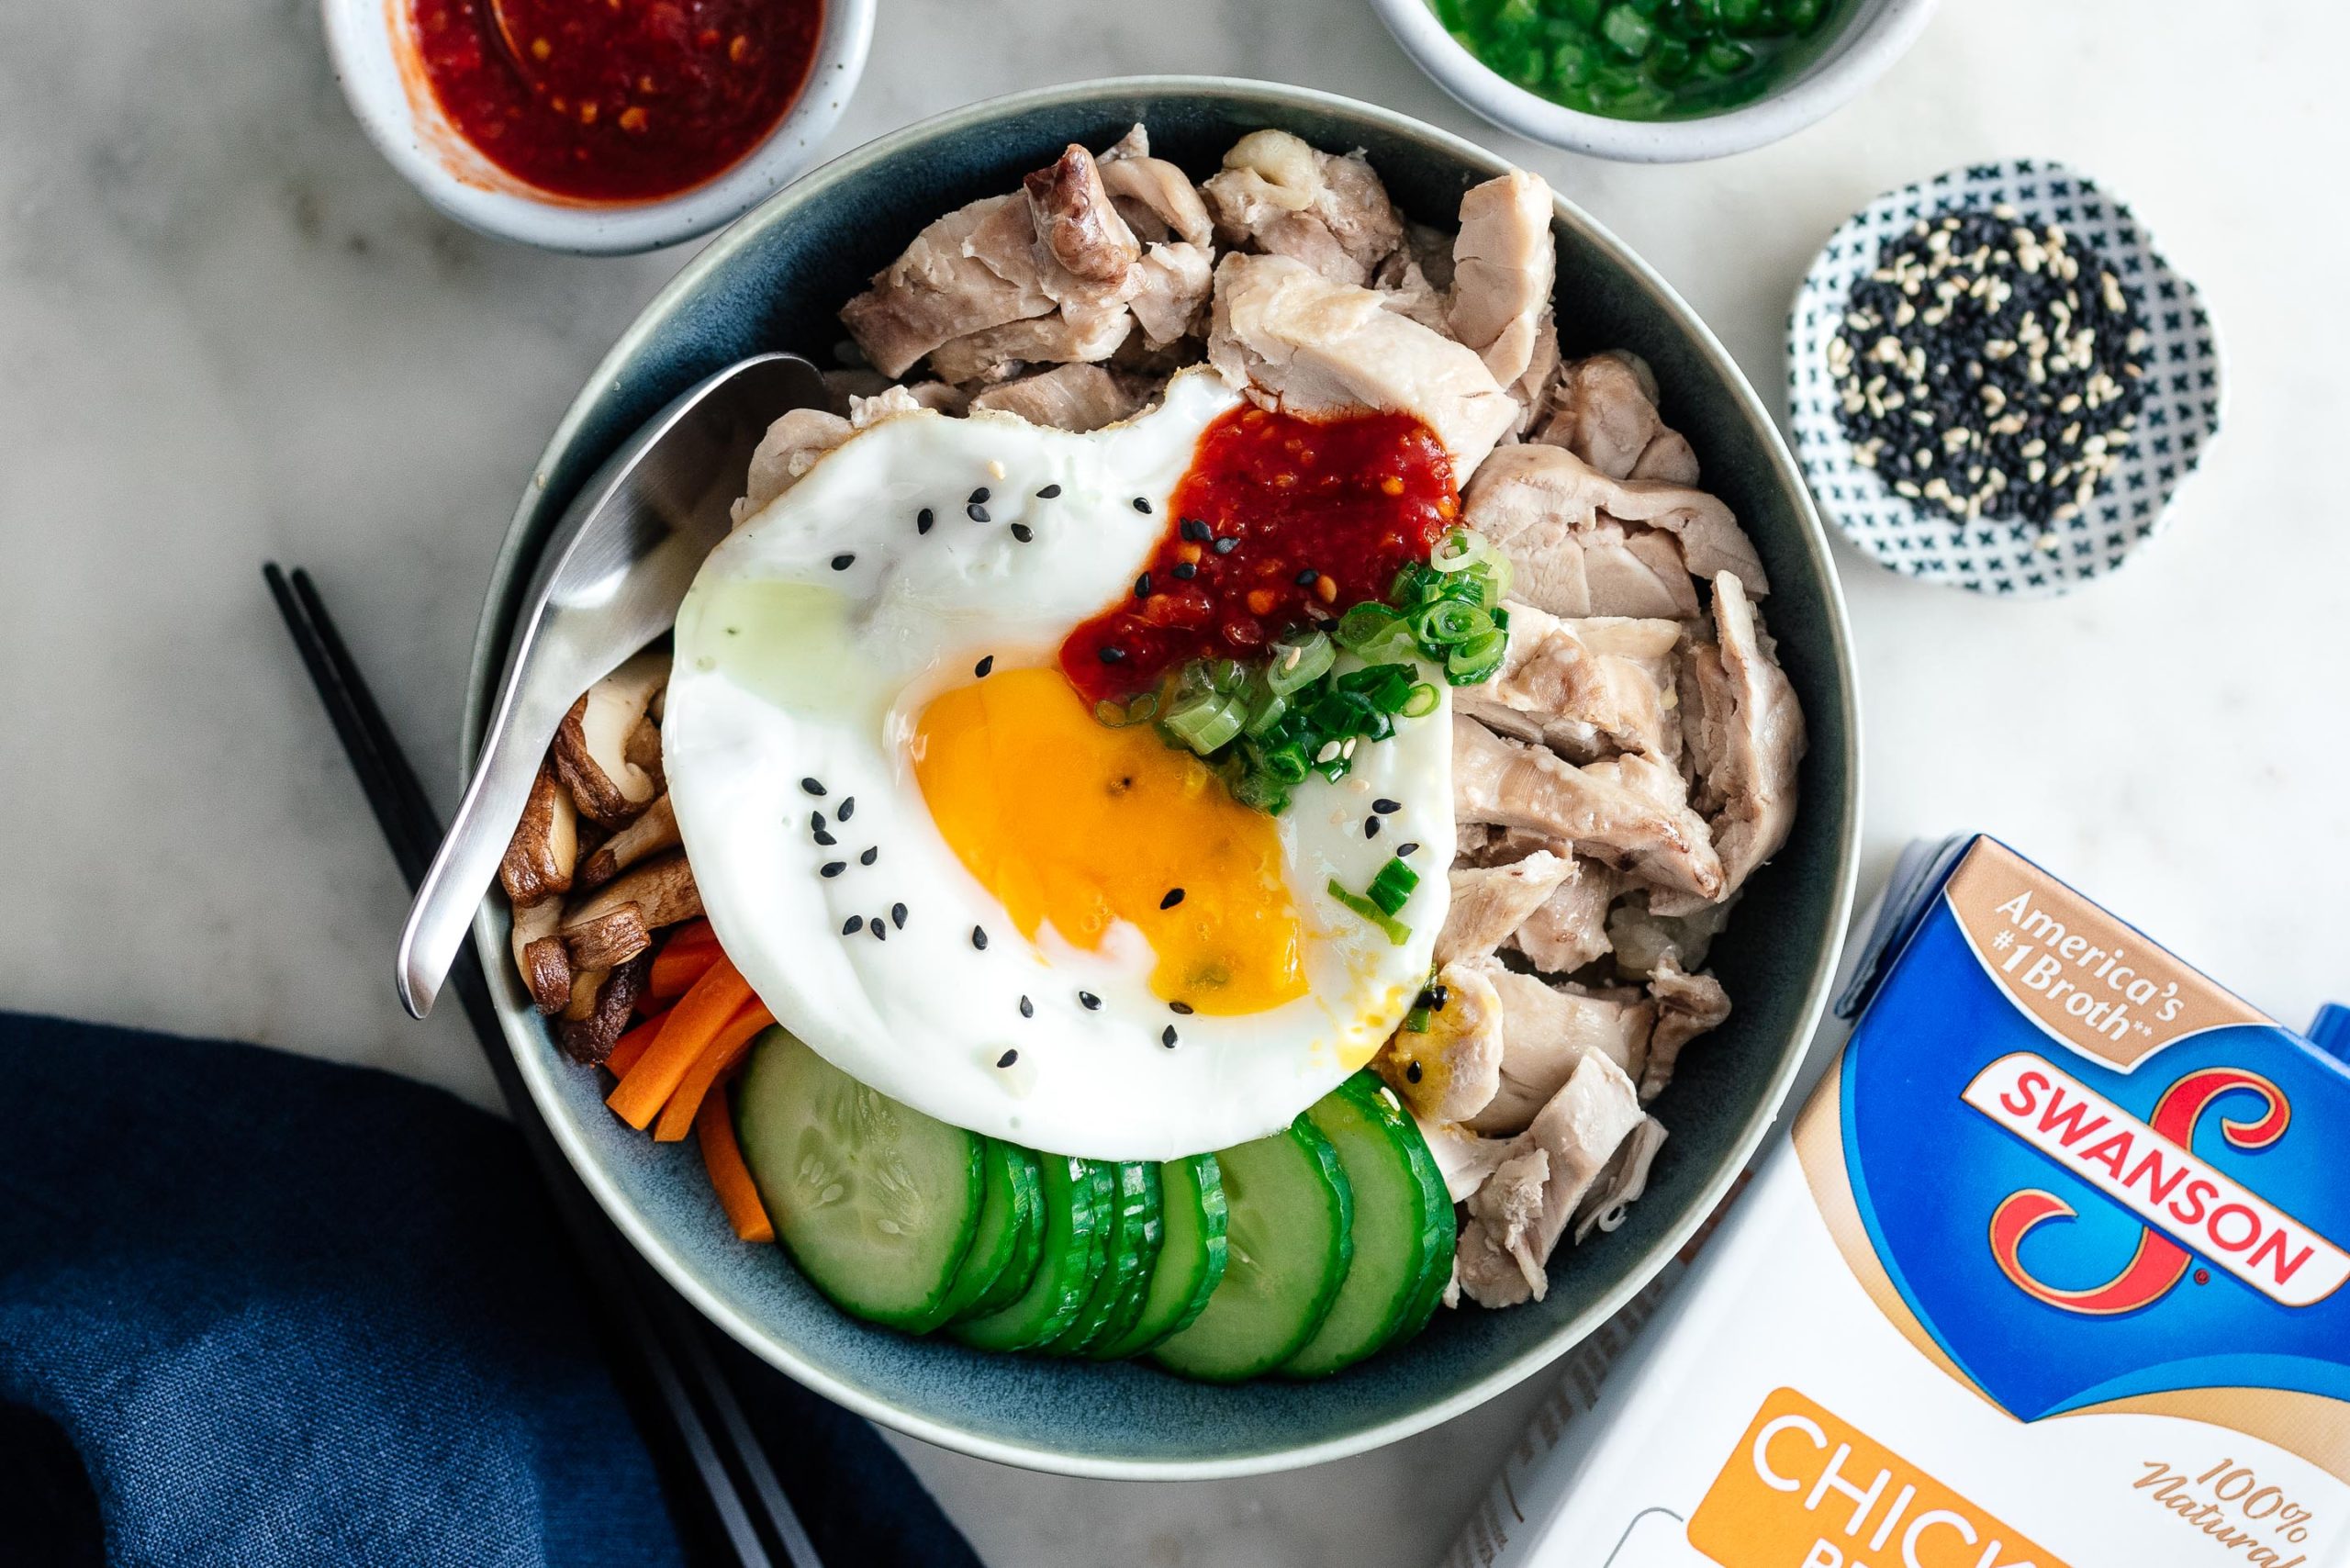
I Am... One Pot Hainanese Chicken Bibimbap Rice Bowl
Hainanese chicken rice is one of the greatest dishes in the world, beloved by almost everyone who tries it. It’s not too spicy, not too fancy, just universally loved comfort food that any palate can enjoy. It’s also one of the hardest dishes to find at a restaurant; even if you live in NYC or LA, there are only a handful of places specializing in Hainanese chicken rice at most, and decent ones even less. Thankfully though, Hainanese chicken rice is super easy to make at home. Because it's traditionally a street food, Hainanese chicken rice is made by cooking the rice and chicken separately, then serving on a platter along with multiple sauces, soup, and cucumbers. It’s done this way because when serving hundreds of customers, separating out the components and cooking them separately means you can make more at once. At home though, this one pot, one bowl version just makes sense, and it’s easily just as delicious as the best versions you’ll find.
How to make Hainanese Chicken Rice
At its heart, Hainanese chicken rice is rice that’s been lightly sautéed with aromatics and cooked in a chicken broth with green onions and ginger, then served with perfectly poached chicken and a variety of sauces. If you want to make it the right way, you cook the chicken first with green onions and ginger, then use the resulting broth to make the rice. Of course, every family tweaks the recipe to their own liking, and we’re no different. In all the years we’ve made it, our (not-so-uncommon) family trick is to sauté the rice in chicken fat for extra chicken-y goodness. This makes the rice glossy and rich, and irresistibly good. We also serve ours with green onion oil instead of the usual ginger-garlic sauce.What is Bibimbap?
Bibimbap is a Korean rice dish which is essentially a bowl of rice with vegetables and meat and gochujang (a fermented chili sauce). The whole thing is presented as a beautiful, composed bowl, then mixed at the table before eating. If the whole thing is presented in a hot stone bowl and you get crispy rice at the bottom, that’s dolsot bibimbap. Both versions are utterly delicious. We’re calling the way we serve this Hainanese chicken rice “bibimbap-style” because it ticks all the marks of a good bibimbap: a warm rice bowl topped with cold veg, bite-sized chunks of meat (chicken) and topped with an egg and chili sauce. It’s truly the best way to eat Hainanese chicken rice because every bite is a perfect bite of rice, chicken, veg, and sauce. Especially if you’re hungry, you can spoon in the goodness as fast as possible without messing around with multiple utensils.Tips and Tricks for the best Hainanese chicken rice
Follow these tips for the best one-pot Hainanese chicken rice: 1. Buy skin-on chicken thighs 2. Fry your rice in chicken fat until it turns a little transparent and golden 3. Cook your rice and chicken in a high-quality, low-sodium chicken broth instead of water. We use Swanson Chicken Broth to add loads of flavor and to bring the whole dish together! 4. Go homemade for the sauces but don’t go crazy. Use our green onion oil recipe here. For the chili sauce, we like to go with equal parts sriracha, white sugar, ketchup, and ginger. Mix well and let stand for 5 minutes. If you have sweet soy sauce on hand, that’s a great third sauce (Hainanese chicken rice is usually served with 2-3 different sauces).One Pot Hainanese Chicken Rice Bibimbap-Style
A Surprisingly Authentic Super Easy Take on Hainanese Chicken Rice
Hainanese Chicken Rice
- 1 cup Swanson Chicken Broth
- 1 tbsp ginger (minced)
- 1 clove garlic (minced)
- 1 cup white rice (jasmine preferred)
- 1 tbsp chicken fat or neutral oil
- 4-6 boneless skinless chicken thighs
Green Onion Oil
- 1/2 cup thinly sliced green onions
- 1/4 cup neutral oil
To Serve
- salt (to taste)
- 1 tbsp sambal oelek
- 1/2 cucumber (sliced)
- 1/2 carrot (julienned)
- 4-6 shiitake mushrooms (sliced)
- 2 eggs (sunny side up)
In a pan, fry the ginger, garlic, and shallot in 1 tablespoon of oil. Cook, stirring, until fragrant. Stir in the rice and fry gently until glossy.
Add Swanson Chicken Broth, then place the chicken, skin side up, in the pan. Add the green onions on top. Bring to boil over medium high heat and when it starts to simmer, cover and turn the heat down to low. Cook for 17 minutes, turn off the heat, and let rest for 10 minutes.
Remove the chicken and chop into bite sized pieces.
Make the green onion oil: place the green onions in a deep heat proof bowl and set aside. In a small pot, heat 1/4 cup oil over medium heat until it reaches 275°F. Remove the pot from the stove and very carefully pour over the green onions – they will sizzle and bubble up. Stir in salt to taste.
When the rice is done, fluff and place into a bowl. Top with the chicken, green onion oil, cucumbers, carrots, mushrooms, sambal oelek, and egg. Enjoy!

Latest Comment
“These are my favorite. Basically foolproof, so easy, and the sauce is delicious. I keep coming back here even 11 years l...”Cat on Spicy Thai Oven-Fried Chicken WingsPopular
 2015 Holiday Giveaway
  One-Pot Lemon Scallop Pea Spaghetti
  Beer Battered Onion Rings, Jalapeno Aioli
  2014 Holiday Gift Guide and a Giveaway
 Easy Gourmet Hot Wings and a Giveaway!
  The Ultimate Veggie Sandwich
  Vegan(!) Creamy Corn Soup Recipe
  Sunday Brunch: Grilled Cheese Eggs Benny