
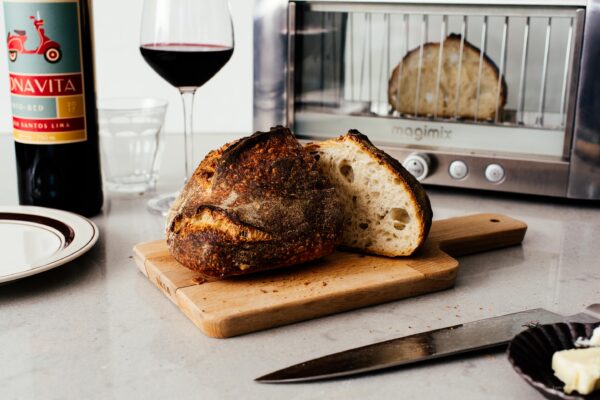
The easiest Japanese milk bread recipe you could ever possibly hope for.
No tangzong, no yudane, no overnight rise, just same-day, soft, and fluffy bread.

Japanese milk bread
This is the bread I want to live in. I want to curl up in a squish bread sleeping bag and just day dream all day about toast and toast toppings. I’m pretty sure I’ve said this before, but opening a toast cafe would be my ultimate dream. In my toast cafe I would sell toast (of course) but I would also sell loaves and loaves of this fabulously fluffy bread.
There’s just something so comforting about milk bread, aka Japanese shokupan. Is its satisfying squishiness? The fact that it’s elevated to another level in Japan? Or is it just the fact that I love soft white bread and milk bread is the ultimate version? I may never know the answer and I’m okay with it because I am happy forever eating and searching for the perfect milk bread recipe.
I made this milk bread in what they call “mountain style” or “yama” 山 in Japanese. It’s because the rounded humps resemble mountain tops. If you’re interested in making square milk bread, check out my recipe here.

What is milk bread?
Milk bread is a Japanese style white bread that is incredibly soft, white, fluffy, and shredable. It has crusts that are soft and thin and the insides are milky-sweet with a feather lightness that melts in your mouth. There are literally hundreds of bakeries in Japan that specialize in milk bread where people consistently line up for hours. Shokupan, or milk bread, is both a simple and elevated affair in Japan. Just like ramen, there are many, many different ways that it’s made. Some loaves are made with yudane, a roux made with a mix of boiling hot water and flour; some are made with tangzhong, a cooked roux made with flour and water; and some are made with just a mix of flour, milk, sugar, yeast. Adding eggs and butter changes the flavor profile and texture.

What is Hokkaido milk bread?
Hokkaido milk bread is the same as this Japanese milk bread, but made using ingredients such as milk and flour from Hokkaido. Does it make a difference? Yes! But is it better? It depends on your taste and what you’re used to. Nogami famously uses flour from Canada instead because he thinks it is better.
My best Japanese bread recipe
This particular recipe doesn’t have yudane or tangzhong, but is still incredibly soft and shreddable. Even days after the loaf was baked the slices were soft, squishy and moist. It’s the best loaf of milk bread that I’ve ever made, just the right amount of sweetness with a light, yet chewy, tight crumb.

Milk bread ingredients
- Milk – milk bread wouldn’t be milk bread without milk. I like full fat milk so you can really taste the creaminess. If only I were still in Japan I would use Hokkaido milk to make a Hokkaido milk bread!
- Egg – a whole egg is used to make the milk bread extra rich. The yolk tenderizes and lightens up the crumb and because eggs are a leavener, you also get a very high loaf.
- Yeast – you can’t make bread without yeast! I use instant dry yeast which can be added straight to the flour and doesn’t need to be activated in warm water.
- Sugar – all milk loaves are bit sweet thanks to sugar.
- Butter – butter adds extra richness.
- Flour – you’ll want to use bread flour because it has more protein than all purpose. The higher amounts of protein are what forms gluten, which gives this loaf it’s soft and shredable strands.
- Salt – just a touch of salt for flavor.
How to make milk bread
Most bread recipes have you mix together all the dry ingredients, then mix in the wet ones, but after a bunch of experimenting, I’ve found that adding all the liquid ingredients to the bottom of your bowl, then putting the dry ingredients on top makes for a more even mix, especially when you’re using a stand mixer. By layering the dry ingredients on the wet, you don’t have to scrape the bowl down as much and you don’t end up with any dry bits at the bottom of the bowl that don’t get incorporated.
- Add. To the bowl of your stand mixer, add in this order: water, milk, egg, yeast, sugar, butter, flour, and salt.
- Knead. Mix on low for 5 minutes with the dough hook, then turn up to medium and knead for 15 minutes minimum. You want to knead until you reach the windowpane stage: take a bit of dough in your hand and stretch it out, if you can stretch it out thin without it breaking, you’re good to go.
- Proof. Gather all the dough into a ball and let it take a nap and puff up.
- Shape. Divide the dough into 3 equal pieces then shape the dough into jelly rolls (more on that down below). The jelly roll shapes will help the bread get extra fluffy. Pop it into a loaf pan and let it proof again.
- Bake. When the loaf is tall and proofed, bake it just until it’s cooked through and golden on top.

A note on size and shaping
I made this in a standard loaf pan (8.5 x 4.5 x 2.5 – this exact one) but I feel like my humps could have been even higher. Next time I will probably adjust so that I have a bit more dough to get a taller slice. Feel free to calculate your ideal total dough weight based on the bakers’ percentages below.
A note on weights and scales
You’ll notice that all the measures in this recipe are in grams. Bread is pretty darn precise, and volume measures just can’t produce a consistent loaf of bread. If you haven’t taken the plunge to get a kitchen scale yet, a good scale will serve you way beyond this recipe. This one is usually under $15 and it’s what we use (we have 3!).
Milk bread bakers’ percentages
- Total dough weight = 502 grams
- Hydration = 73%
- 80 grams water 30%
- 40 grams milk 15%
- 57 grams egg 21%
- 6 grams instant dry yeast 2%
- 24 grams sugar 9%
- 20 grams butter 7%
- 270 grams bread flour 100%
- 5 grams salt 2%

What can I make with milk bread?
Now that you have a glorious loaf of milk bread, what to do? Of course you should eat a couple of slices just fresh, soft and squishy. Or lightly toast it up with a slick of really really good butter with a sprinkle of flaky sea salt. If you’re looking for more inspiration, your fluffy bread will be perfect in these:
- Tamagoyaki french toast
- Chicken katsu sandwich
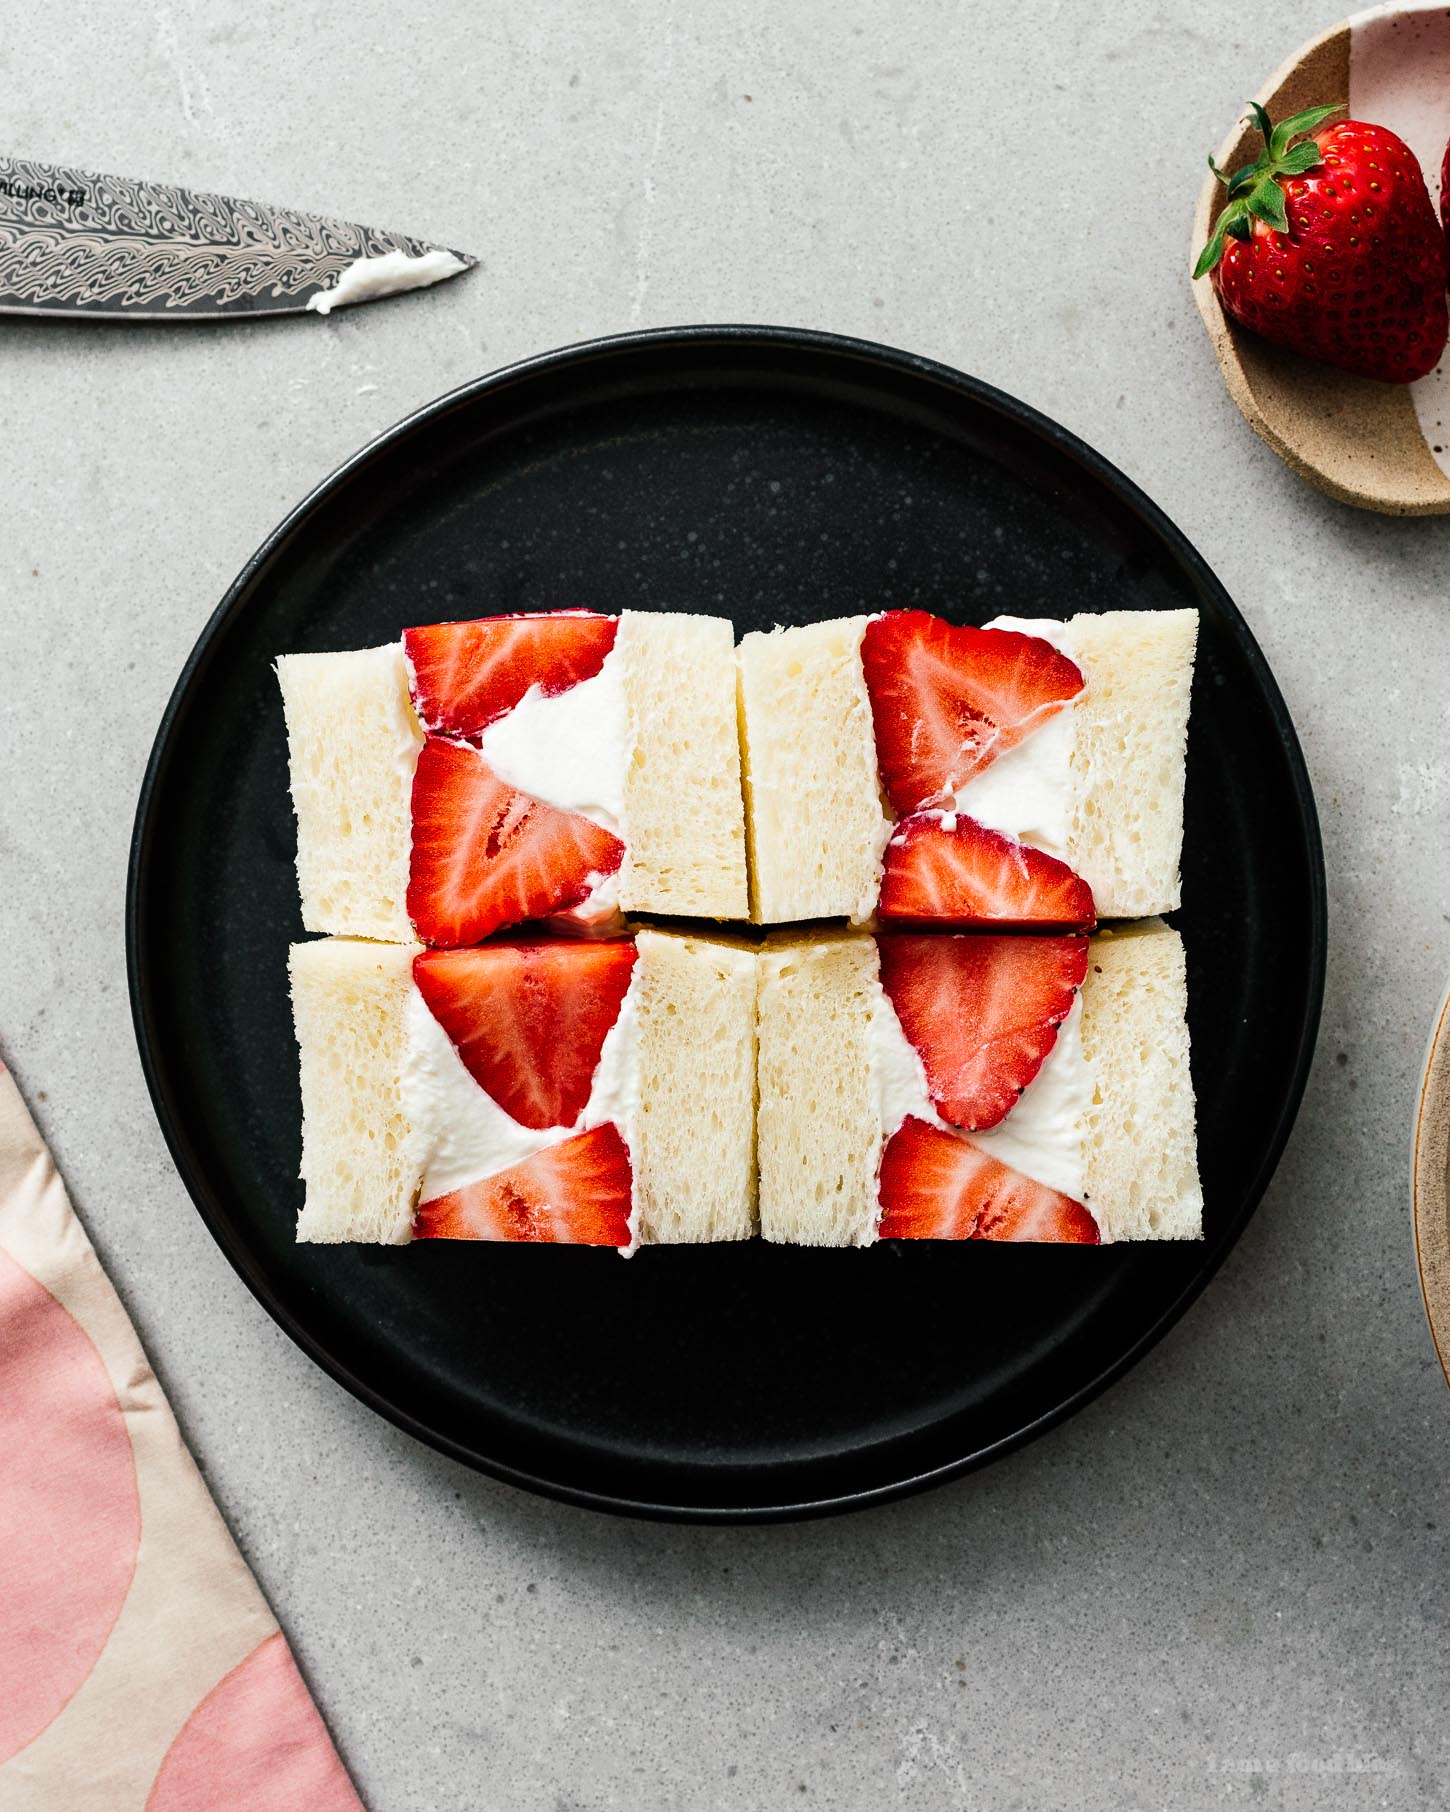
- Japanese strawberry sandwich
- LA’s famous Konbi egg sandwich

Milk bread
Ingredients
- 80 g water warm
- 40 g milk warm
- 57 g egg (1 large)
- 6 g instant dry yeast
- 24 g sugar
- 20 g unsalted butter room temp
- 270 g bread flour
- 5 g salt
Special Equipment
Instructions
- In the bowl of a stand mixer, add in the following order: water, milk, egg, yeast, sugar, butter, flour, and salt. Mix on low speed with the dough hook for 5 minutes until the dough comes together in a shaggy mass, scraping down the bowl as needed.

- Continue to knead on medium for 15 more minutes. Do the windowpane test: take a piece of dough about the size of a golf ball and stretch it out between your fingers and thumbs. If you can stretch it without the dough breaking, you’re good to go. The dough will be very soft and tacky - try to resist adding flour. With floured hands, shape into a ball and transfer to a clean lightly floured bowl and cover with plastic wrap.
- Let proof in a bowl until tripled in size, about 1 hour.
- Take the dough and tip it out onto a lightly floured surface. Punch down lightly then divide into 3 equal portions. Take one ball of dough and lightly roll out into an oval.
- Bring the two sides of the oval towards the middle.
- Then roll it up.
- Repeat with the remaining two portions of dough. Place the three rolls in a loaf pan (I used a non-stick pan, lightly oil or butter your pan if it isn’t non-stick), cover (I put a large bowl overtop the whole pan) and let proof until doubled, about 40 minutes to 1 hour.
- Heat the oven to 355°F after the dough has been proofing for 30 minutes.
- Bake for 20-25 minutes or until the bread is golden and cooked through - if you use a thermometer it should be 189°F. If the tops start to brown too much, lightly cover with a piece of foil. Brush with cream or butter if you want a shiny top. Remove from the pan immediately and cool completely on a wire rack. Slice and enjoy!


I never really had any luck with Japanese milk bread recipes, but here you explained it wonderfully and finally got me to understand the bakers percentage. Love your site, your writing style and photography. I have tried many of the recipes and they were all success; I can’t wait to try this one. Thank you.
thank so much mark! i hope you love it! :)
If I don’t have a stand mixer am I still able to make this by stirring and kneading by hand ?
hi tallulah,
yes, you can knead it by hand. it’ll take a while, maybe up to 15 minutes to get the gluten formation right. make sure you reach the windowpane stage i mention and you should be good to go :)
My daughter found this recipe and she was so excited to try milk bread! I was impressed. It came out so light and fluffy!
Loved the simplicity and results of this recipe! I especially enjoy that the portions are for one loaf, instead the usual 2. Cuts out the math I normally do
How does the recipe change if I just active dry yeast instead of instant dry yeast?
hi! it should be fine, just add the active dry yeast in right after you add the water then add the milk, egg, sugar, butter, flour, and salt.
My oven can’t be set to 355 – is it ok to be done at 350? Thank you!
yes, just be sure to check in on it, it will probably need a tiny bit longer, give it an extra five minutes to start then check every minute or so after.
Thank you so much for this recipe! I’m so so thrilled by the outcome. The texture is perfect, everything I want milk bread to be! I had to knead by hand, which I was nervous about, but I followed the windowpane advice, and it came out beautifully. I’m so excited to make it again!
sarah!! i’m so happy your milk bread turned out exactly how you wanted it to!!! milk bread is my obsession and you have no idea how thrilled i am :) thanks for taking the time to comment.
Hi there, thanks for sharing this recipe. I’ve never seen a Hokkaido milk bread recipe without tangzhong before so I’m going to give this a go :) Just a few questions which I hope you can help me with:
1. All the ingredients should be room temp?
2. I live in Jakarta which is quite warm and humid. How should I adjust the mixer speed and knead time? I have a Kitchenaid but somehow never managed to get a smooth elastic dough with any of my bread making. After a few minutes, the dough tends to stick to the bottom part of the bowl and because I’m scared of over kneading, I just stop :(
3. If I want to make 2 loaves, should I just double all the ingredients?
Thanks for reading my questions and hopefully I’ll hear from you soon!
hi yosi,
1. yes, please have all the ingredients at room temp :)
2. i would keep the mixer speed and knead time the same. the dough will stick at first – it needs time to incorporate the liquid ingredients and hydrate. the way the ingredients are placed into the mixer should help with the sticking, i find that adding all the liquid ingredients at the bottom is a game chanager. just make sure to use a rubber spatula to lift under the ball of dough so that it’s truly kneading up the dough hook. but in regards to the humidity, maybe you might need a tiny bit more flour – if it’s soupy, try adding in flour by 15 gram increments.
3. yes to doubling the ingredients
hope this helps and pls let me know if this works for you! fingers crossed for a soft and fluffy loaf!!
Thanks so much for taking the time to answer and explain! The reason I stop midway when kneading is because of fear of over kneading but perhaps I should’ve just carried on kneading. Can I just ask you how long of a kneading time would be considered over kneading?
Thanks once again, I’m going to try give this a go tomorrow morning :)
hi yosi,
the best way to tell if the dough is kneaded enough and not over kneaded is to take a small ball of it and touch it. it should be slightly tacky but not sticky. if it’s super sticky, it probably needs to be kneaded more. also, do the windowpane test where you spread the dough out, thinly. it should look like a thin membrane and be very flexible without any holes in it. i would say that if you’re under 8 minutes of machine kneading it’s not likely that you’ll over knead. if your dough is too soupy it’s probably what you think: your kitchen is too warm and humid. you might need to add in a sprinkle of extra flour. hopefully this helps a bit!!
what if you just have regular flour…will that work
hi yolanda,
yes, it will work :) the texture will be a bit different though.
question, I am gluten free. Can I use gf flour. I can’t find gf bread flour, but I think the gack is adding cornstarch and baking powder? thanks
ooh, i haven’t tried, but i feel like the answer might be no because the softness of this bread is due to gluten formation. i’m so sorry i can’t help!
Loved this so much! It turned out perfect and my family said it was the best bread they have ever eaten! Thank you so much!
oh my gosh thank you so much!!!