Biting into a chouquette is a little like biting into a soft, rich, eggy, cloud topped with crunchy sugar. My first taste of these slightly-sweet treats was in Nice, France. Tummy rumbling, Mike and I headed into a bakery. I spied a giant mountain of cream-puff looking pastries and politely pointing, asked for “une, s’il vous plaît.” The nice bakery lady didn’t laugh at my request or my broken French. Instead, in perfect English she explained that they sold the feather light chouquettes by weight. She wrapped up about 10 of them in a paper bag and twisted it shut. Outside, we ripped the bag apart and dug into the tiny clouds of heaven.

It’s hard to believe that such simple pantry staples can be mixed up into airy puffs of deliciousness. Milk, water, butter and salt are brought to a boil, flour is added and stirred vigorously, then eggs are incorporated one by one until you end up with a silky, shiny dough that comes to life in a hot oven. The best part of chouquette dough is how versatile it is: stir in some cheese to make gougères or fill the unsugared puffs with cream for cream puffs.
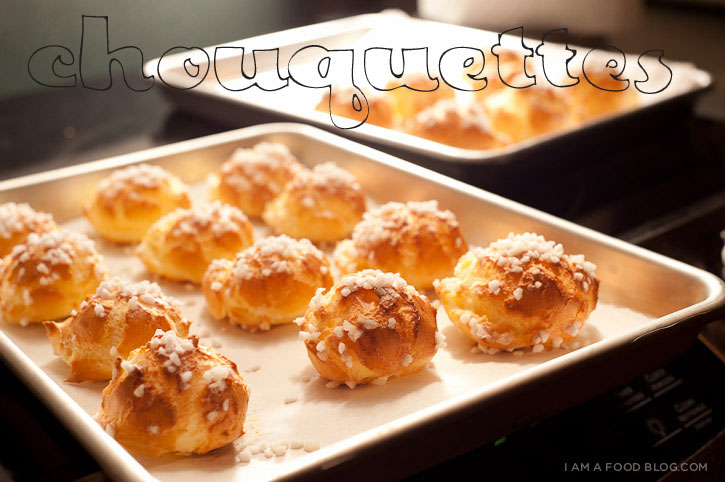
I am puffy, I am sugar-topped: I AM CHOUQUETTES!
Chouquette Recipe from doriegreenspan.com
yield: 24 large or 50 small chouquettes
- 1/2 cup whole milk
- 1/2 cup water
- 1/2 cup unsalted butter (1 stick), cut into 8 pieces
- 1/4 teaspoon salt
- 1 cup all-purpose flour
- 5 large eggs, at room temperature
- pearl sugar* for sprinkling
Preheat the oven to 375°F
Bring the milk, water, butter and salt to the boil in a heavy-bottomed 2-quart saucepan. When the mixture is boiling rapidly, add the flour all at once, reduce the heat to medium and, without a second’s hesitation, start stirring the mixture like mad with a wooden spoon. The dough will come together very quickly and a slight crust will form on the bottom of the pan, but you have to keep stirring – vigorously – another 2 to 3 minutes to dry the dough. At the end of this time, the dough will be very smooth.
Turn the dough into the bowl of a mixer fitted with the paddle attachment. One by one, add the eggs to the dough, beating until each egg is thoroughly incorporated. As soon as you add the first egg, your dough will separate. Keep working and by the time you add the third egg it will start coming together again. When all the eggs are incorporated, the dough will be thick and shiny and, when you lift some of it up it will fall back into the bowl in a ribbon. The dough will still be warm – it’s supposed to be – and now is the time to use it.
Using about 1 tablespoon of dough for each puff, drop the dough from the spoon onto the lined baking sheets, leaving about 2 inches of space between each mound of dough. Sprinkle the tops generously with pearl sugar.
Slide the baking sheets into the oven, bake for 15 minutes, then rotate the sheets from top to bottom and front to back. Continue baking until the puffs are golden and firm, another 10 to 15 minutes. Transfer the cream puffs to a cooling rack.
Keeping: You can spoon out the dough and either bake it immediately or freeze it. To freeze, spoon the dough in mounds onto parchment-lined baking sheets and slide the sheets into the freezer. When the dough is completely frozen, remove the balls from the baking sheets and wrap them airtight. They can be kept in the freezer for up to 2 months and don’t need to be defrosted before baking.
*You can find pearl sugar at most Ikeas, near the hot dogs.


This looks delicious! :)
juat perfect!
iza:)
These are my absolute favorite ever!!!!!! Thank you!
Nice, but I found it almost impossible to find the pearl sugar in Australia until I found this website:
http://swaffels.com/pearl_sugar.html
I hope this will help all you cooks down under.
I found the Pearl Sugar at Byerly’s after looking several places. I made the Chouquettes and they were amazing. So light and tasty. Thanks for the great recipe. I love your beautiful photos.
I’ve just made these, i made a double batch 100 or so…….i’ve eaten half……not sure i’m finished yet………mmmmmm…….miam!
Oh yeah, thank you :)
!!! I had something like this (it was a different shape) this past summer when I was in Beaune, France. They are fantastic and now I’m super excited to try this recipe once I find some pearl sugar!
Chouquettes! I LOVE LOVE LOVE chouquettes!
These seem fantastic!
Would you cook these from frozen or thaw them first? Thinking of preparing them for a party beforehand.
Thanks
You don’t need to defrost them, just bake from frozen and add a couple of minutes to the baking time!