
I Am... 6 Blueberry Recipes to Make Before Blueberry Season is Over
Is it already the end of summer where you live? Are you living the pumpkin spice life or are you holding on to the last bits of summer as long as you can? Technically it’s still summer, even though there are pumpkin spice lattes everywhere. To me, late summer always means blueberries, back-to-school supplies, and just the barest hint of chill in the early morning air. Usually I’m all about fall – it’s my favorite season – but this year I’m going to blueberry as long as I can. Here are 6 recipes you can make before blueberry season is over. Blueberry life forever!
Read More →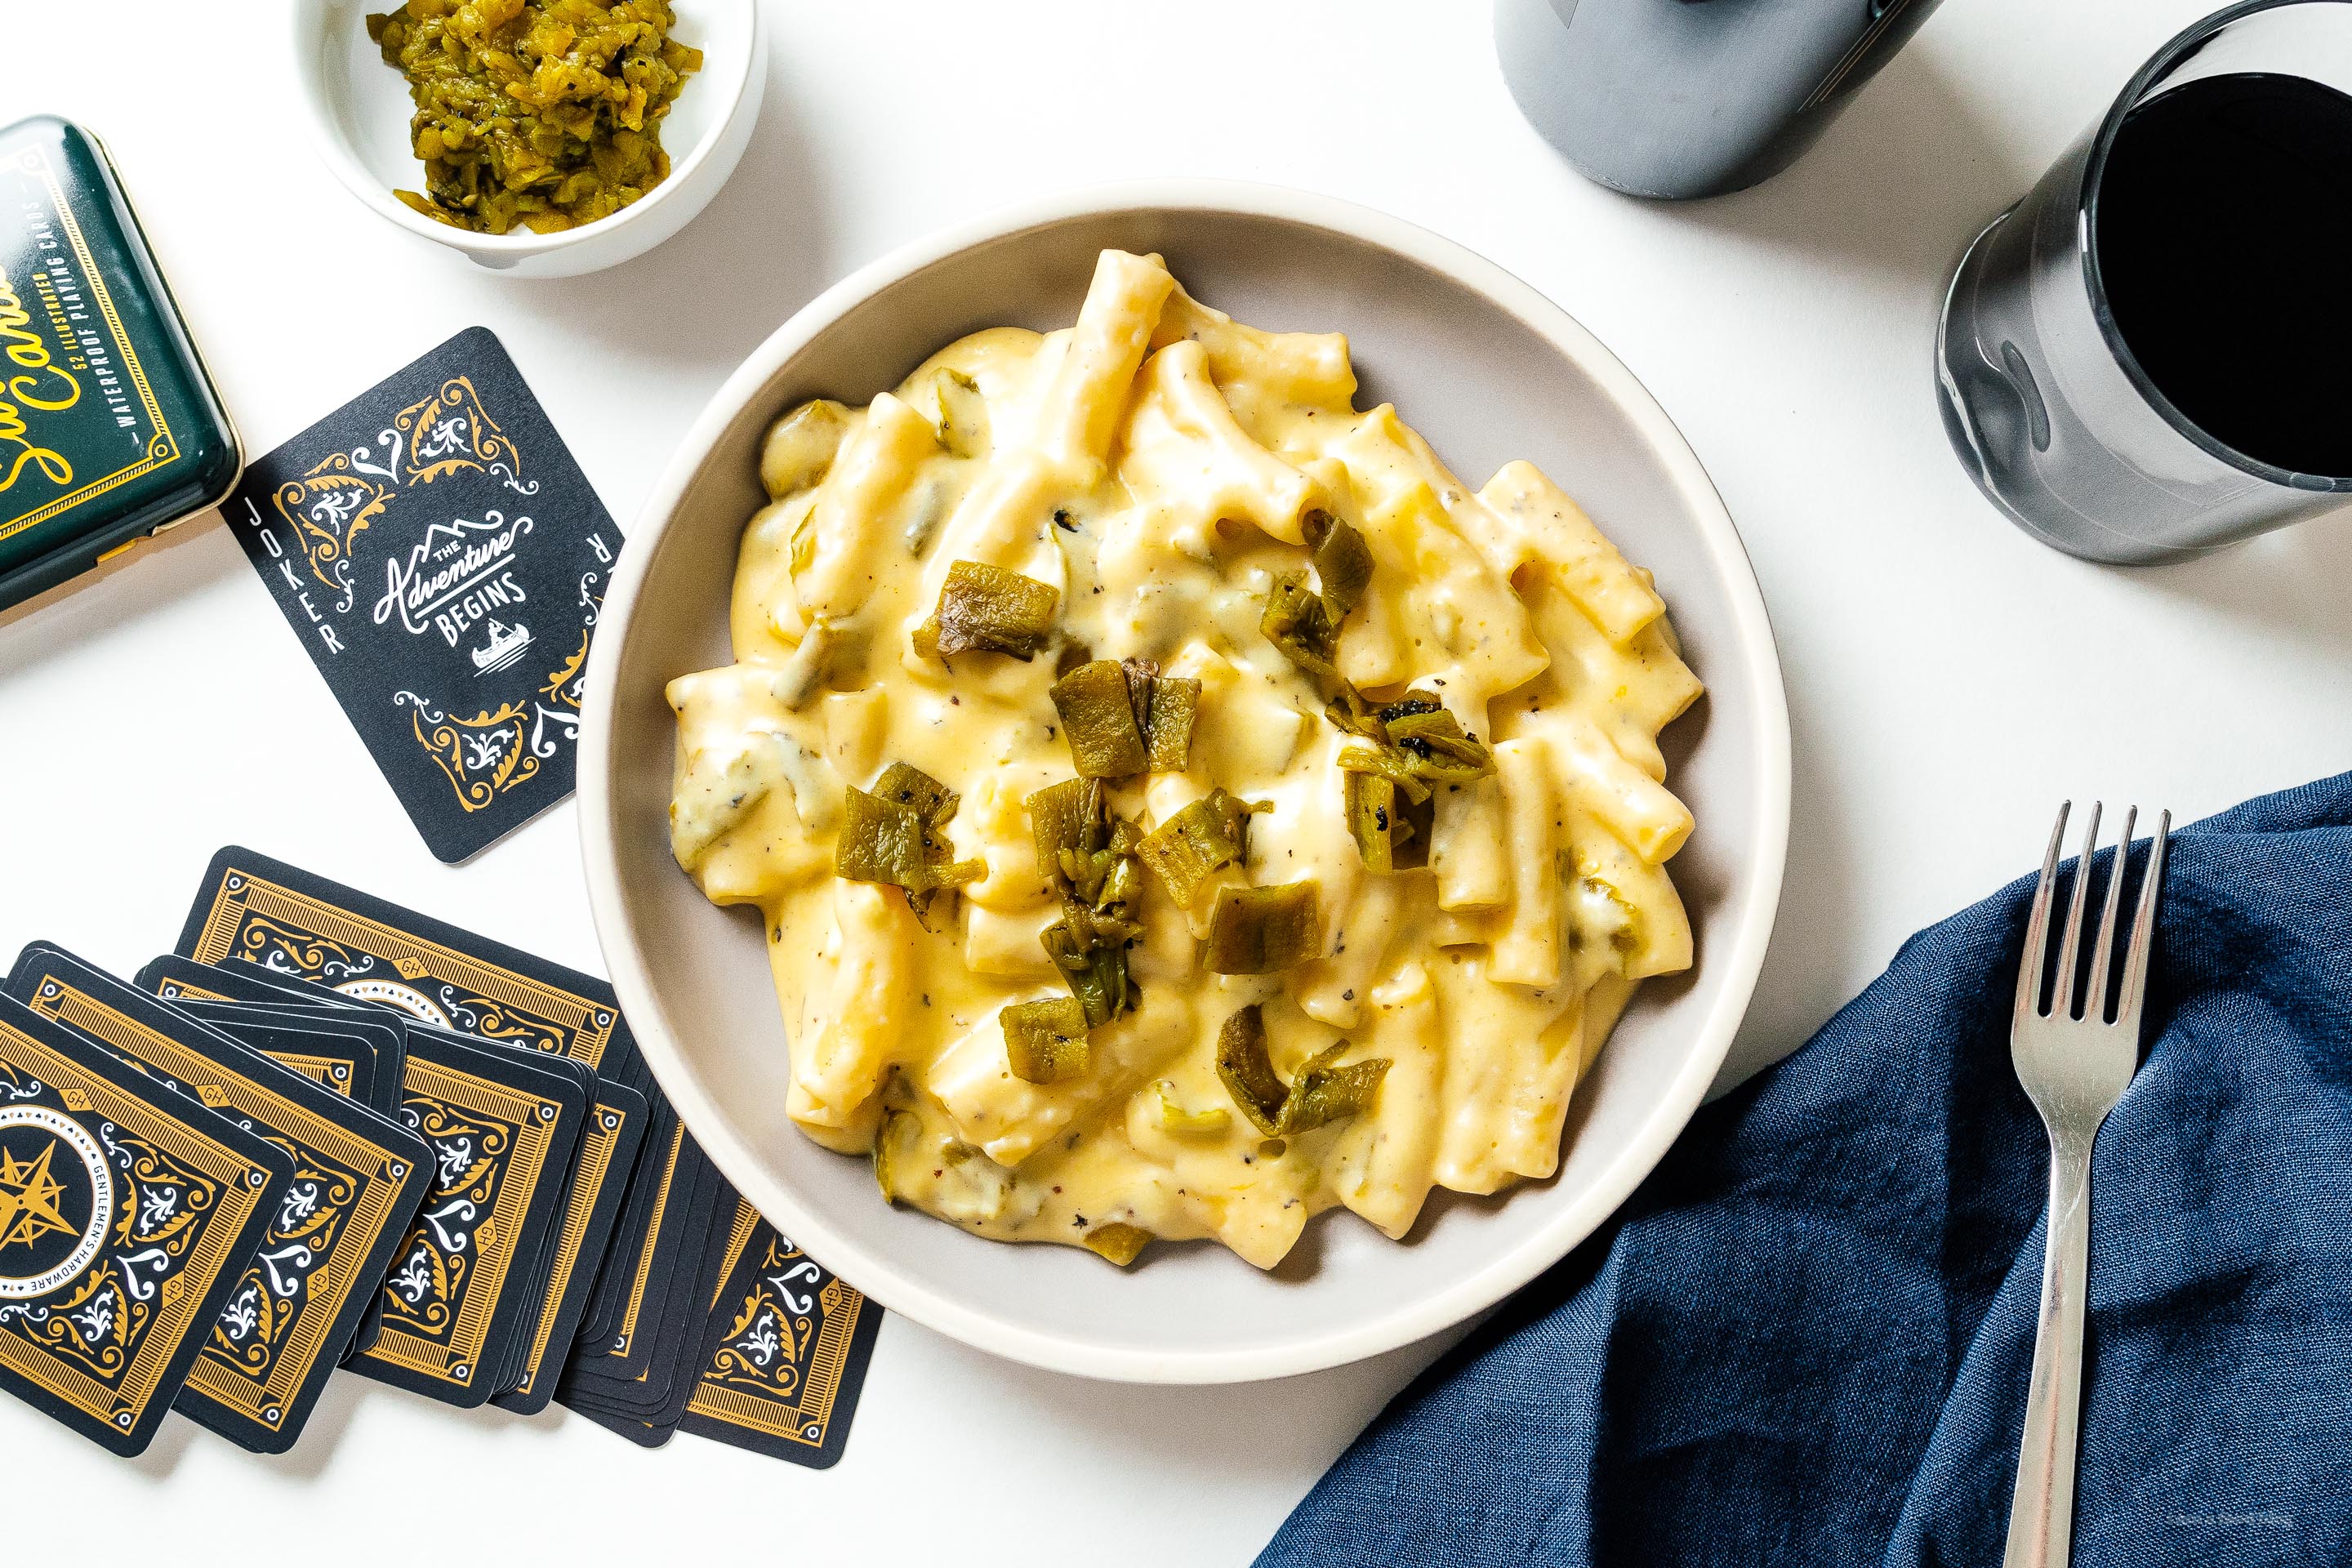
I Am... Creamy Spicy Hatch Green Chile Mac and Cheese
It’s hatch chile season and as all the posters at the grocery store say, “hatch chile is here, it’s now or next year!” Mike and I are huge fans of hatch chile, especially after our little trip to New Mexico. We even stopped in the tiny town of Hatch, but since it wasn’t quite Hatch season, nothing was going on. We saw all the giant kitschy plastic sculptures and fields and fields of growing hatch plants, but there was no roasting and the one place that we wanted to have a green chile cheeseburger at was closed.
Read More →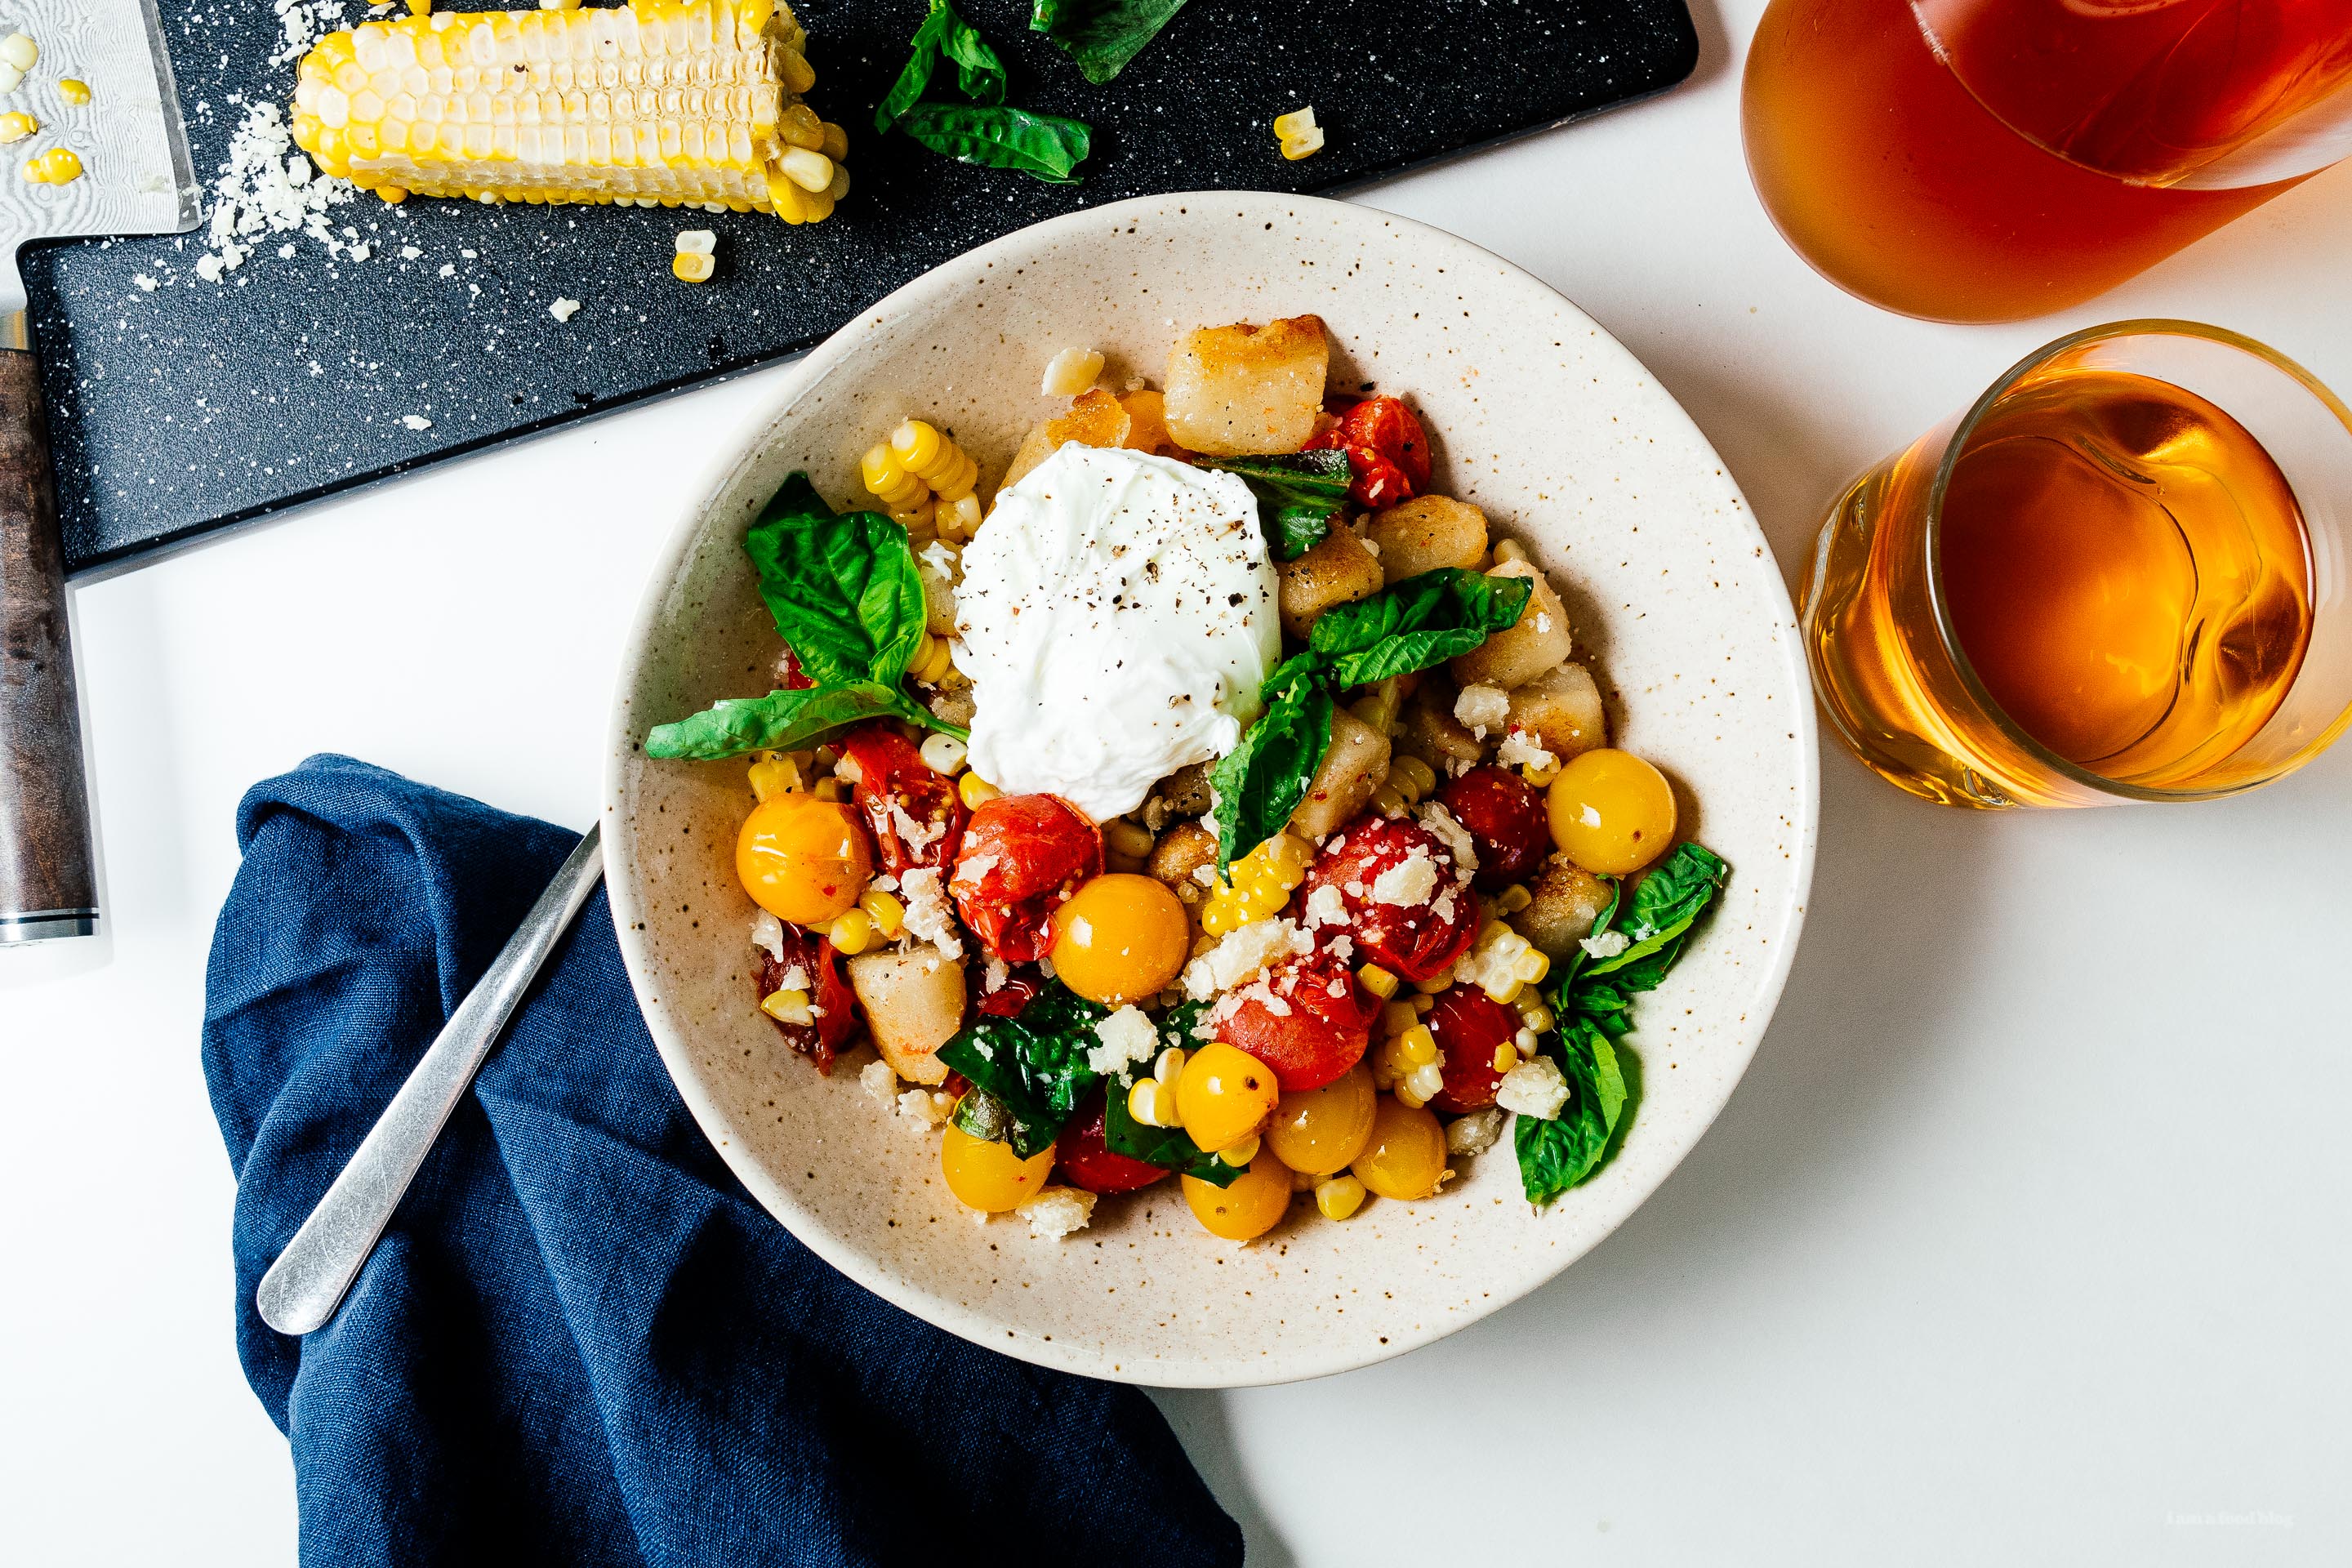
I Am... How to Cook Trader Joe’s Cauliflower Gnocchi with Jammy Cherry Tomatoes, Corn and Basil
Are you guys busy eating all the corn and tomatoes before the end of summer? It’s hard to believe that it’s the last week of August. Where did the time go?! It’s almost even harder to believe that it’s pumpkin spice latte season. Does PSL season start earlier and early every year? And do people start talking about the end of summer absurdly early? I feel like almost all the posts on Instagram have been talking about the end of summer, but summer isn’t over yet. Technically it’s not over until September 23rd.
Read More →
I Am... Vintage Trailer Hotels: The Better-Than-Glamping Camping Experience You Never Knew You Loved
I love camping. I love campfires, being outside, sleeping in a tent and waking up to see the sunrise. But then again, I also love (LOVE!) glamping because it’s all the best parts of camping without any of the inconvenience. So, it should come as no surprise that Mike and I have ascended to the next level of camping. If backcountry backpacking is sleeping in your car at a rest stop, and car camping is a roadside motel, glamping is a regular hotel. Then, there’s vintage trailer rentals: the highest level of luxury in the strange and wonderful world of the nomadic lifestyle.
Read More →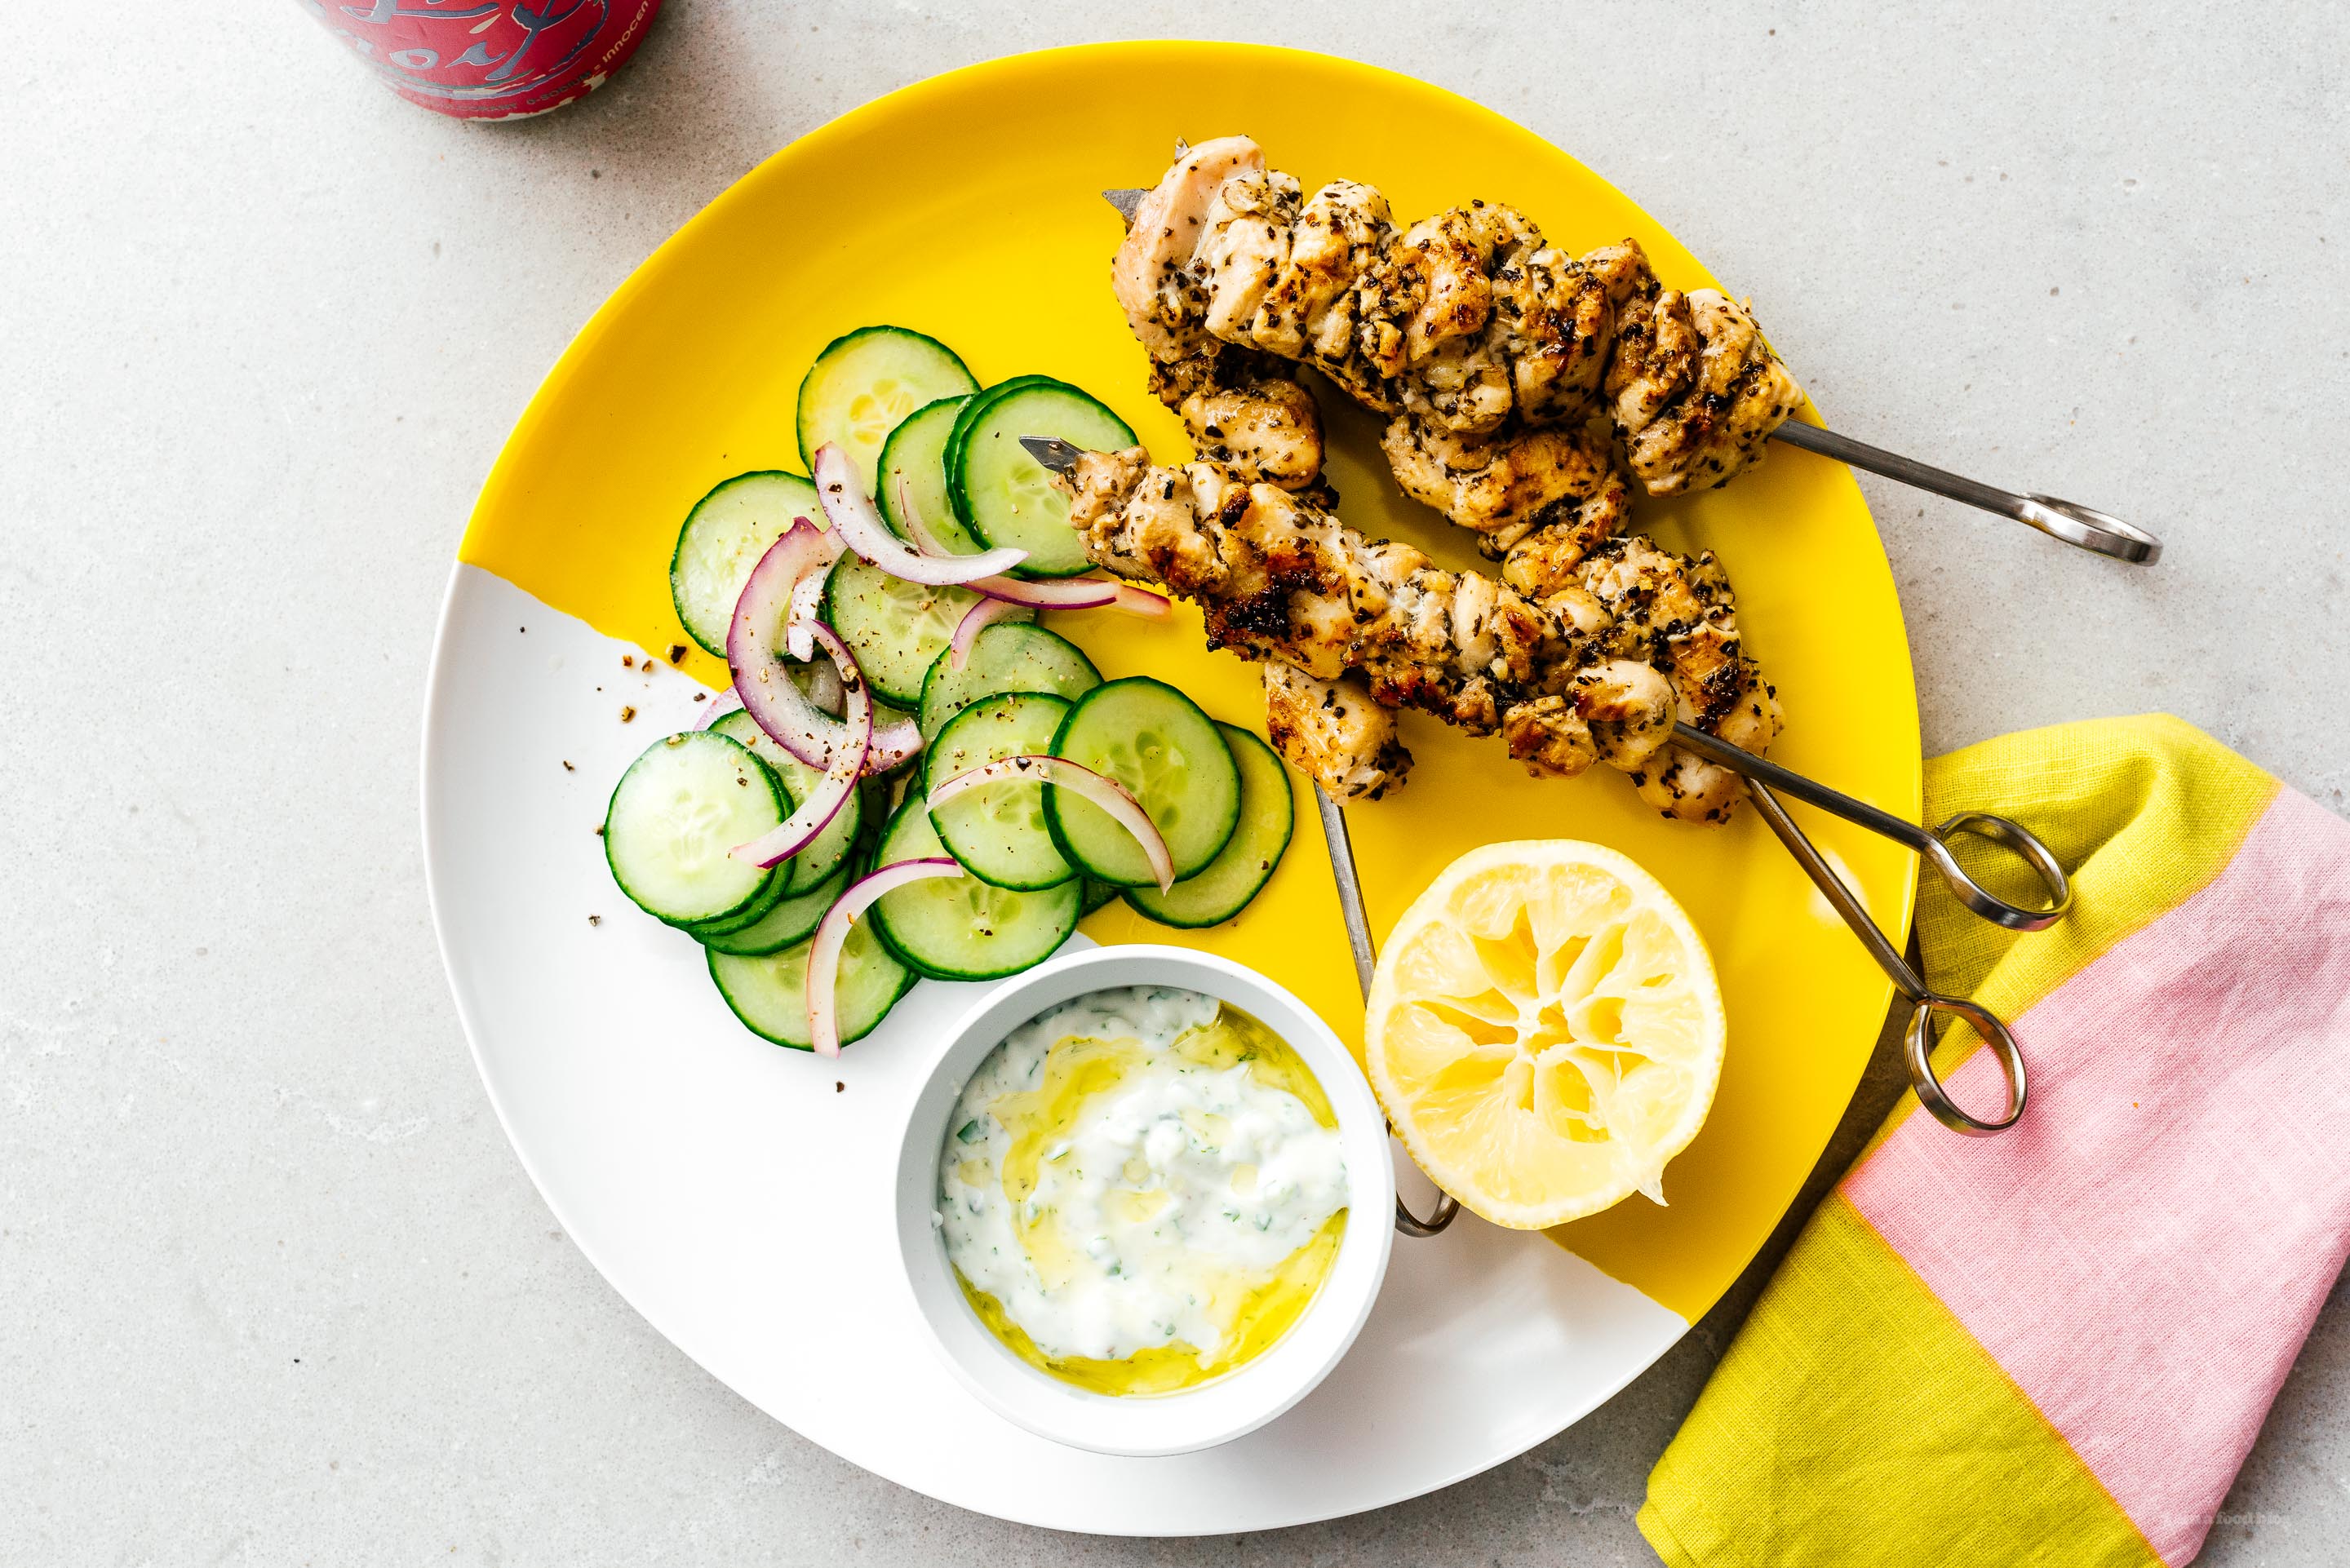
I Am... Low Carb Keto Friendly Chicken Souvlaki with Cucumber Salad and Tzatziki Sauce
Have you guys been to Greece? I’ve never been but I’ve always been interested in the azure blue seas, the white washed buildings, and the food. Oh, and the partying. I always think of partying when I think of Greece because when I was in high school I had a pen pal (do they still do that in high school? Pen pal cultural exchange things?) who told me that she would go out with her friends and party until four in the morning and then go out for chicken souvlaki. It sounded so grown up and mysterious to me. At 13 I definitely wasn’t a stay out all night kind of person. And, who am I really kidding, I’m not one now either.
Read More →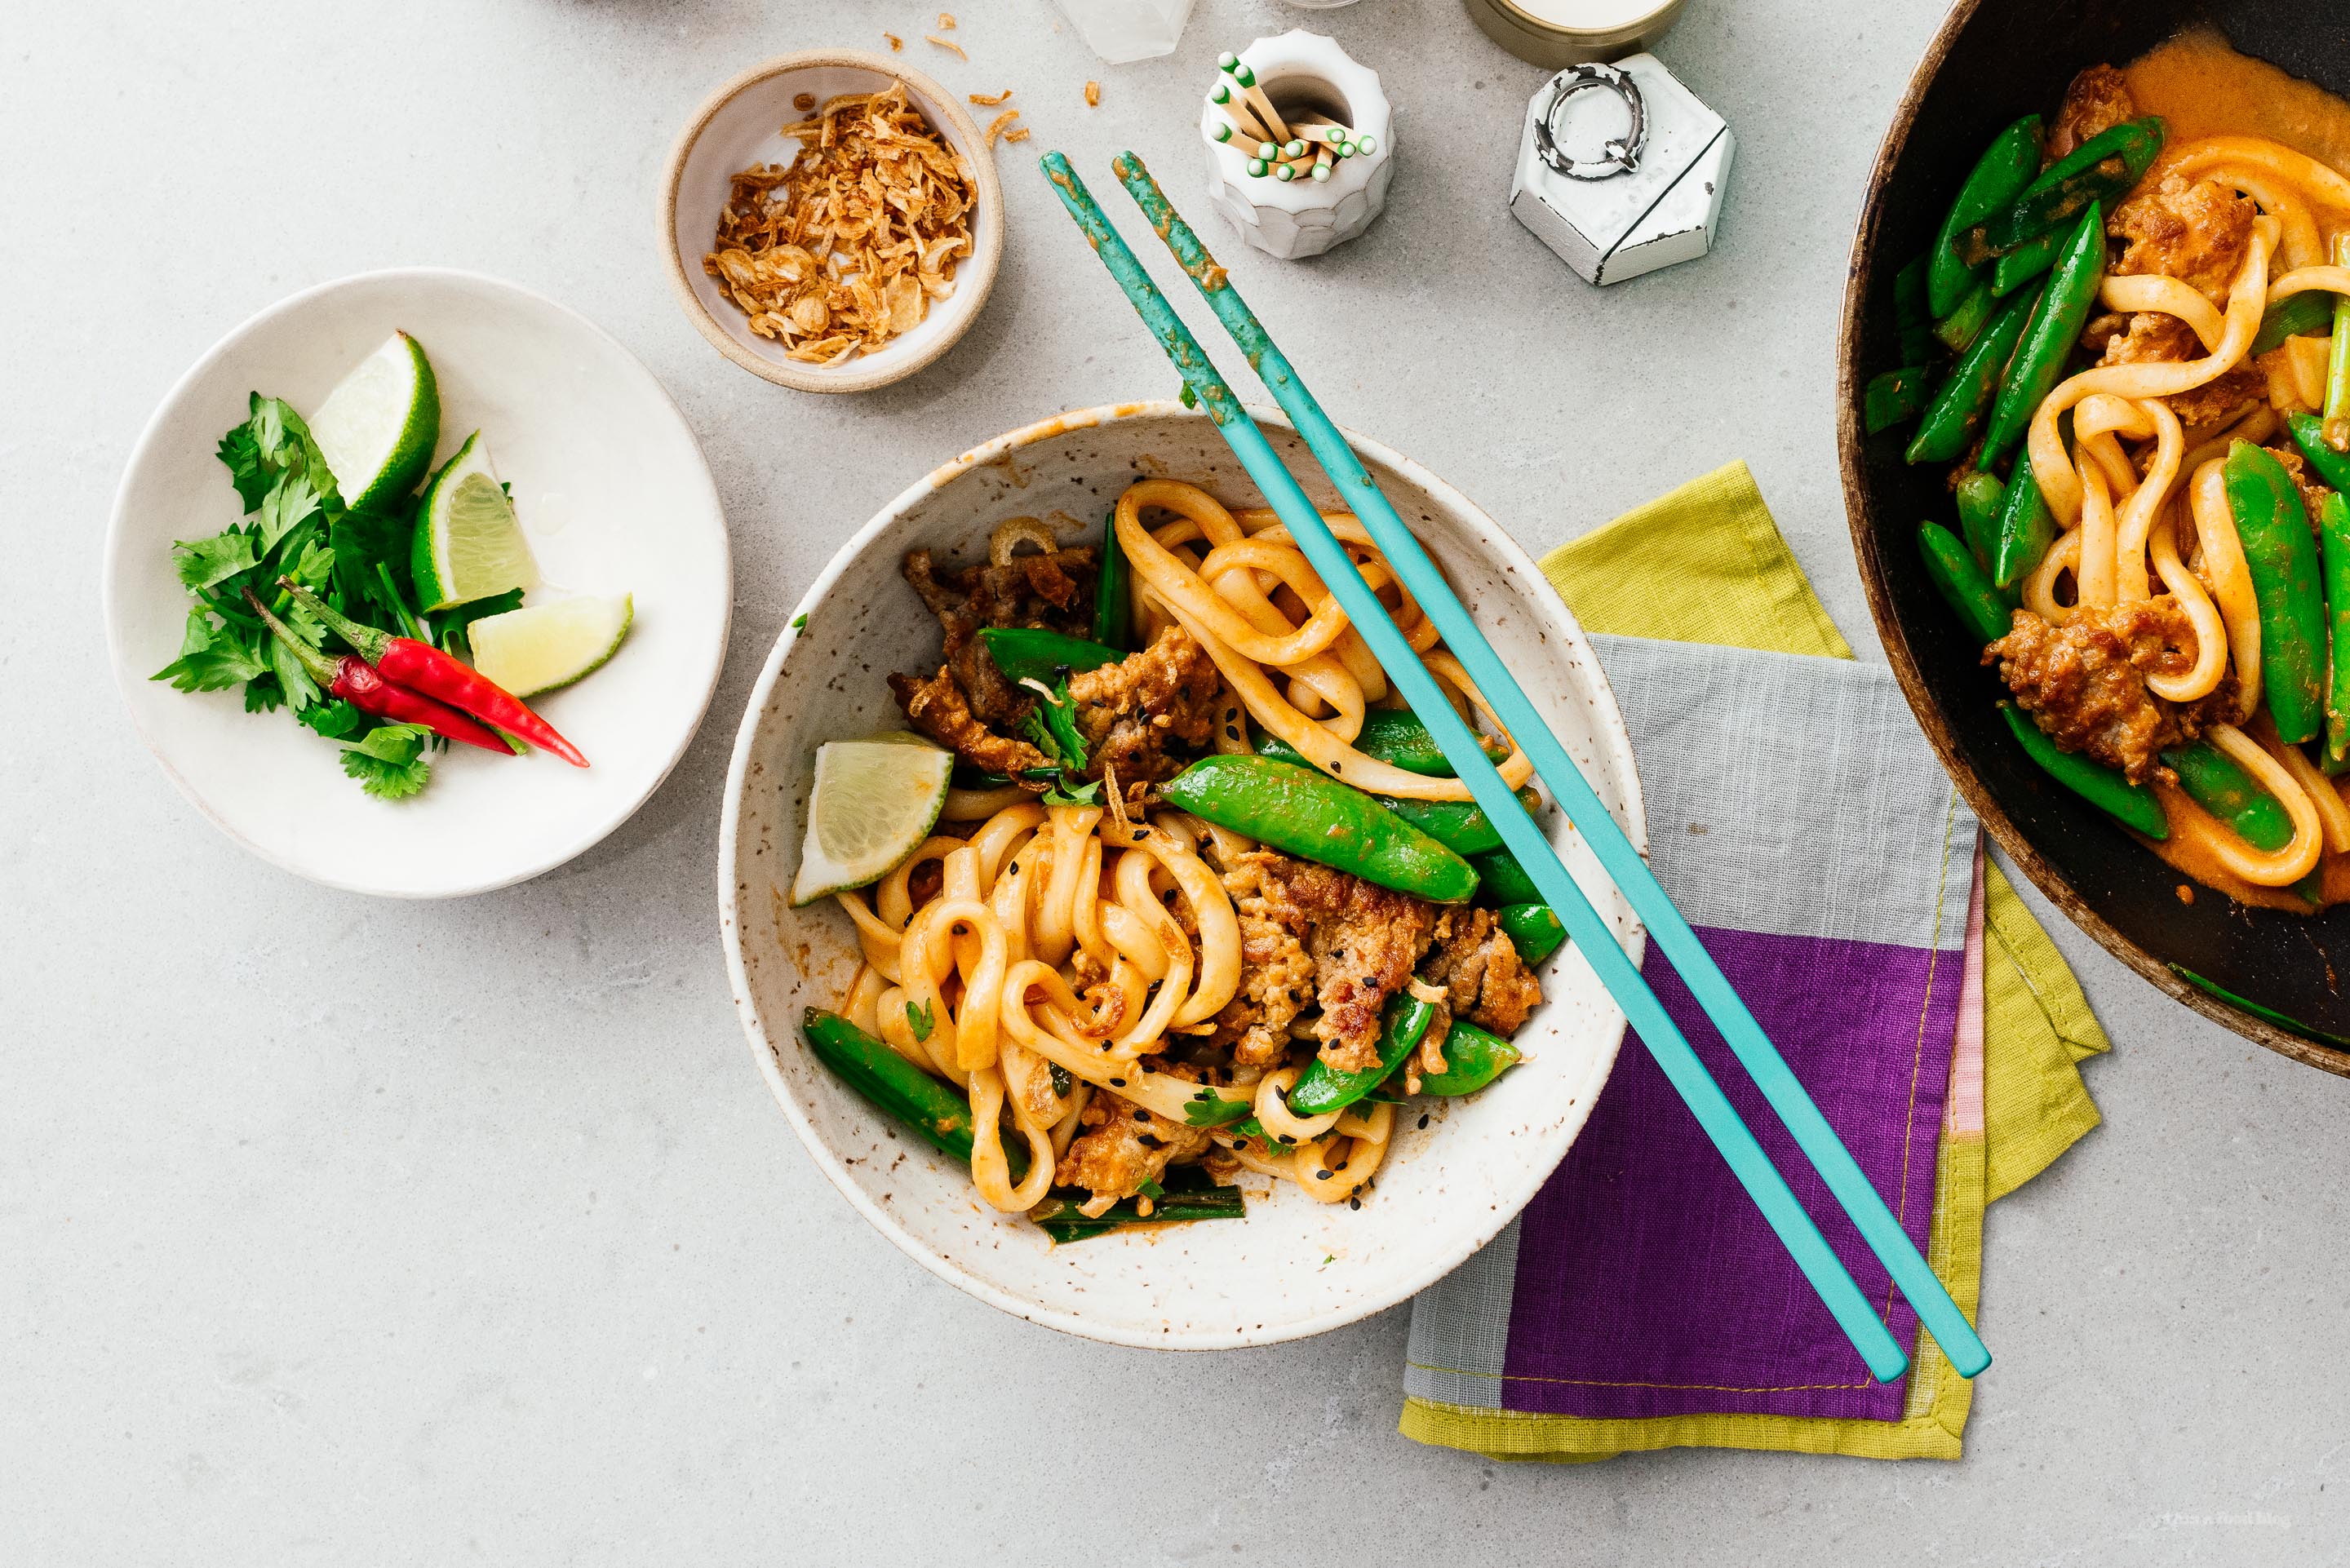
I Am... Weeknight Thai Curry Stir Fry Udon Noodles
I love udon noodles so much that Mike and I went on a udon pilgrimage to the birthplace of udon. It did not disappoint. Nor did it do anything to ease my intense craving for udon noodles. Udon noodles are the best: thick and chewy, infinitely slurpable, and so so easy to cook and eat.
Read More →
I Am... Oven Baked Carne Adovada Pork Taco Recipe
Whether you spell it chili or chile (you should really spell it chile), a meat and chile pepper stew is one of the greatest food combinations ever invented, especially for weeknights, and especially if it’s authentic. This New Mexican version is called carne adovada and it spells adovada a little different than the usual adobada but whatever the spelling, it tastes phenomenal: a dark, smoky, and complex taste gives way to soft, succulent, and satisfying pork shoulder. Carne adovada is rarely served as a taco - it’s more often an enchilada topping or a burrito/sopaipilla stuffing - but otherwise this recipe comes pretty close to authentic and (I think) rivals some of the best carne adovada you’ll have in Santa Fe or Albuquerque. Realistically, this is one of the best, most authentic taco nights you could make.
Cooking Notes
The pork is definitely cooked through at the 30 minute mark, but if you let it go for 45 min to an hour, it’ll taste twice as good. Easily. Roasting the dried chiles produces a better, smokier, and more authentic taste, but it requires your full attention because dried peppers burn really easily. An easier method if you’re not into paying super close attention is to bring water to a boil, then remove from heat and soak the peppers for 10-15 minutes. If you don’t like spicy food, shake out the seeds from the dried pepper pods before you toss them in oil.Ingredient Notes
I tried both New Mexico dried red chile pods and the much easier to find dried guajillo chiles. Both taste great; it comes down to what you can easily get your hands on, and how spicy you like it (guajillo chiles are basically not spicy). Most of the time, in New Mexico, the food isn’t very spicy, so don’t be afraid to go the mild route.What do you need?
A blender and a baking tray.Garnish
Garnish with chopped cilantro and onions, pineapple, and extra adovada sauce. Alternately, consider topping with our chile verde sauce for a truly New Mexico combination of red and green.Oven Baked Weeknight Carne Adovada Pork Taco Recipe
This oven baked version of Carne Adovada is the chile stew you never knew you loved.
- 2 oz whole dried chile pods (New Mexican red chiles preferred)
- 1/2 medium onion (roughly chopped)
- 1.5 lb pork shoulder (sliced)
- 1 cup sodium free chicken stock
- 2 cloves garlic (crushed)
- 2 tsp sugar
- 1 tsp dried Mexican oregano
Preheat your oven to broil/500ºF. Wash your dried chiles in warm water, then remove the stems and toss in oil. Arrange in one layer on a foil covered baking sheet and roast chiles for 45 seconds. Alternately, just soak them in warm water for 10 minutes.
Meanwhile, chop your onions and slice your pork and season with salt and pepper. Set aside.
Transfer the chiles to a blender along with 1 cup sodium free chicken stock, garlic, sugar, and oregano.
In an oven proof baking pan or skillet, combine cubed pork, chile sauce, and onions. Allow to marinate for 15-30 minutes.
Broil your pork for 10 minutes, flipping once at the 5 minute mark (stretch goal: broil for another 15-30 minutes)
Enjoy with mexican/spanish rice and refried beans, or as tacos with lime, cilantro, and onion. Also consider roasting pineapples at the same time you roast your pork.
Nutrition facts estimated based on 1/4lb of meat per serving
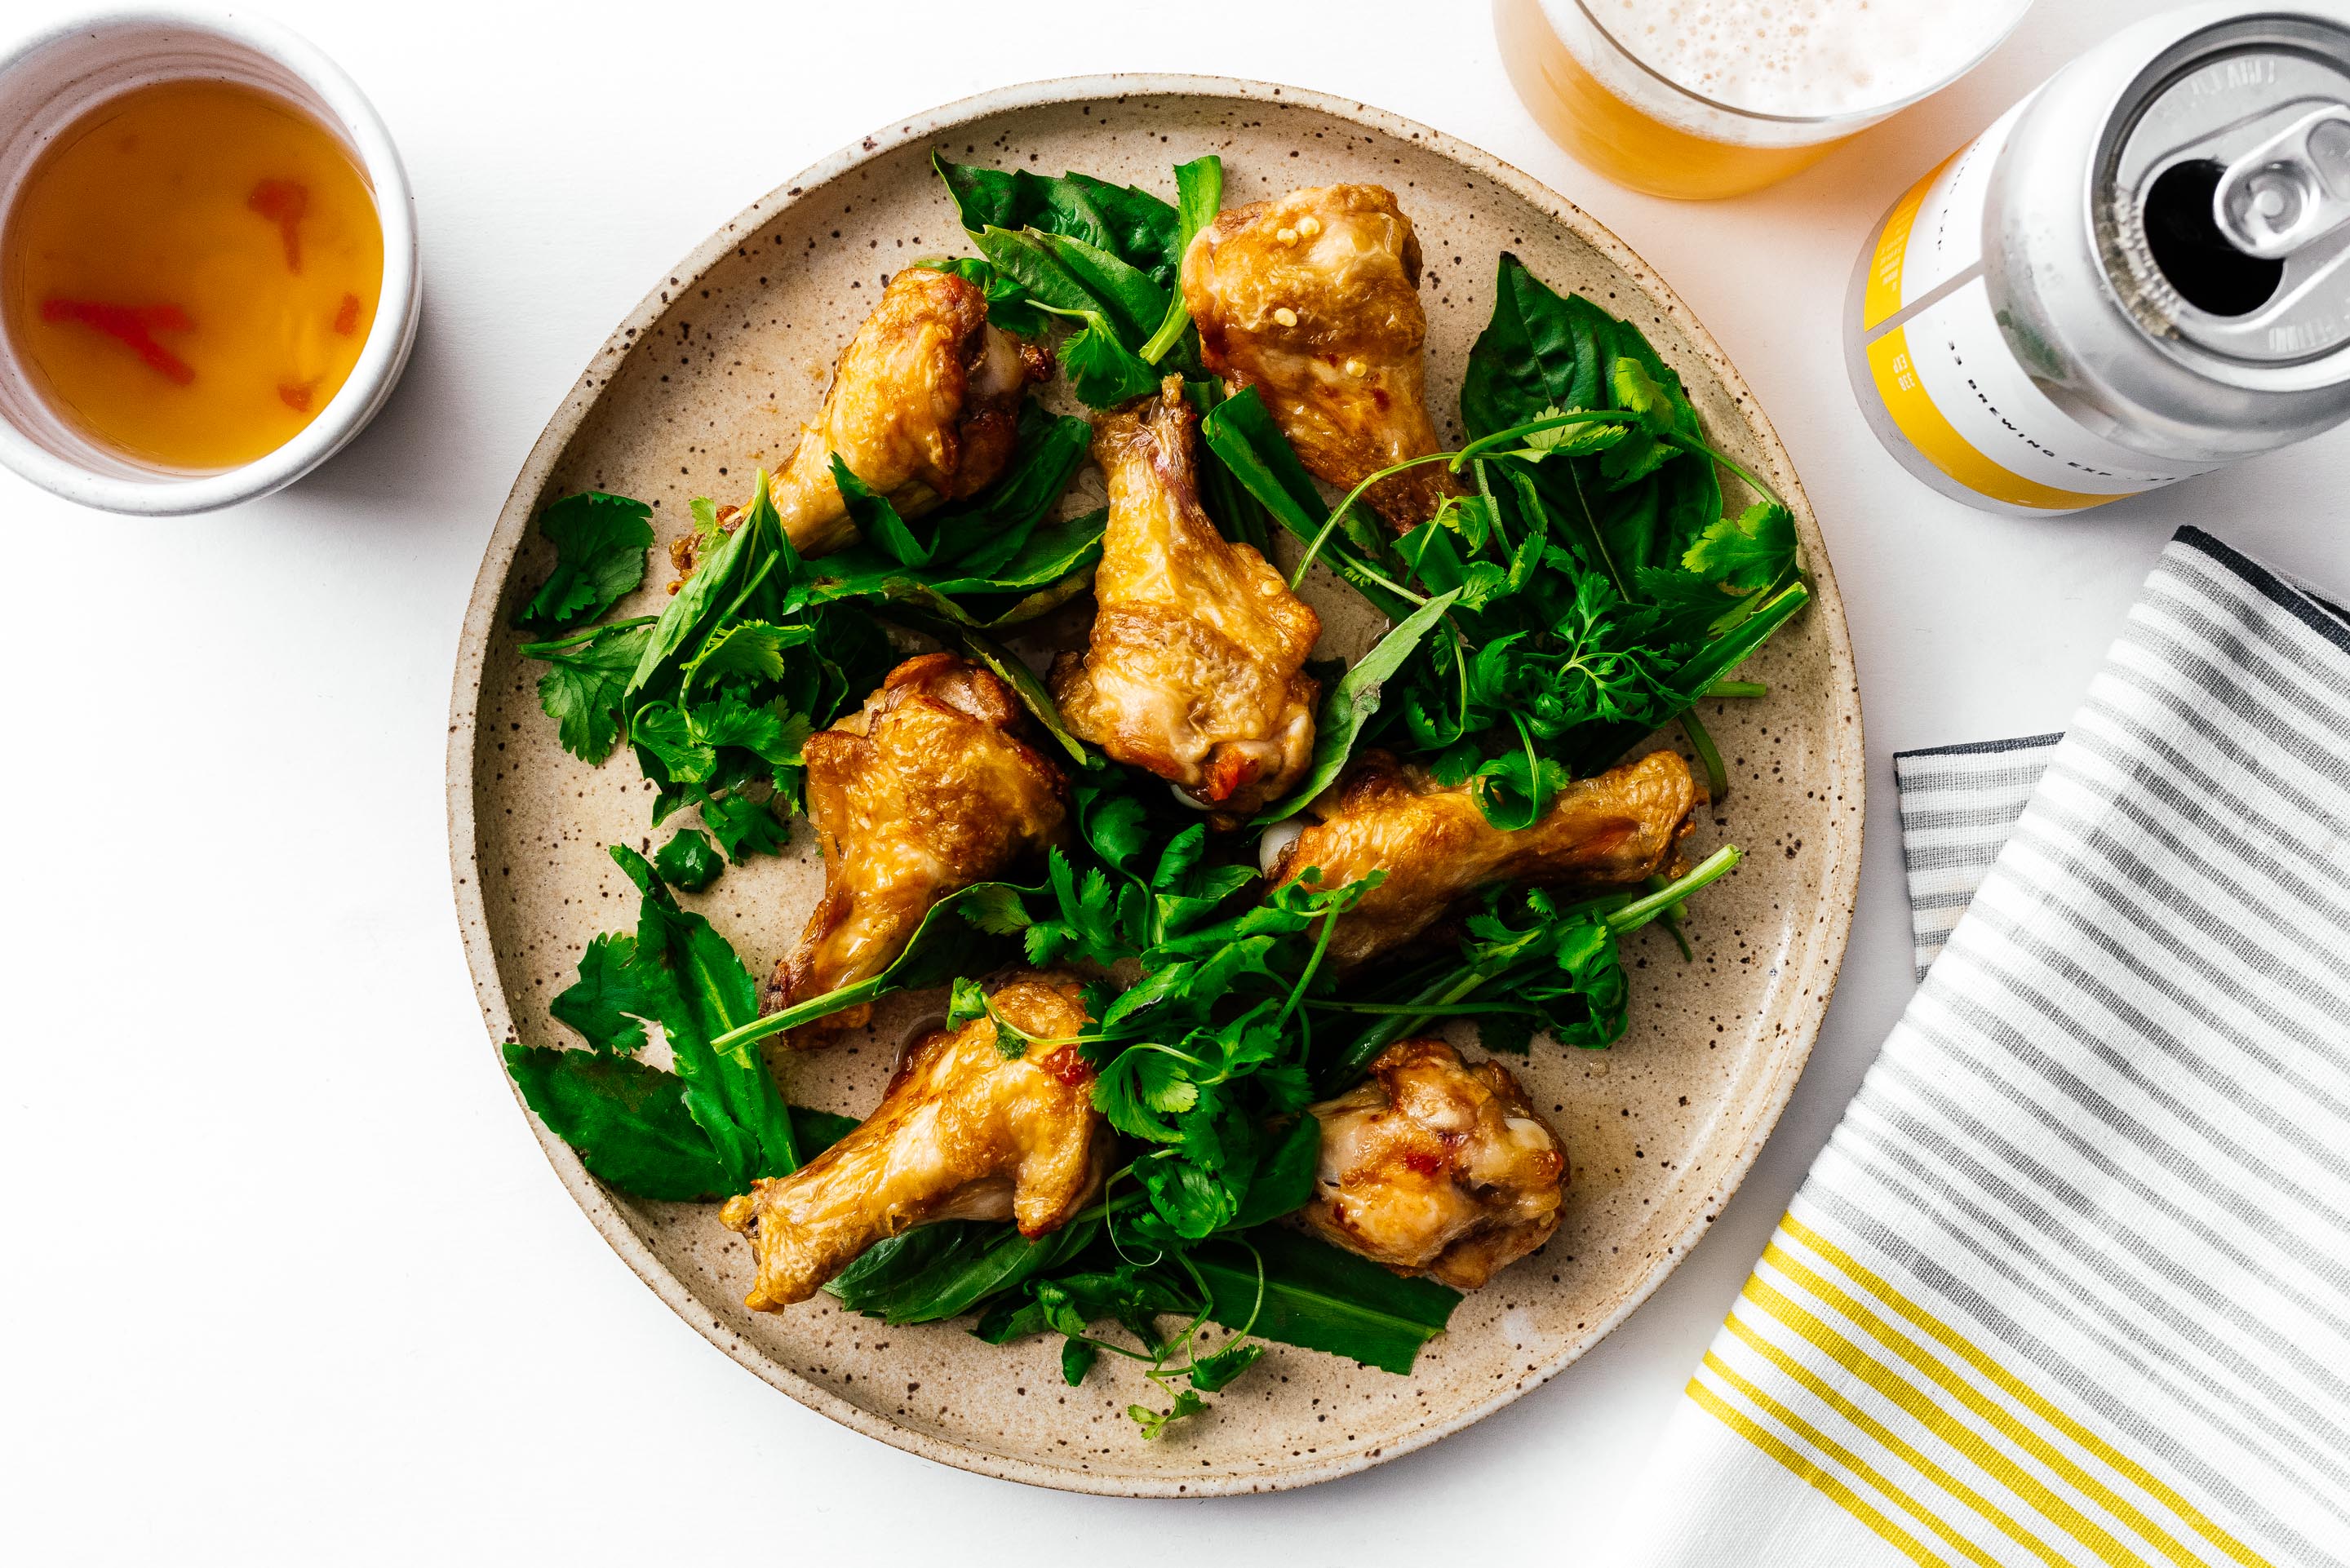
I Am... Extra Easy Pok Pok Style Fish Sauce Chicken Wings
The other day Mike and I and a couple of friends did a Hot Ones challenge. We supplied the wings and the air fryer, one friend brought ALL the hot sauces, and another one brought the booze. It was a hilarious night filled with hot sauce, tears, chicken wings, and pure love.
Read More →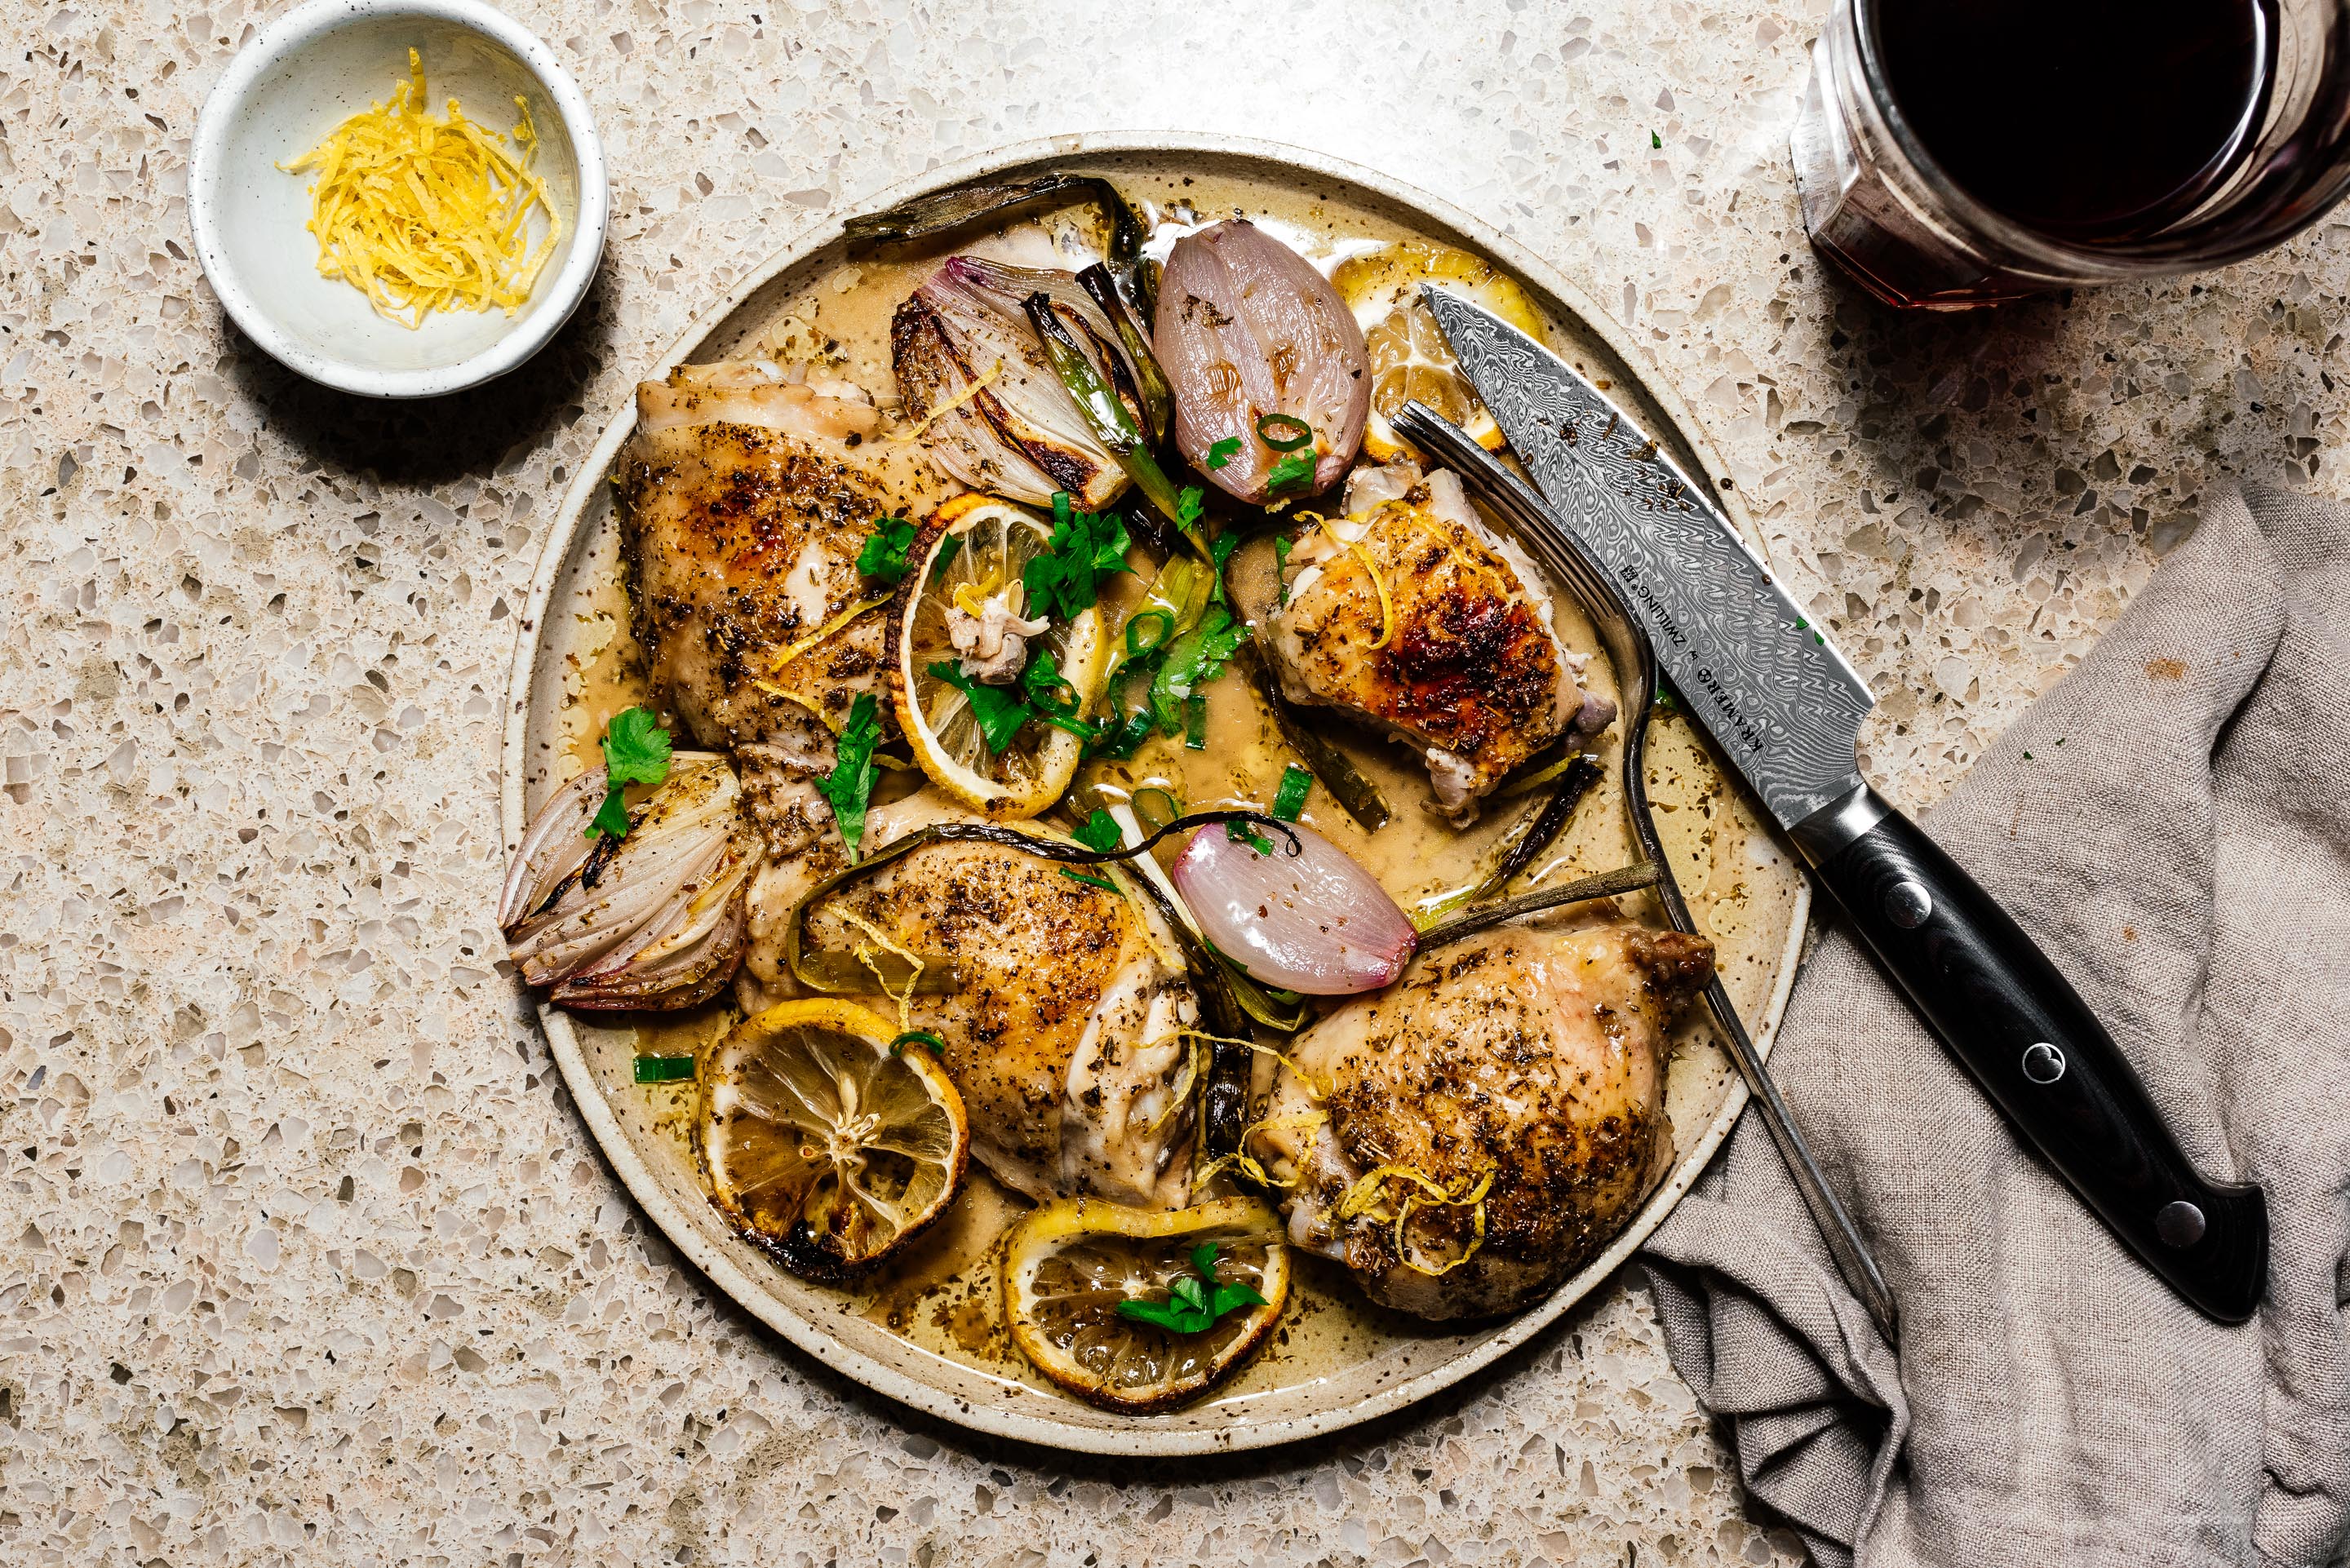
I Am... An easy weeknight oven roasted lemon pepper chicken recipe
Everyone loves lemon pepper chicken, but if you use the premixed seasoning, you're probably cutting your life short from the sodium content alone. This is a healthier alternative that may or may not taste like the stuff you love, but it's way healthier and super delicious: perfect oven roasted chicken baked with a lemon pepper olive oil mix that sates your soul (and tummy). Cooking Notes Tempering your chicken on the countertop when you come home from the store will ensure faster, more even cooking. If you don't have a meat thermometer, you can cut one open to check if it's done, but a good thermocouple thermometer isn't very expensive and takes the guesswork out of cooking. Ingredient Notes Lemon Pepper Seasoning is a classic salt and pepper blend with lemon zest. If you want to go that route, let your lemon zest dry out and crush sea salt, freshly ground black pepper, dried lemon zest, and a tiny bit of garlic powder to make your own. Go for good quality first pressed olive oil. It's not too much more money and way tastier. What do you need? Just a baking dish. A zester is optional but makes life a lot easier.
An easy weeknight oven roasted lemon pepper chicken recipe Serves 21. Preheat your oven to 450ºF and season your chicken with salt and pepper. Allow to temper while making the sauce. 2. Zest your lemon and thinly slice half of the lemon. Reserve the zest and the slices. 3. In a small bowl (or directly in the baking pan if you’re feeling adventurous) add 1/4 cup olive oil, the juice of the remaining half lemon, and oregano. Taste and season with salt and pepper. 4. Place the chicken, shallots, green onions, and lemon slices into the baking pan. Pour the sauce over top and roast for 20 minutes, or until the meat hits 150ºF in the center. 5. While the chicken is roasting, use the back of a spoon to crush together 1 teaspoon of crushed black pepper with the remaining lemon zest. Remove and garnish with the lemon pepper mix.
- 4 bone-in skin-on chicken thighs
- 1 lemon
- 1/4 cup olive oil
- 1 tsp oregano
- 2 shallots, peeled and halved
- 2 green onions, trimmed and halved
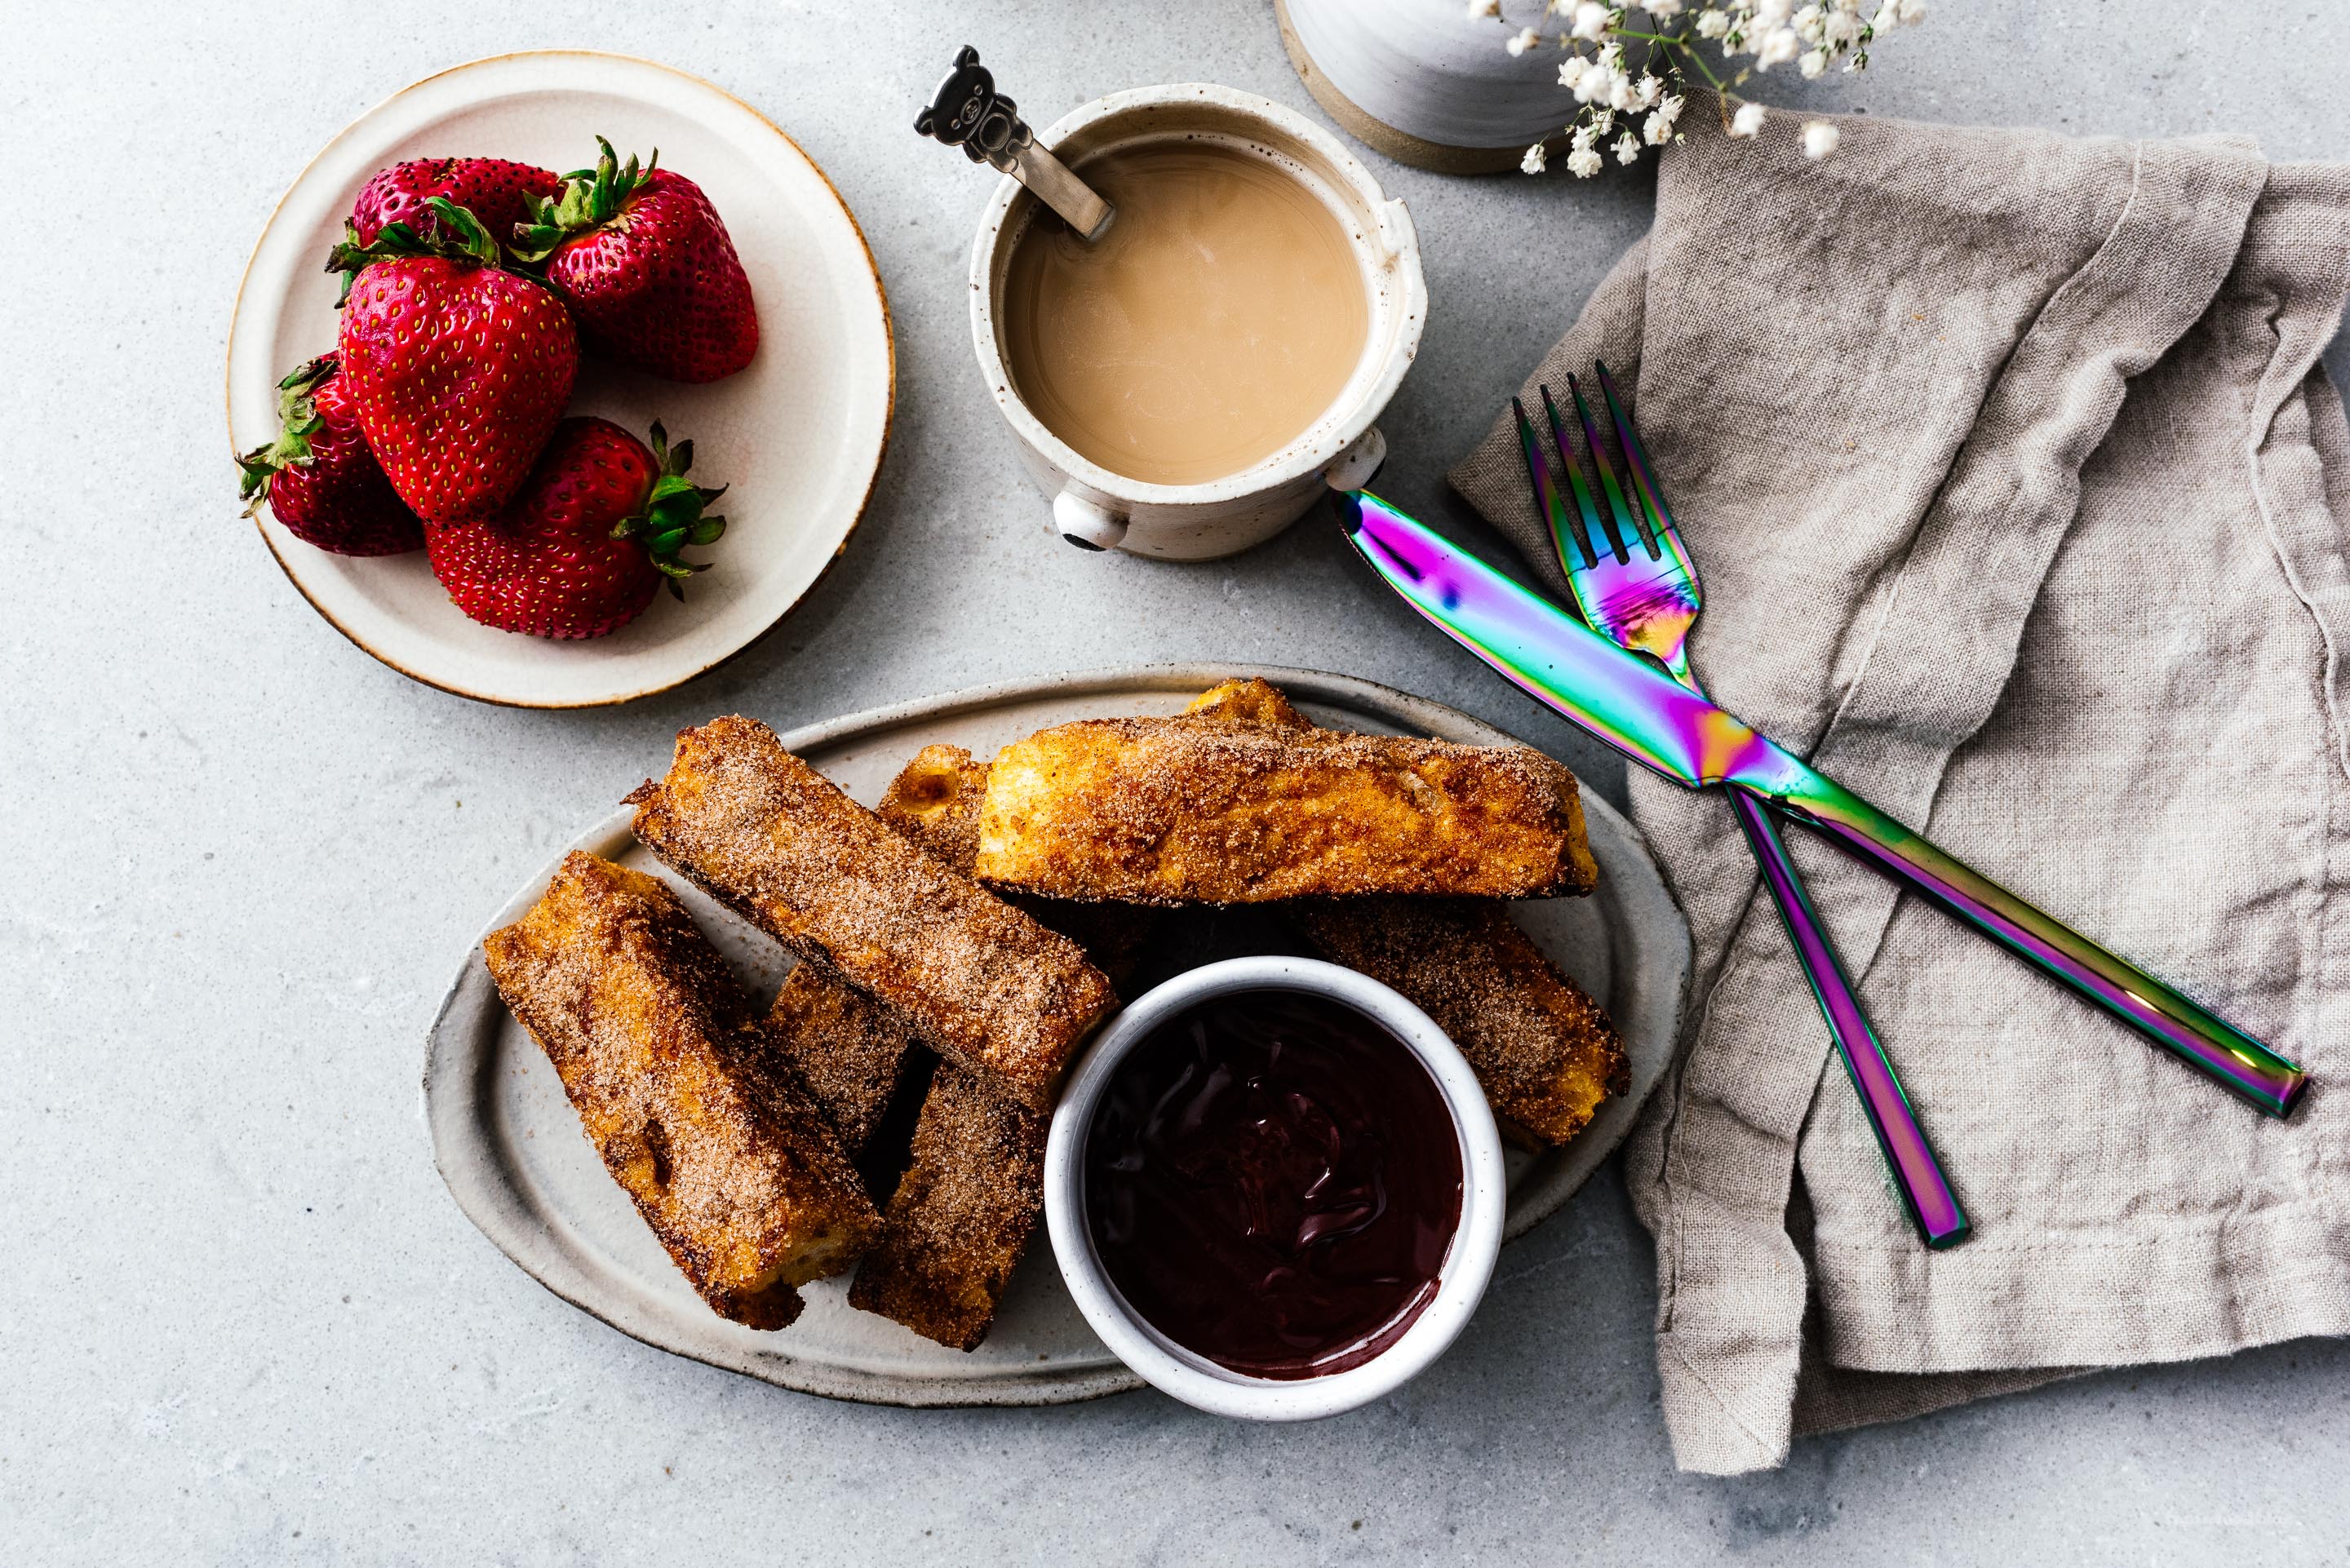
I Am... The Best French Toast You’ll Ever Eat: Churro French Toast Sticks
Gosh darn it, I love French toast. The crisp caramelized exterior, the eggy soft custard bread-y insides. The toppings. The icing sugar. The syrup. EVERYTHING about French toast makes me insanely happy. I feel like maybe I could start a French toast restaurant? Like IHOP but for French toast? International House of French Toast? IHOFT? Would you hit it up? I would do sweet and savory French toasts and I would make sure if you wanted you could order a progression of French toasts so you could start with a little appetizer style one, then move on to a savory, then have a dessert one. We could do sizes too so you could just get one slice if you want to have more varieties. GAH. It would be SO GLORIOUS.
Read More →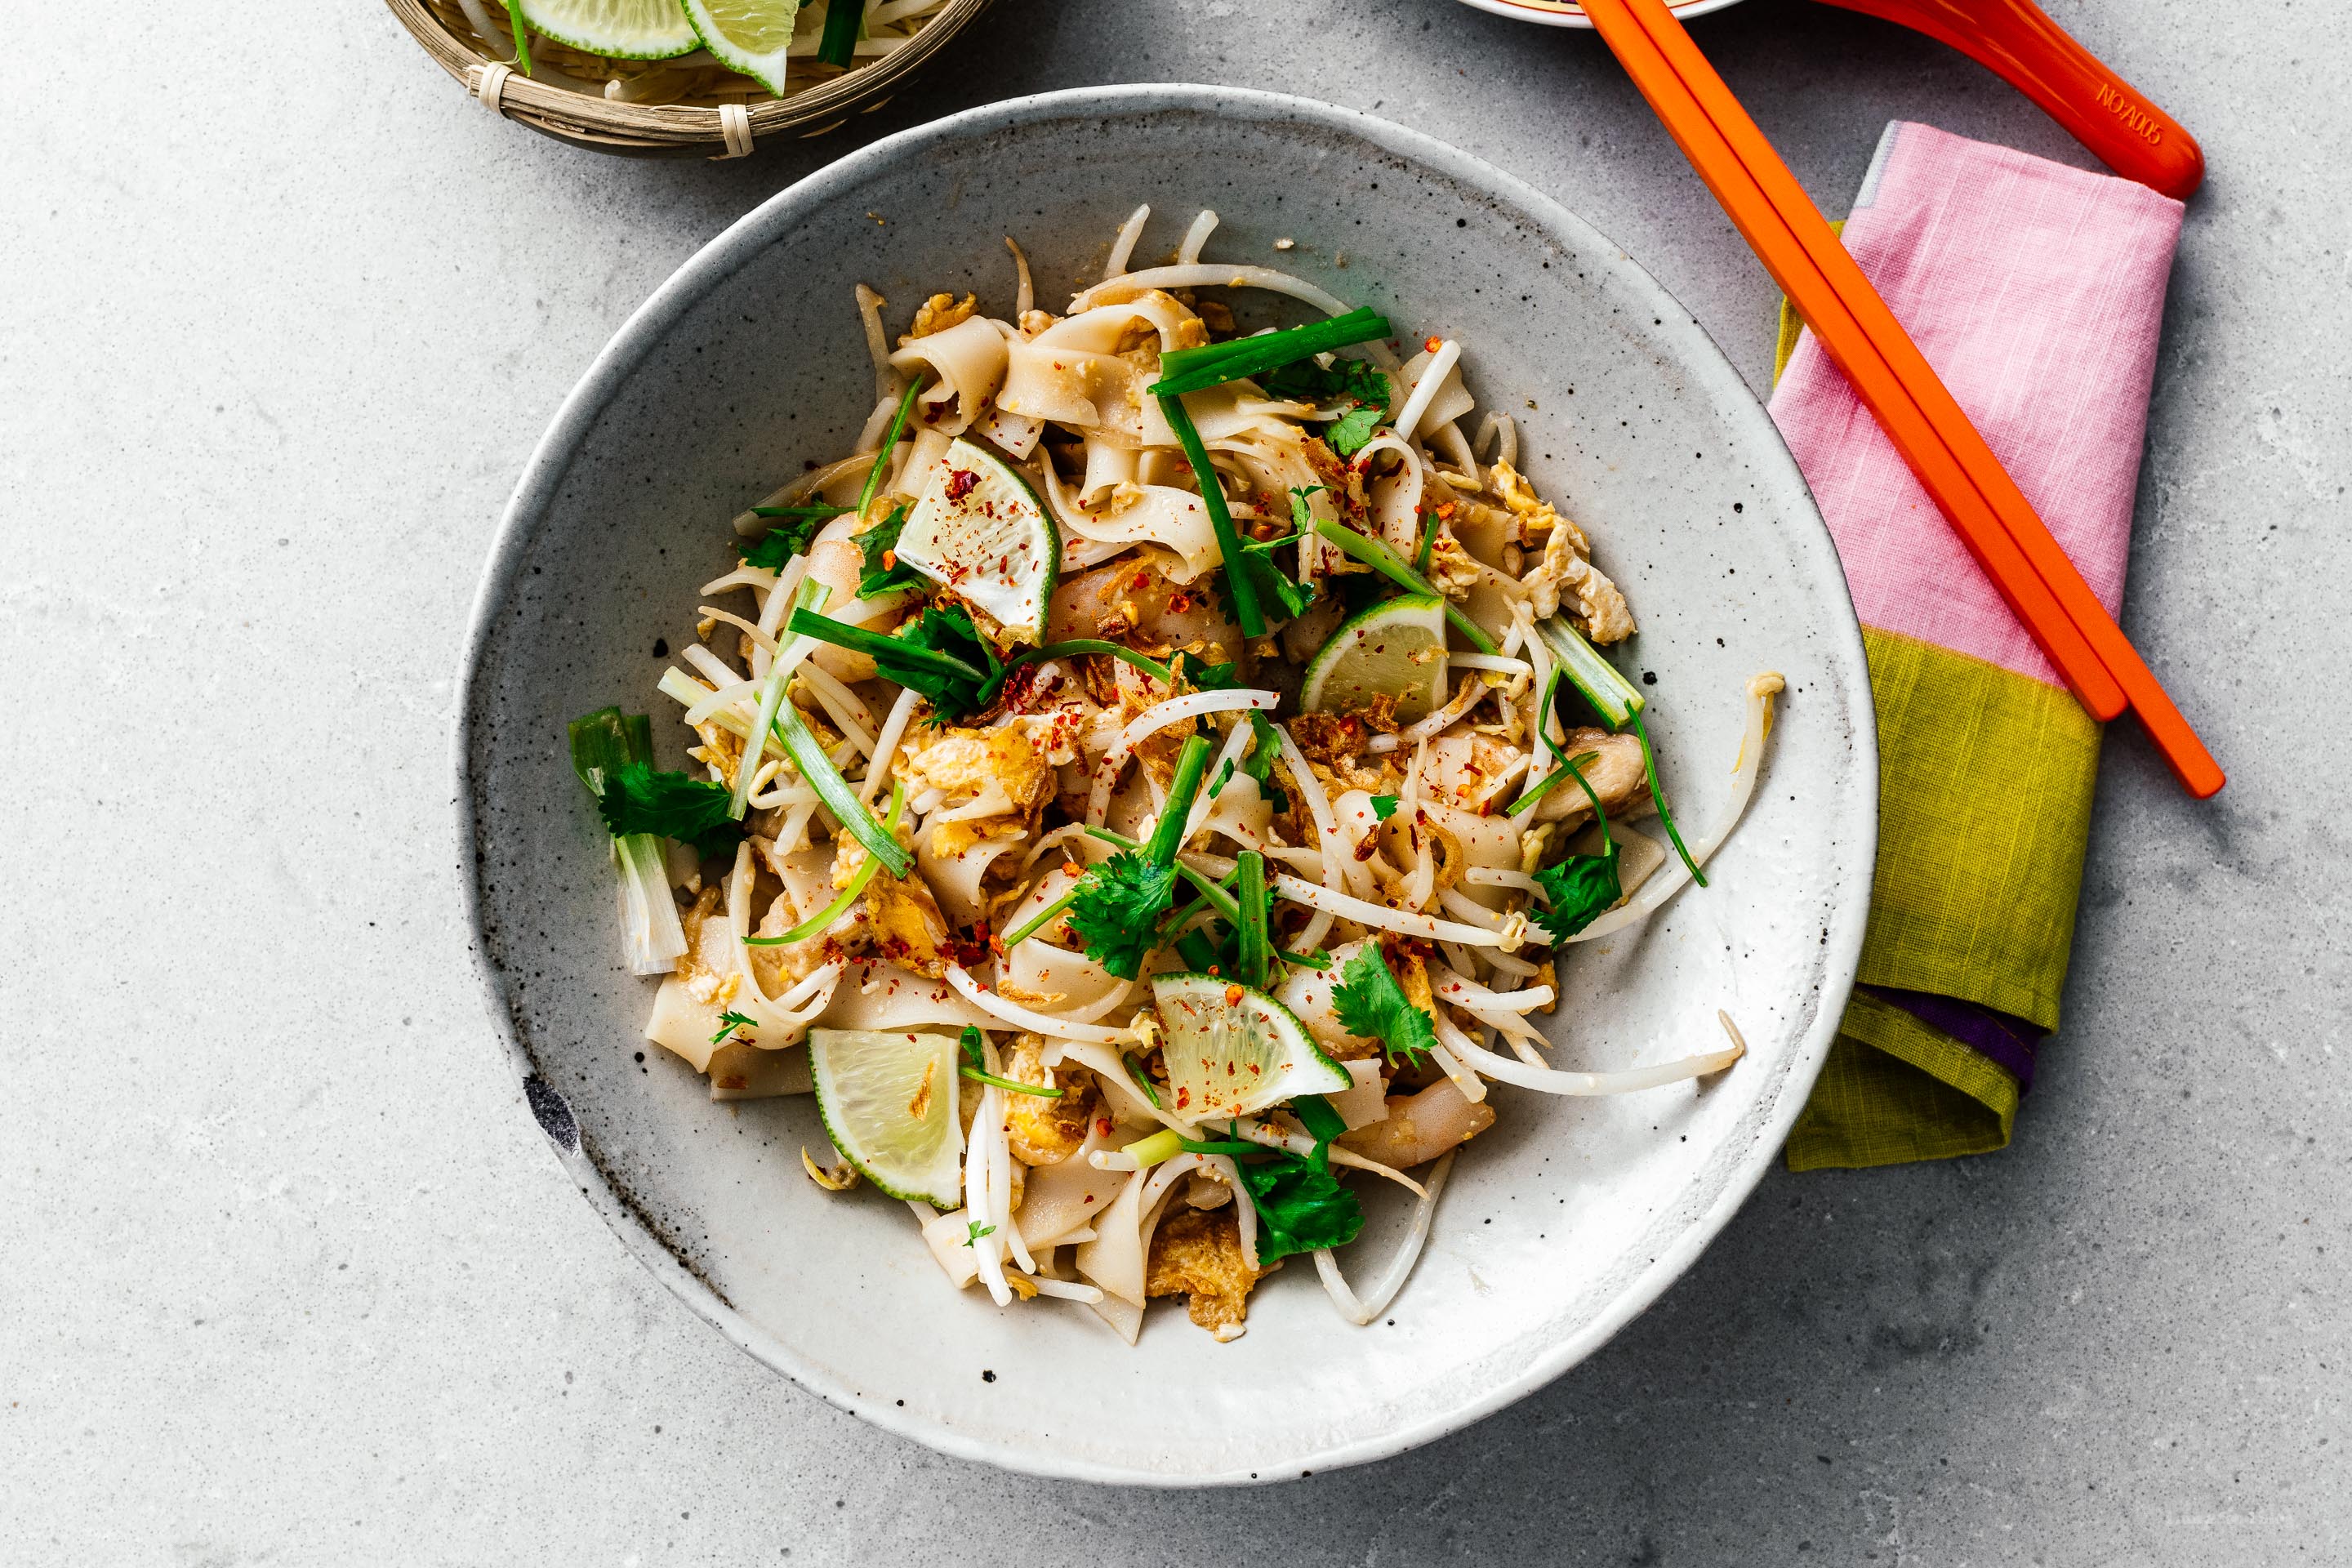
I Am... Better than Take Out Peanut Free Pad Thai Recipe
Mike and I are currently road tripping and camping and it’s been a hilarious trip so far, with me trying to eat keto (my car snacks are macadamia nuts and carb free cheese crips) and various things breaking down that need to be fixed. Still, we’re having an awesome time. There’s something about being in a car that forces you to have deep conversations that you might not otherwise have. Conversations about things like your feelings on roadside attractions (both in favor) and pad Thai.
Read More →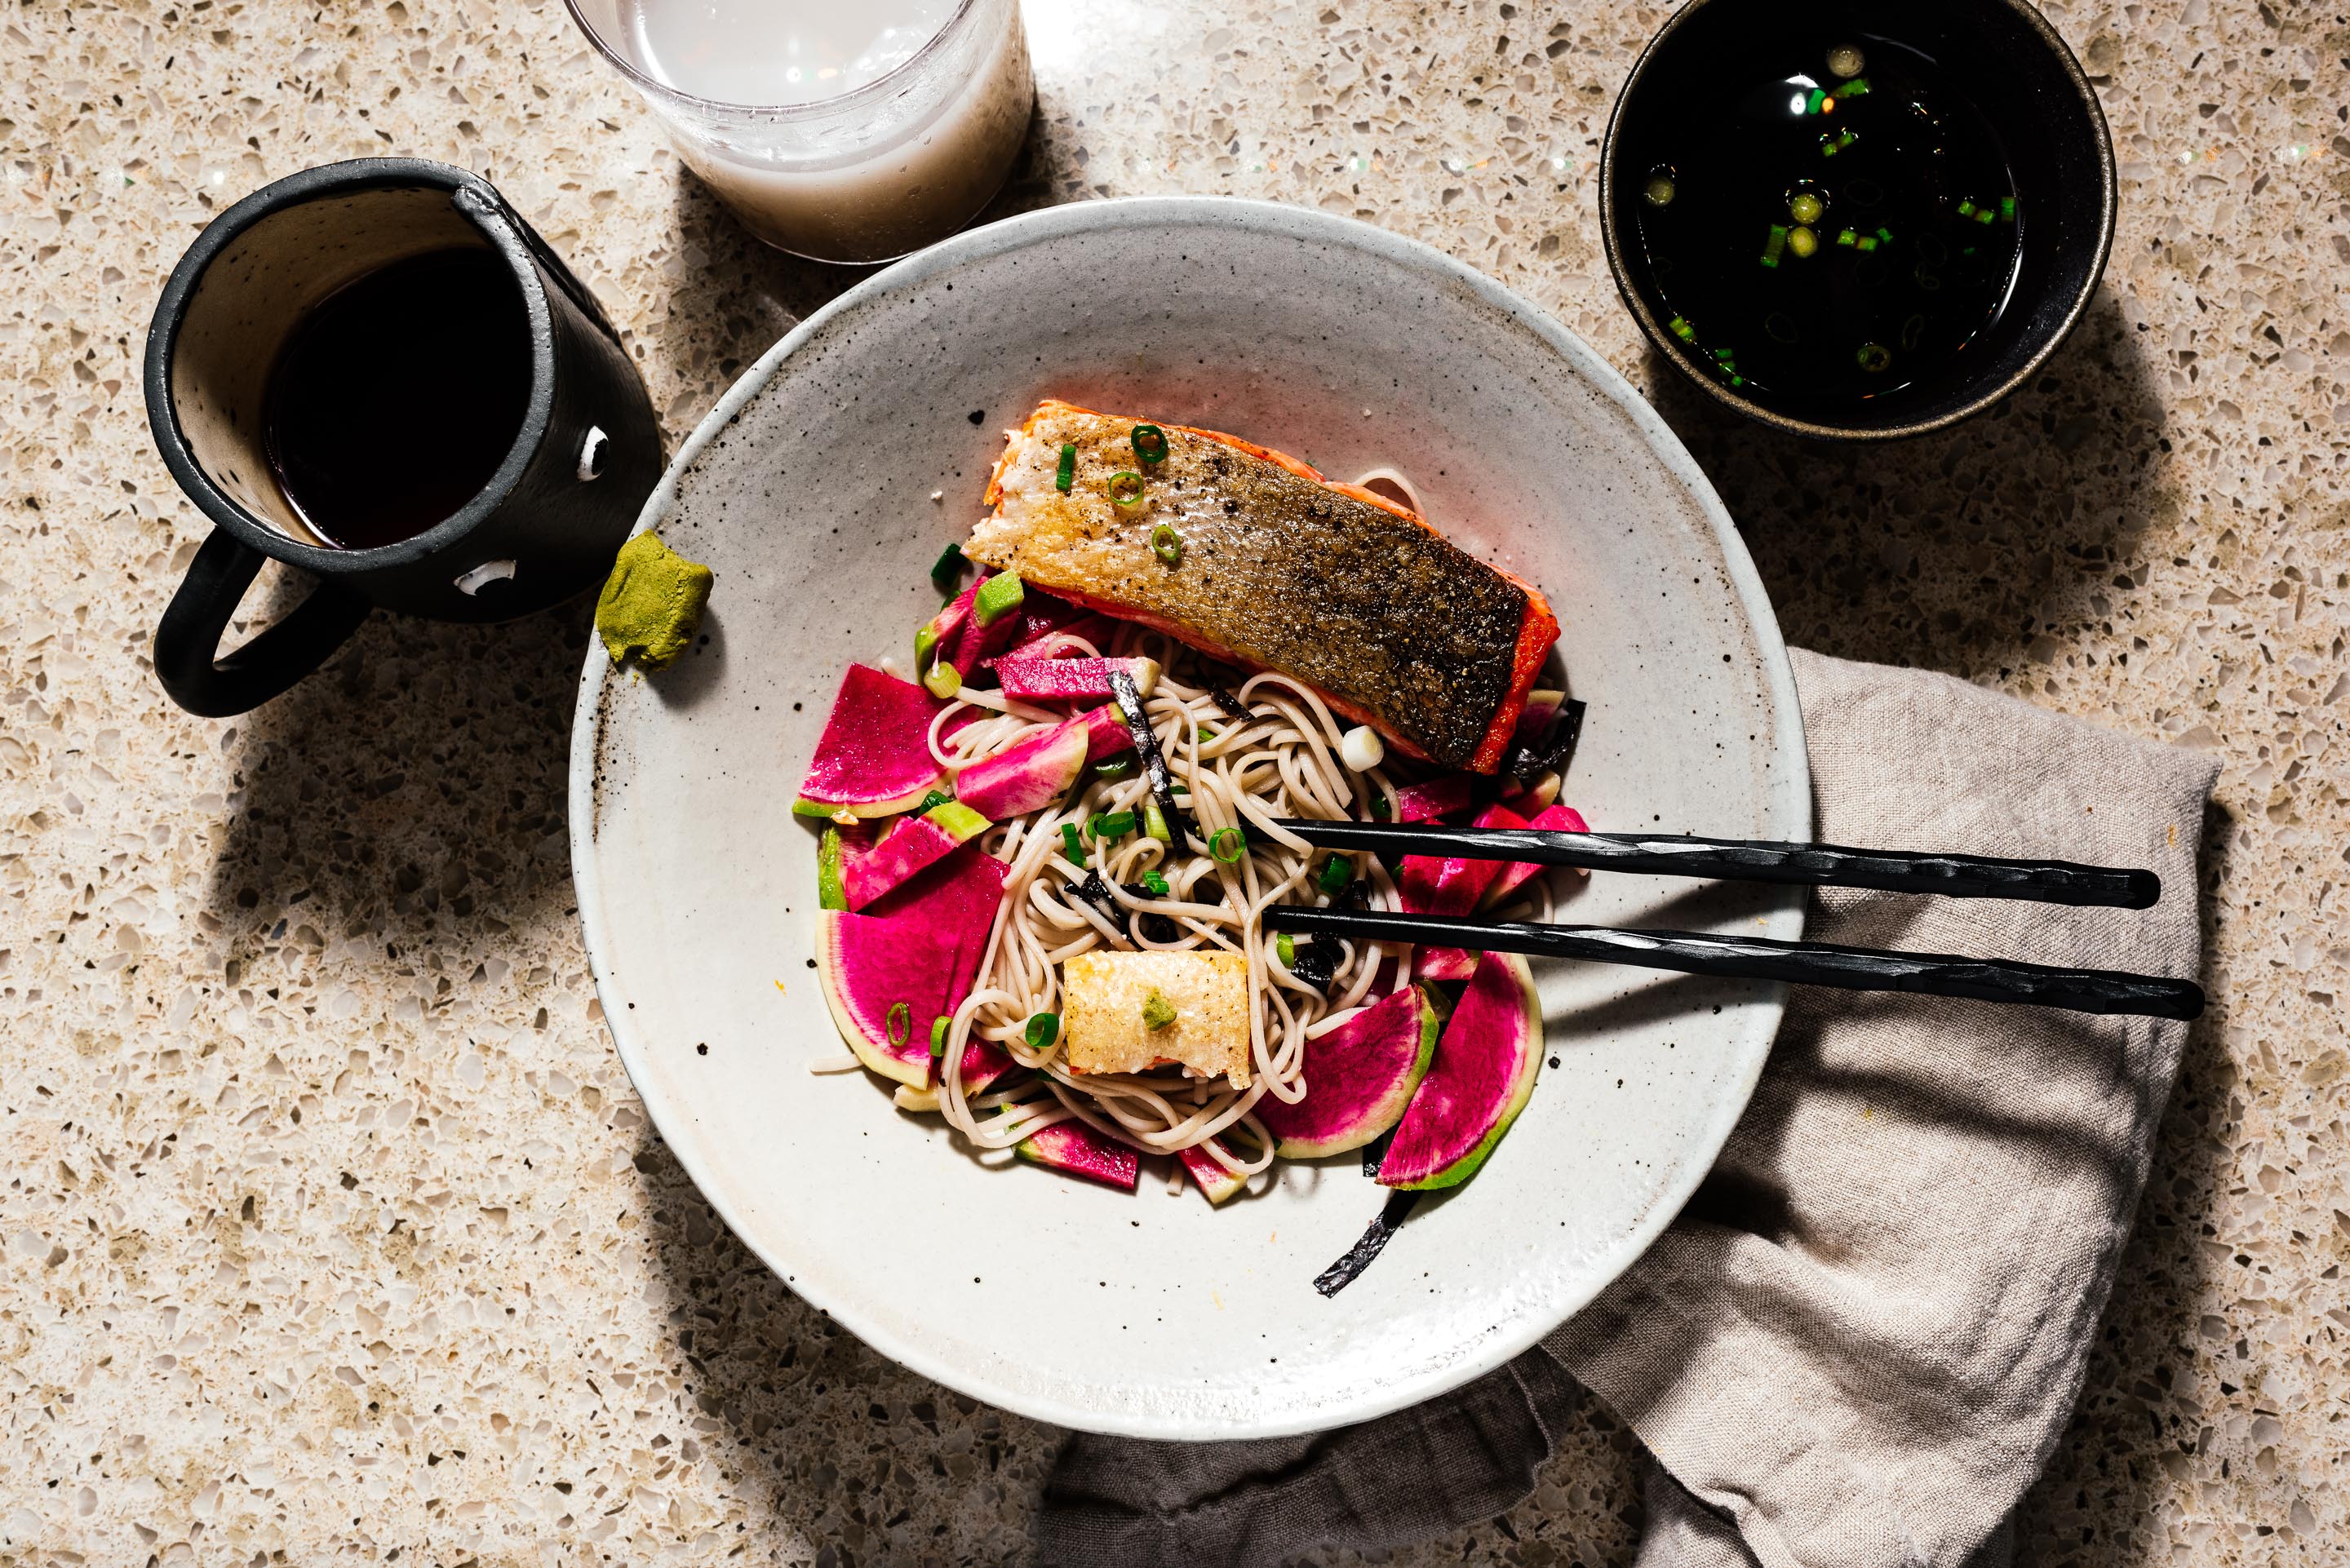
I Am... The best weeknight dinner for summer is 10 minute cold soba recipe
One of the best things to eat when it’s hot out is really good cold soba. In Japan’s pantheon of noodles, soba is king. Ramen and udon have their place in Japanese hearts, but soba is universally respected and loved, and for good reason. Good soba is trascendental: nutty, chewy, and addictive. Pepper potts loves it. Great soba is one of those dishes that are naturally best enjoyed cold, and the best part is, everything can be ready in 10 minutes. Traditionally in Japan soba is eaten with fresh tempura, but this is dinner and chill, so deep frying is out of the picture. Summer though means salmon, and a great crispy salmon is the next best thing to freshly fried tempura. This dish is the perfect weeknight meal when you’re looking for something a little fancier, but want dinner on the table in 10 minutes. As always, here is the countdown: T-10: bring water to a boil and preheat your frying pan with oil T-9: cut radishes T-8: make the quick pickle T-7: add salmon T-6: add soba to water T-5: make wasabi, slice green onions and seaweed T-4: make instant dashi T-3: flip salmon T-2: remove salmon from frying pan T-1: rinse soba, serve, and eat! Cooking Notes Unlike pasta, you want to cook your soba to package directions and rinse in cold water. Crisp, perfectly cooked salmon is easy, but needs patience to learn on your stove. I like to heat up 2 tablespoons oil in a nonstick skillet until just before smoking hot, then turn off the heat entirely (or move to a different burner if you have electric), lay the salmon on skin side down and watch until it’s just about halfway cooked - 5 minutes - and move the pan back onto low heat and flip to the other side for 1 minute. Times might differ if you have a fillet more than an an inch thick, or if your stove doesn't get hot enough to smoke oil. Just look for that halfway opaque look, then flip. While the presentation up above is the normal way you’d see it in America, I actually prefer it Japanese style, with the soba separated on a bamboo sieve to let it breathe, a dipping sauce, and the side dishes on a separate plate. It’s a stretch goal (that’s a lot of extra dishes to wash) but if you do go this route, there is a reward: the soba water can be mixed with the dipping sauce to create a super satisfying and nutritious soup at the end of your meal. It’s called soba-yu and some people believe that a soba meal is not complete without it (top left corner of this photo). Ingredient Notes We’re constantly buying new soba packages to try. While none of the dried packages can match the quality of soba from a famous soba-ya in Japan, all of them have been good-to-great. The secret is in knowing what to get. I like to look for soba that is either 100% buckwheat, or buckwheat with a little flour and salt. The 100% buckwheat can be a little hit or miss and is often hard to find, but when it’s good it’s great. The ones with only buckwheat, flour, and salt are really dependable and that’s what I’d recommend you look for (the white package in this photo is upside down). The dipping sauce (tsuyu) is a super simple one of only dashi and soy sauce. You can (and people do) go way crazier with tsuyu recipes, but I find simple is best. I recommend instant dashi but if you are inclined, all you need to make a wonderful homemade dashi is a small square of kombu and high quality bonito flakes. We ran out of instant dashi so that’s actually what I ended up doing. Just bring 2 cups of water to a boil, take it off the heat, and add 1 cup bonito flakes and a 5x5 square of kombu for some fantastic homemade dashi. But to reiterate: instant dashi can be amazing. Finally, I used watermelon radishes in this recipe but don’t go nuts looking for them, any radish or root vegetable will taste amazing. What do you need? A nonstick skillet, a pot to boil soba in, and a colander of some sort. I really prefer a pasta scooper to get the soba out. A bamboo noodle plate isn't needed but sure looks cool. Garnish Garnishing with sliced green onions, strips of seaweed, and wasabi make all the difference when it comes to soba. You can buy seaweed precut in most Japanese supermarkets, or just cut it yourself with kitchen shears. Wasabi is best in powder form (unless you’re crazy enough to buy a wasabi root) and mixed roughly 1:1 with cold water.
10 minute zaru soba with crispy salmon and quick pickled radishes recipe Serves 21. Prepare your garnishes and toppings. Season your salmon with salt and pepper on both sides and set aside, skin side up. 2. Make the radish pickle by combining radishes with rice vinegar, sugar, salt, and 1/4 cup cold water. Set aside. 3. Bring a large pot of unsalted water to the boil. At the same time on a second burner, heat up some oil in a nonstick skillet until it is just about smoking. 4. While you are waiting for the water and skillet to heat, make your dipping sauce/dressing with soy sauce and dashi. For instant dashi, use 2 cups very hot tap water. See note above for from-scratch dashi. 5. When the water comes to a solid rolling boil, cook your soba according to the package time. 6. Once hot, remove the skillet from the heat and lay your salmon skin side down and reduce the heat to medium-low or low. Cook the salmon for 5 minutes skin side down. or until the flesh is just about opaque halfway way through, then flip and cook for another minute. Transfer to plate. 7. When your soba is done, rinse in cold water. 8. Plate everything and serve. If you are going for a single bowl presentation, spoon a little dressing over the soba before serving. If going Japanese style, save the soba water to serve after the meal.
- 1 large watermelon radish, cubed or sliced
- 1/4 cup rice vinegar
- 1 tablespoon sugar
- 1/2 teaspoon kosher salt
- 1/2 pound salmon fillet, cut in two.
- 6-8oz soba
- 2 tablespoons soy sauce (or to taste)
- 2 cups instant dashi
