

This matcha azuki cake was amazing! I mean, how could it not be with six layers of deliciousness? I’m no baker, but there’s something exciting about taking on a project, especially in the fall. So, even though I absolutely thought this would be a disaster, I went forward and decided to bake a matcha azuki entremet. I’m so happy that I did because it was surprisingly EASIER than baking a classic round layered frosted cake. And it was incredibly good.
Matcha and azuki are a matcha (heehee) made in heaven. They’re kind of the peanut butter and chocolate of Japan. There’s something about the complex, rich taste of matcha that pairs perfectly with sweet and creamy red bean paste. There are so many desserts that pair the two, but I went with a particular cake by a very famous Japanese French trained pastry artist, Sadaharu Aoki.
I first fell in love with Aoki’s creations on the internet. His patisserie was high on my list of places to visit when we went to Paris and when we went I wasn’t disappointed. The space was gorgeously minimalist and well lit to show off his works of art. I fell in love with the Matcha Azuki, his take on a classic French entremet, those multilayered mousse based cakes with crunchy layers.
Entremet seem fussy, because every layer is a separate recipe, but I found that kind of genius. You can break the process down and prepare this over several days or you could potentially do it in one. Since all the components are made separately, you’re able to taste everything at each step. I was happy with how everything tasted separately, but when I put them all together and finally tasted the final product, I was in LOVE.
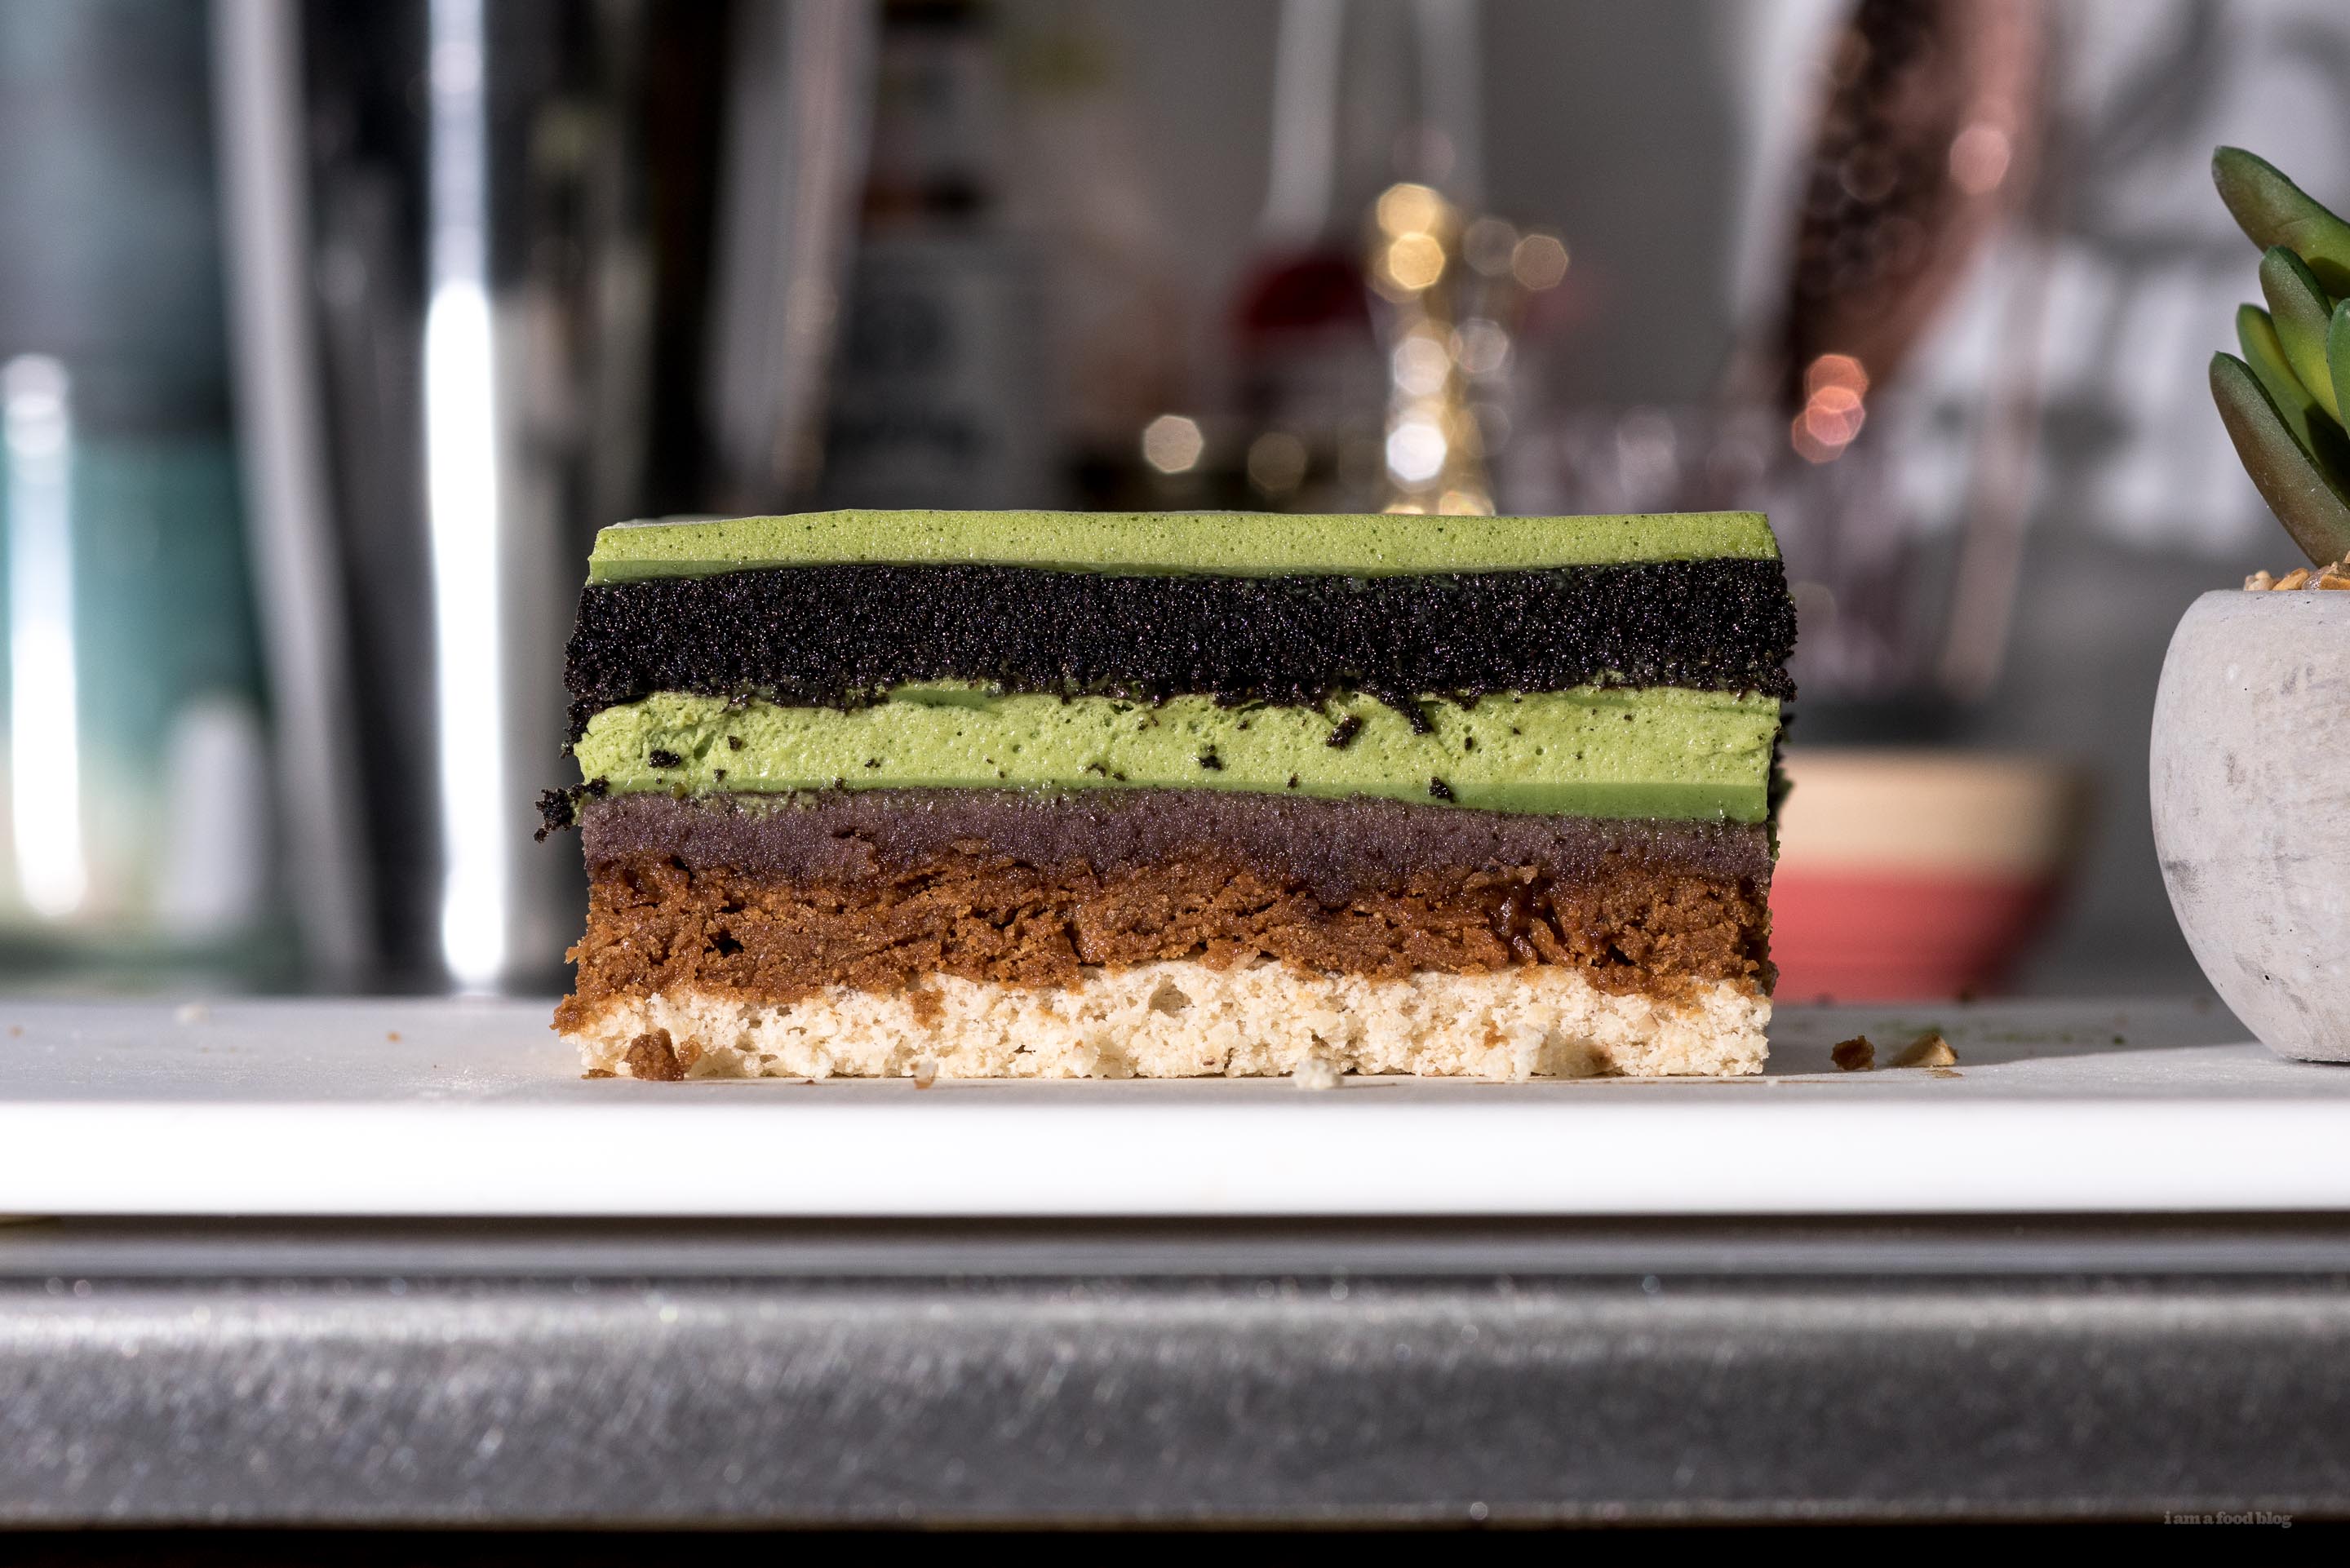
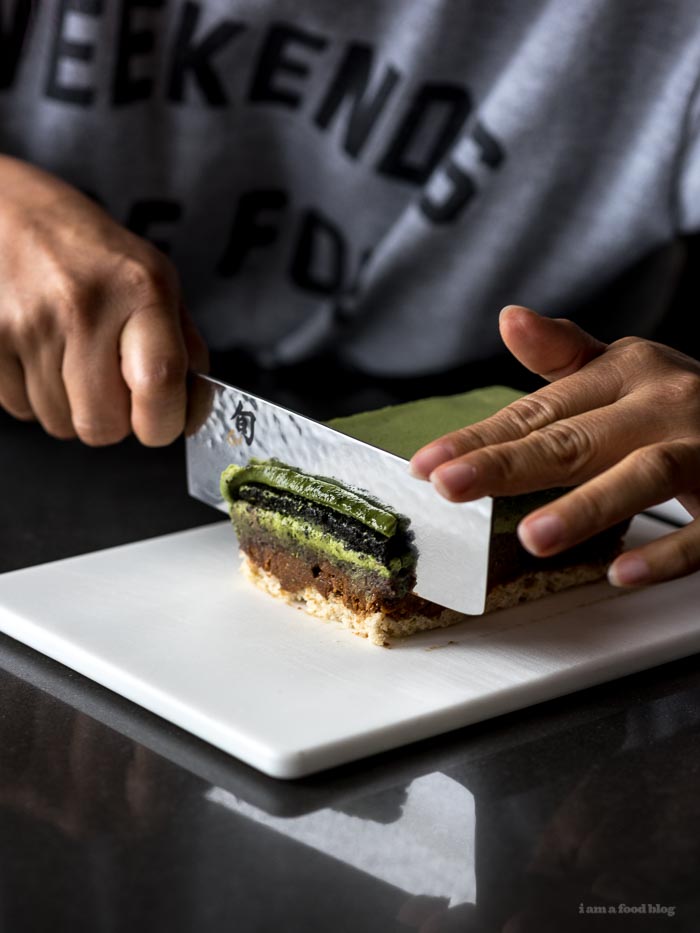
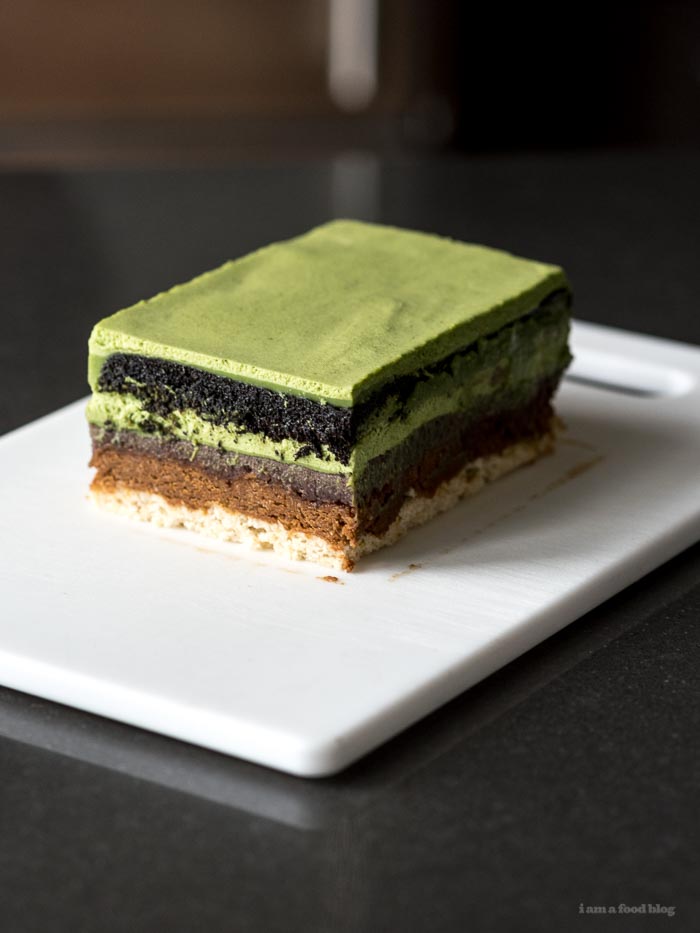
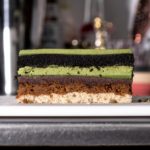
This cake was, from the bottom to the top:
- Hazelnut dacquoise: crispy meringue layer made with hazelnuts and almonds, similar to a macaron.
- Praline feuilletine: a crispy crunchy caramelized hazelnut chocolate layer with flakes that taste like crispy shards of sugar cone.
- Azuki (sweet red bean) paste: smooth, sweet, and an essential in Japanese desserts.
- Matcha mousse: creamy and intensely matcha flavored.
- Dark chocolate genoise sponge: Italian sponge cake made without leveners, light and delicate.
- Matcha syrup: sweet and grassy, used to moisten and bump up the flavor of the genoise.
- Matcha mousse: just another layer of the mousse to top off the entire entremet.

I seriously loved this cake and would love it if you made it too! I especially loved the play between the flavors and the contrasting textures. Please give it a try – if you do, I want to see pictures and know what you think!
7 Layer Matcha Azuki Entremet Recipe
makes a 8×5 inch cake
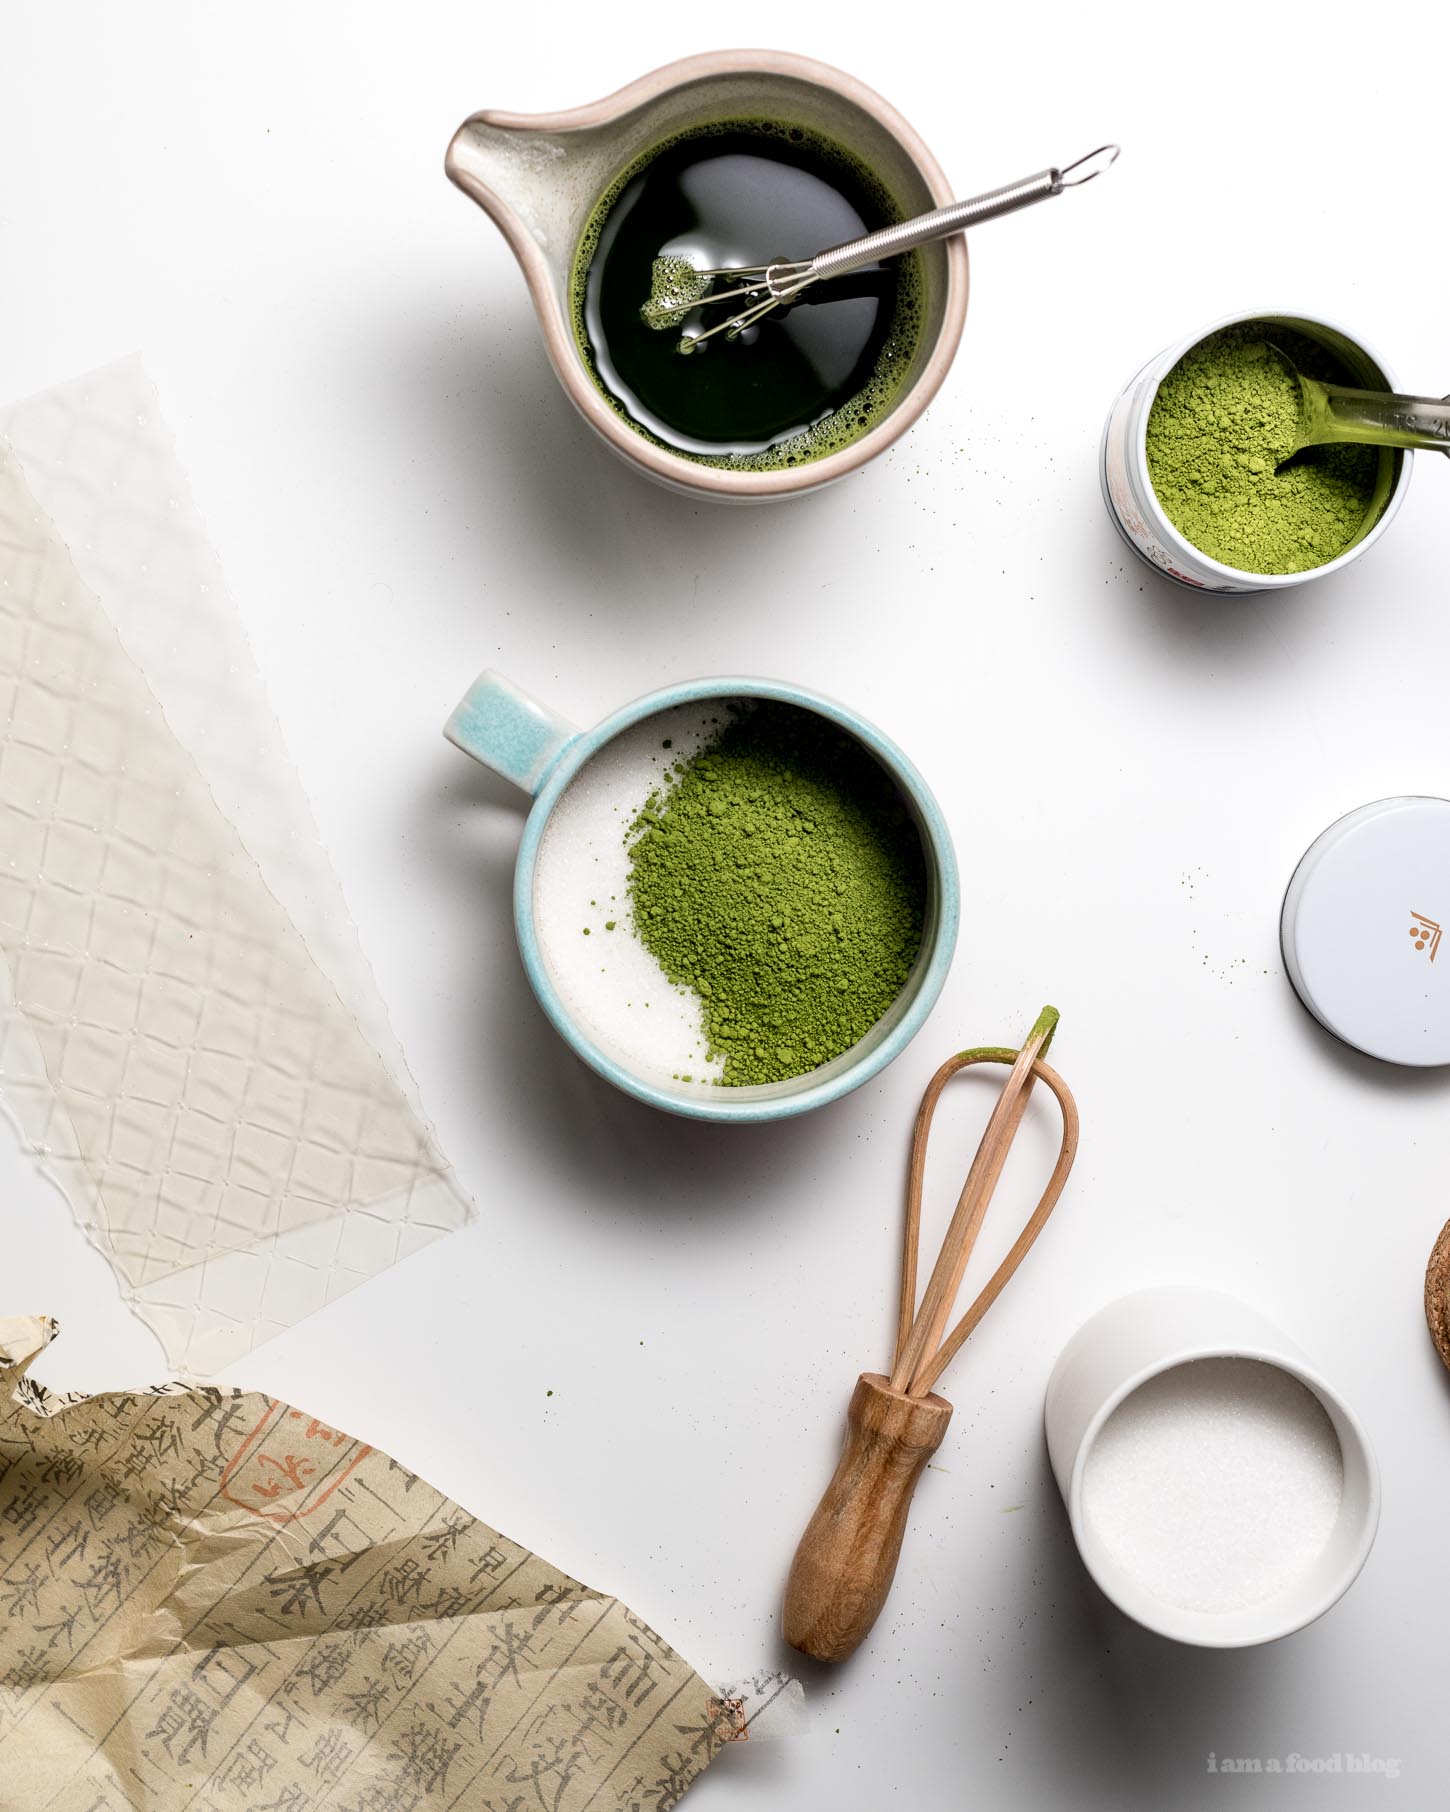
- matcha mousse
- matcha syrup
- chocolate genoise sponge
- matcha mousse
- azuki red bean paste
- praline feuilletine
- noisette dacquoise
Notes: See below for the individual recipes. This is the schedule I followed, but you can condense it as you see fit. I used these pans for baking, then I made two different sized cakes (using the largest rectangle of this set as well as a 4 inch square cheesecake pan, but one cake with this small rectangle pastry ring would work as well. I found that my layers were just a tiny bit too thick, so I think these recipes would work in an 8 inch square but I haven’t tried.
Night before Day 1: Rinse the azuki beans and place them in a bowl. Cover with water so they are completely submerged and soak overnight.
Day 1: Make the azuki paste and praline paste (needed for the praline feuilletine). Both of these items keep in the fridge well so if you need to, you can hold them for several days.
Day 2: Bake the noisette daquoise, cool completely and trim to fit your 7 inch square pastry mould/ring. Place the pastry mould on a parchment paper lined baking sheet and place the daquoise inside the mould.
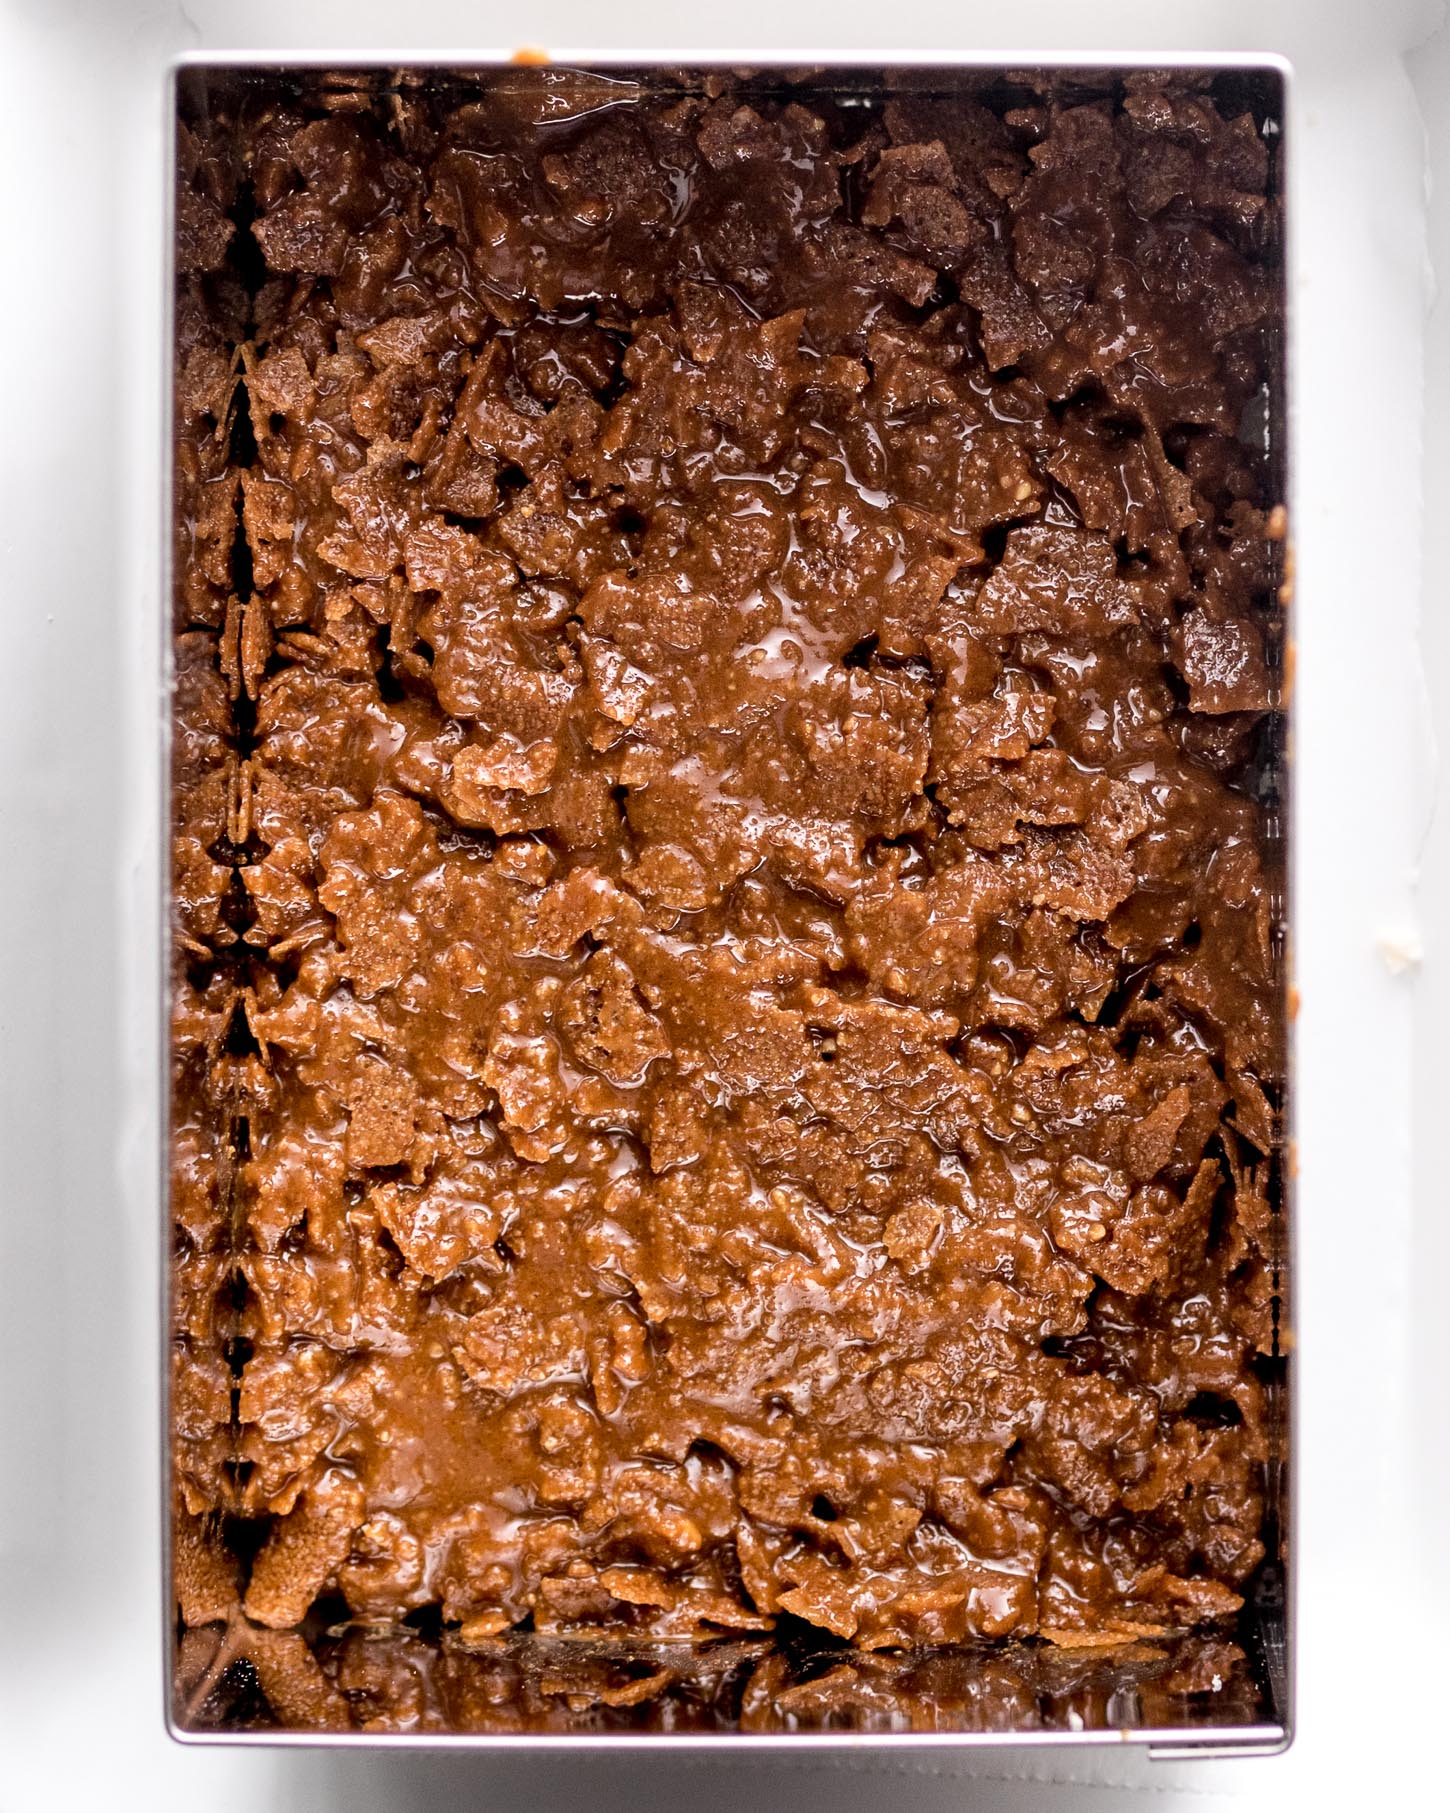
Make the praline feuilletine and spread evenly and thinly (you may not need all of the recipe) over the daquoise, right to the edges. Let cool completely. Spread on a thin layer of azuki paste. Cover tightly with plastic wrap and place in the fridge.
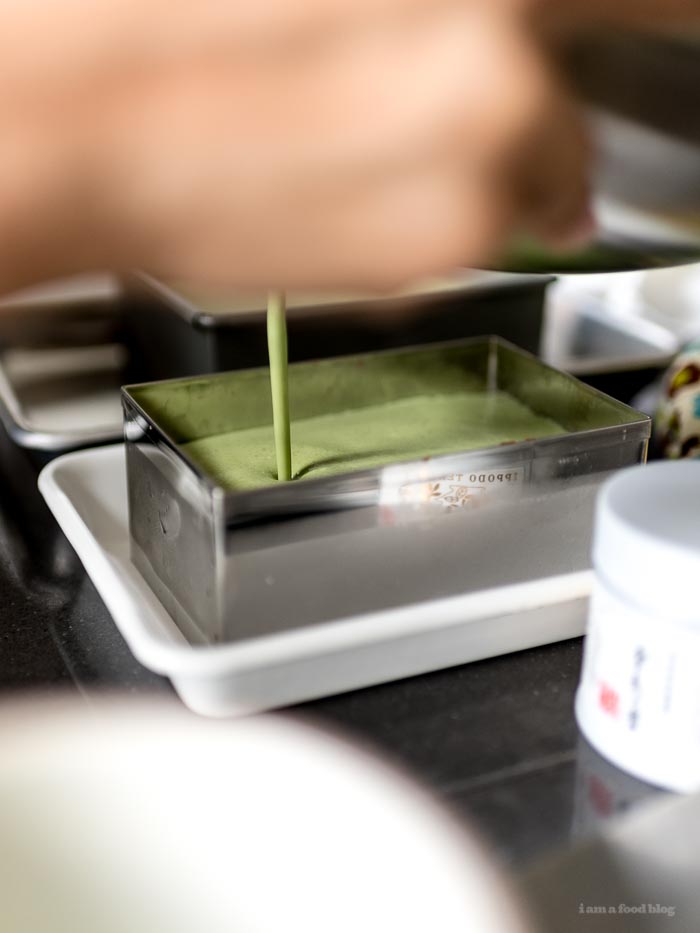
Day 3: Make the matcha mousse and pour the majority (making sure to reserve about 1/3 of a cup) of it into the mould, on top of the azuki paste. Leave the reserved matcha mousse out at room temperature and let the cake set in the fridge until firm.
While the mousse is firming up, bake the genoise and let cool completely. While it is cooling, whisk together the matcha syrup. When the genoise is cool and the mousse is firm, trim to the correct size and place inside the mould. Brush generously with match syrup (you may not need the whole batch, make yourself a matcha latte with the extra by mixing it with some warm milk).
Finish off your entremet by pouring on the last bit of matcha mousse. Let set overnight in the fridge.
Day 4: Use an offset spatula to release the entremet from the sides. Lift the mould off and behold your amazingness! Trim off the edges for a cleaner presentation and then slice into squares or slices. Use a very sharp knife and a sure slicing motion when cutting through. You must cut this cake when it’s cold. Some people even freeze it, but I’m not sure what that would do to the mousse texture, so I haven’t tried. Enjoy the cakes of your labor!
Smooth Azuki Red Bean Paste Recipe
makes 1 cup
- 1/2 cup azuki beans
- 1/2 cup sugar
- 1-2 tablespoons neutral oil
Rinse the beans and place them in a bowl. Cover with water so they are completely submerged and soak overnight. The next day, drain and rinse. Place in a pot and cover the beans with water (at least an extra 2 inches of water on top). Bring to a boil, then turn the heat down to low and simmer, for 1-2 hours, or until the beans are very soft and you are able to squish one between your fingers. If needed, add water to the pot so the beans don’t dry out.
Drain the beans. Place in a blender with the sugar and blend until completely smooth.
In a non-stick pan, heat up a touch of oil (start with 1 tablespoon) over medium heat. Add the azuki paste and cook, stirring often, until heated through, glossy, and smooth. The key here is to add moisture via the oil, and remove any water content from the beans. Add a touch more oil if needed. You want a paste that resembles thick peanut butter. Let cool completely, place in a container with a tight lid and keep in the fridge.
Hazelnut Praline Butter Recipe
makes 1 cup
- 1/2 cup sugar
- 1 cup hazelnuts
adapted from Epicurious
Preheat the oven to 350°F. Lay the hazelnuts out in a single layer on a baking sheet and roast for 10-15 minutes, or until lightly colored and blistered. Wrap in a towel while hot and rub to remove the skins.
Lightly oil an baking sheet.
In a heavy bottomed saucepan, heat the sugar up over medium heat, until melted. Cook, swirling the pan, without stirring, until a golden caramel forms, 300°F. Add the hazelnuts and stir until evenly coated. Immediately pour onto the prepared baking sheet and let cool completely, 30 minutes. Break into pieces and grind in a food processor until it comes together as a butter. It will start out as flakes, then as the oil in the nuts start to extract, it will turn into a butter. Place in a container with a tight lid and keep in the fridge. Try not to eat it all – it’s DELICIOUS.
Hazelnut Dacquoise Recipe
makes a 9×6 rectangle
- 45 grams almond flour
- 15 grams hazelnut flour
- 50 grams icing sugar
- 63 grams egg whites
- 25 grams sugar
- 5 grams toasted chopped hazelnuts
via Daily Delicious
Line a 9×6 baking sheet with parchment paper. Preheat the oven to 356°F.
Sift together the almond flour, hazelnut flour, and icing sugar.
Whip the egg whites and sugar until a meringue forms with stiff peaks. For the nut-sugar mix gently into the meringue. Pour into the pan, spread evenly to the edges with an offset spatula and sprinkle on the chopped hazelnuts. Bake for 15 minutes. Let cool completely.
Praliné Feuilletine Recipe
makes about 1/2 cup
- 30 grams milk chocolate
- 13 grams butter
- 125 grams hazelnut praline butter
- 63 grams pailleté feuilletine
slightly adapted from Daily Delicious
Notes: You can buy pailleté feuilletine in specialty baking shops or online. You might be able to ask your local friendly French patisserie to sell you some as well.
Melt the chocolate and butter over a double boiler. Stir in the praline butter. Gently fold in the feuilletine. Use immediately.
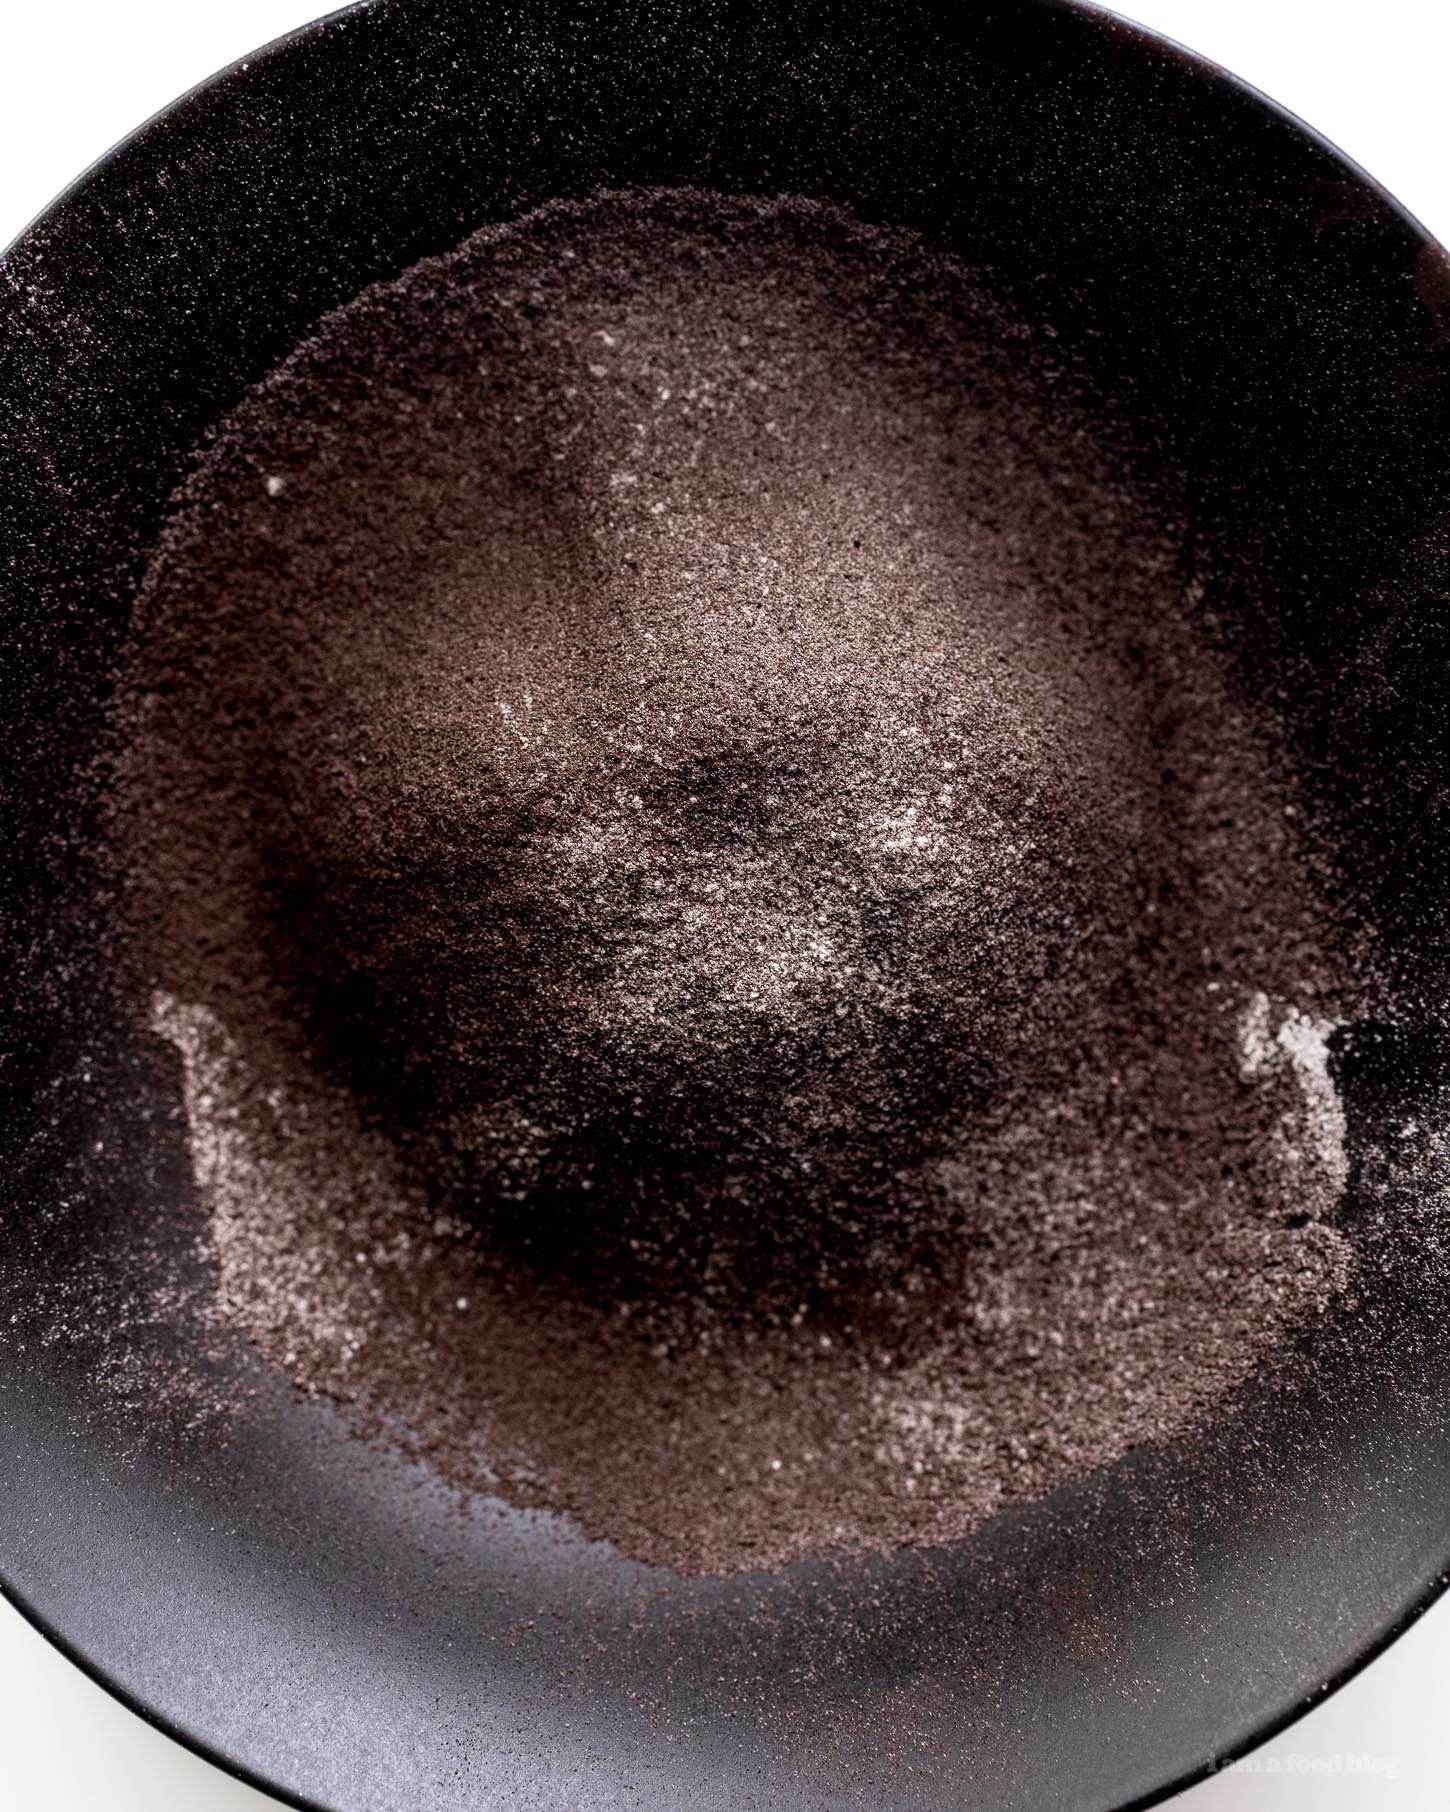
Matcha Mousse Recipe
makes about 1.5 cups mousse
- 5 grams matcha powder
- 40 grams sugar
- 160 grams whole milk
- 6 grams sheet gelatin
- 120 grams whipping cream
via A Dessert Diet
Whisk together the matcha and sugar in a bowl and set aside.
Gently heat the milk, stirring occasionally, until small bubbles form around the edges, and steam begins to rise. Remove from the heat and add the matcha sugar and whisk until smooth. Add the sheet gelatin, whisk until smooth and let cool. Stain with a fine mesh sieve.
Whip cream until soft peaks form. Gently fold in the matcha milk mixture, until homogenous. The mousse should stay viscous at room temp and will set in the fridge.
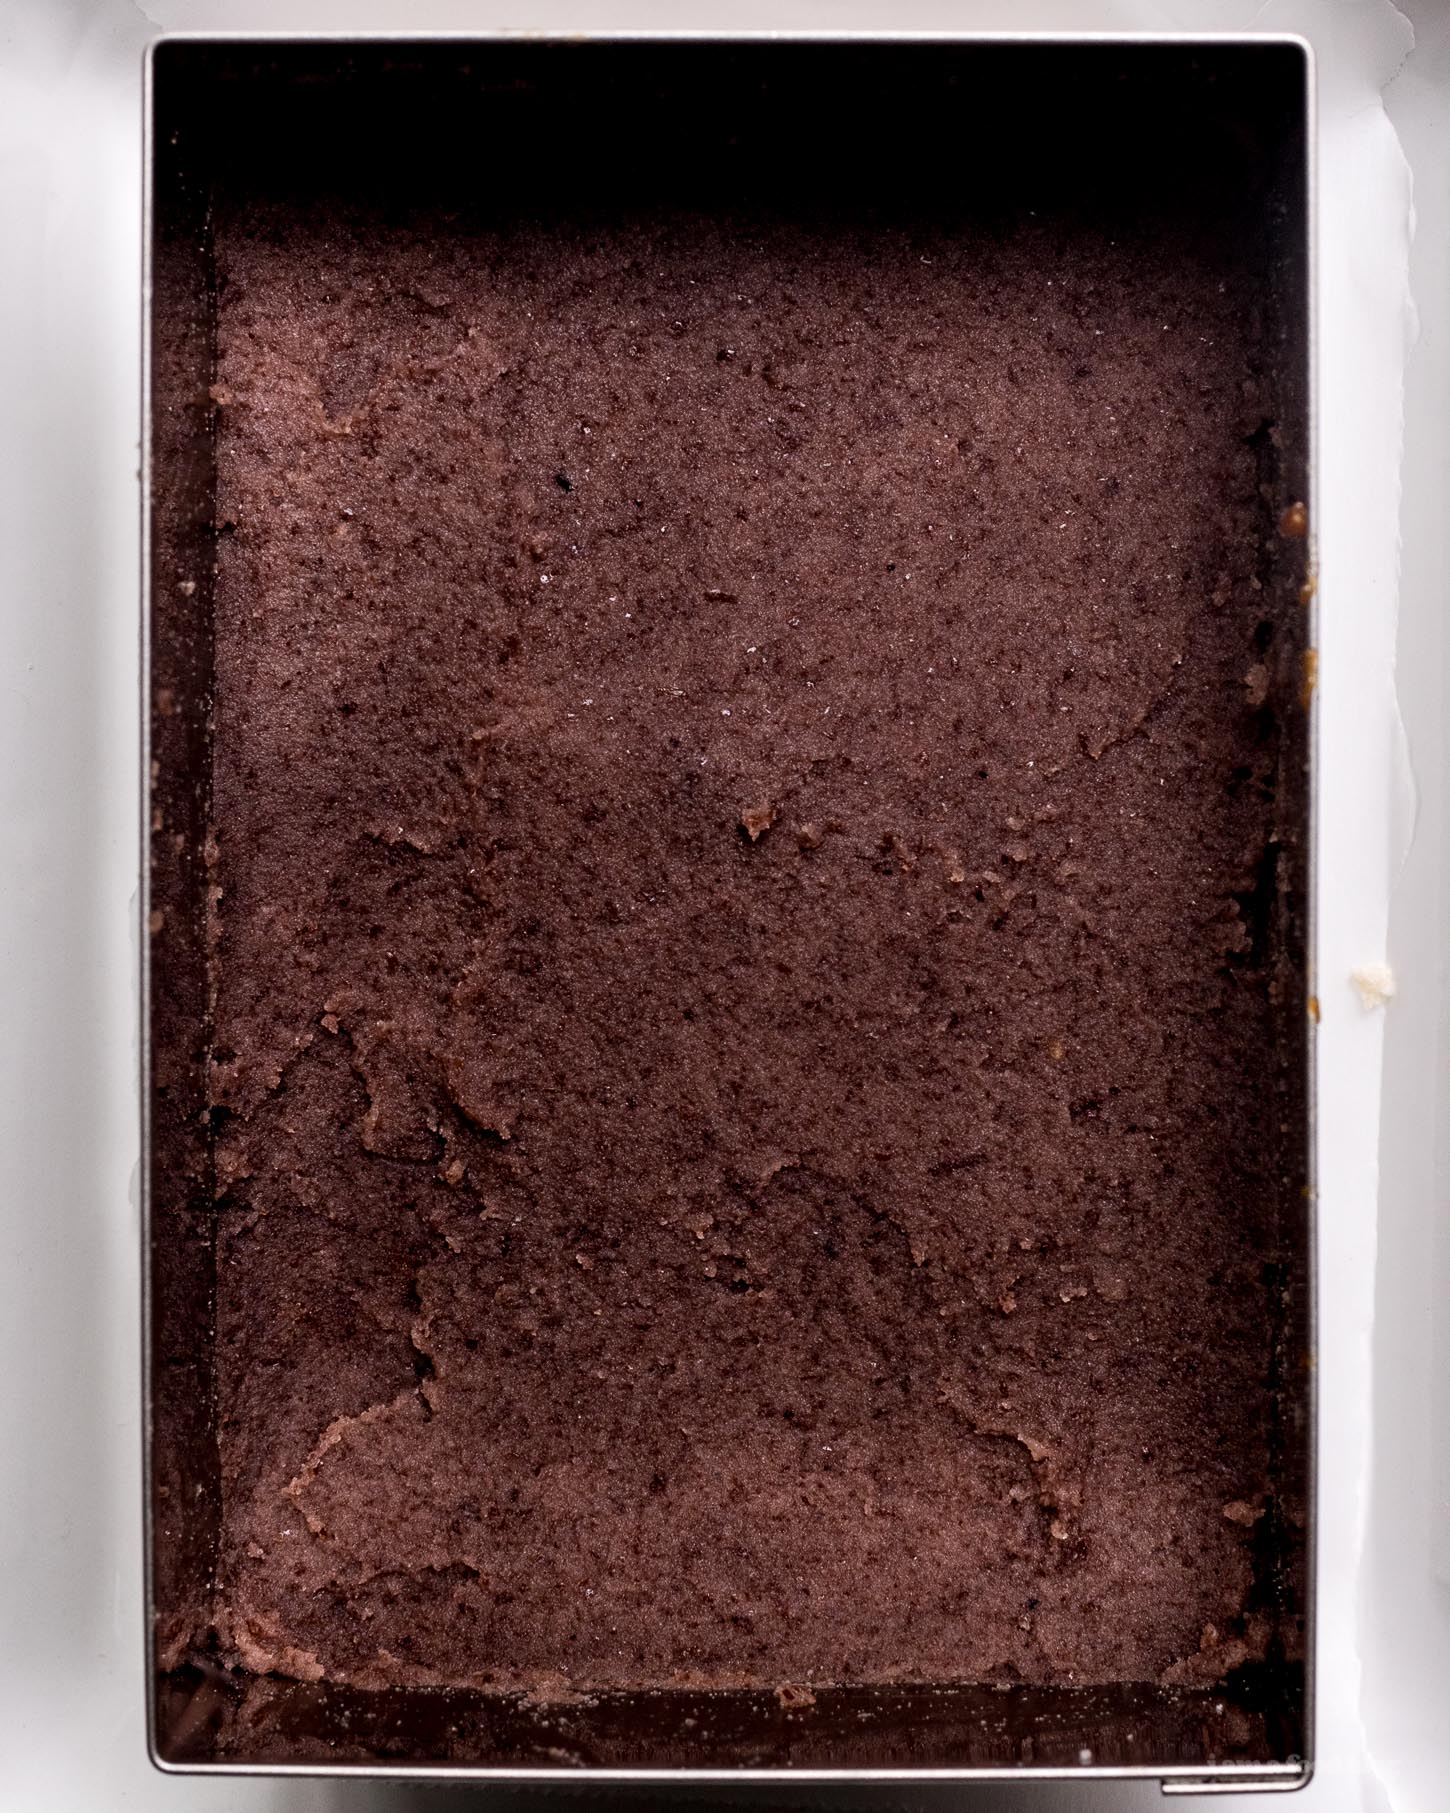
Chocolate Genoise Cake Recipe
makes a 9×6 rectangle
- 45 grams all purpose flour
- 35 grams good-quality cocoa powder
- 4 large eggs
- 100 grams sugar
- 45 grams warm melted butter
via Foodie Baker
Preheat the oven to 338°F. Lightly butter an 9×6 inch pan and line with parchment paper.
Sift the flour and cocoa powder together, three times to ensure maximum fluffiness.
Place the eggs in a heatproof mixing bowl or the bowl of your stand mixer. Whisk in the sugar. Place the bowl over a pot of water over medium low heat and whisk constantly until the sugar egg mixture is warm to the touch, about 110-120°F. Ensure the water does not touch to bottom of the bowl.
Whisk the eggs, with your stand mixer (or hand held) on low for 1 minute, then on medium for 10 minutes, or until tripled in volume. The mix should be pale yellow and reach the ribbon stage – when you life the whisk, the batter should fall slowly in a ribbon that will hold its shape for a few minutes. Turn the mixer down to low and whisk for 1 minute, to stabilize.
Sift the flour cocoa mix in, in thirds, folding, until barely incorporated.
Take 1/2 cup of the mix and stir it into the warm melted butter. Add the melted butter mix back into the batter and use a spatula to fold it in very gently.
Transfer the batter to your prepared pan. Tilt to spread out the batter evenly. Gently rap agains the counter to force out any uneven air bubbles.
Bake on the middle rack for 15-20 minutes or until the cake springs back when gently touched. A toothpick in the center should come out clean.
Let cool completely in the pan.
Matcha Syrup Recipe
about 1/3 cup
- 60 grams hot water
- 40 grams sugar
- 1.5 teaspoons matcha
via A Dessert Diet
Whisk together the water and sugar until sugar dissolves. Whisk in the matcha until smooth. Let cool completely.
OMG!!! Is this real??!
I want to make one just right now…if I only could haha :)
xx
ahhh all these layers sound so good! matcha and red bean are some of my favorites, so i bet i’d love this :3
What a super fun project!!!!! Oh man this looks so delicious … hehe, the peanut butter and chocolate of Japan – so true!! The back ground SMILE on your face when you unearth the entremet is awesome – I can hear the squeal of excitement from here, hehe! I want to try making one now!! XO